13 releases (8 breaking)
Uses new Rust 2024
| new 0.14.1 | May 26, 2025 |
|---|---|
| 0.13.0 | Apr 27, 2025 |
| 0.11.1 | Mar 27, 2025 |
| 0.8.1 | Dec 23, 2024 |
#100 in Game dev
326 downloads per month
115KB
2K
SLoC
bevy_ratatui_camera


Bevy inside the terminal!
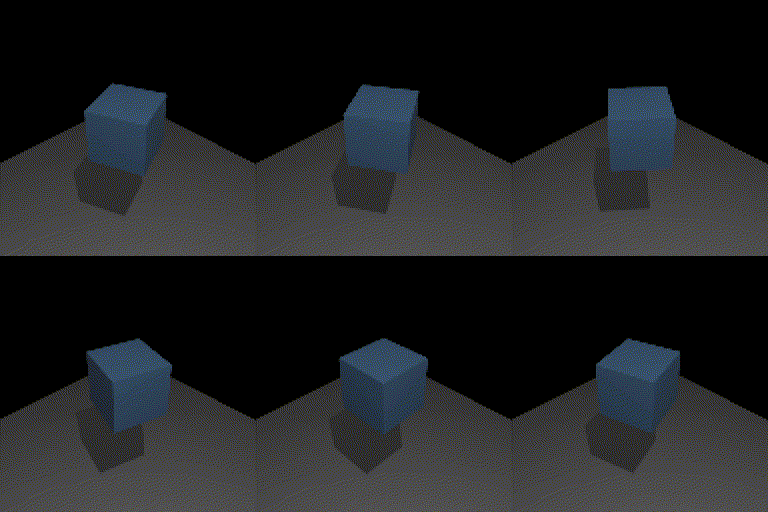
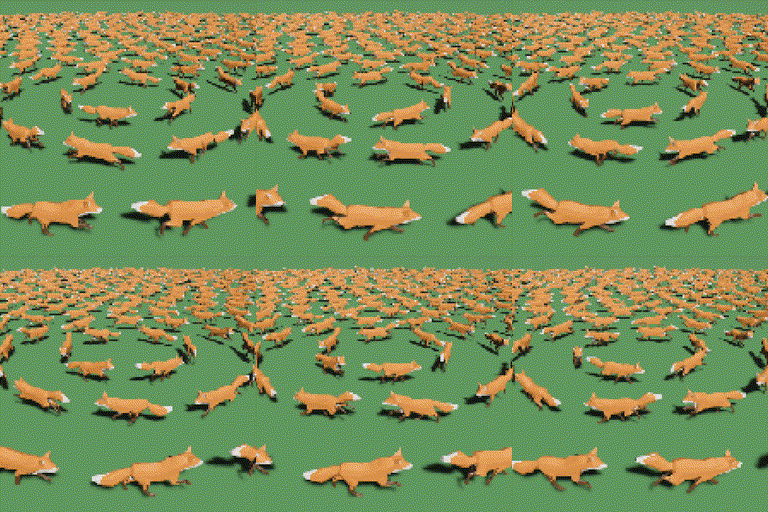
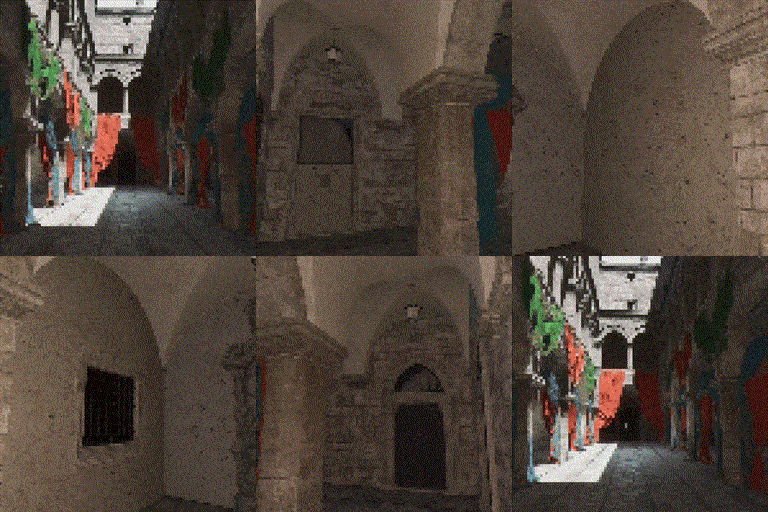
Uses bevy headless rendering, ratatui, and bevy_ratatui to print your bevy application's rendered frames to the terminal.
[!IMPORTANT]
This crate was renamed frombevy_ratatui_rendertobevy_ratatui_camera.
getting started
cargo add bevy_ratatui_camera bevy_ratatui ratatui crossterm
fn main() {
    App::new()
        .add_plugins((
            // disable WinitPlugin as it panics in environments without a display server.
            // disable LogPlugin as it interferes with terminal output.
            DefaultPlugins.build()
                .disable::<WinitPlugin>()
                .disable::<LogPlugin>(),

            // create windowless loop and set its frame rate.
            ScheduleRunnerPlugin::run_loop(Duration::from_secs_f64(1. / 60.)),

            // set up the Ratatui context and forward terminal input events.
            RatatuiPlugins::default(),

            // add the ratatui camera plugin.
            RatatuiCameraPlugin,
        ))
        .add_systems(Startup, setup_scene_system)
        .add_systems(PostUpdate, draw_scene_system.map(error))
        .run();
}

// add RatatuiCamera to your scene's camera.
fn setup_scene_system(mut commands: Commands) {
    commands.spawn((
        Camera3d::default(),
        RatatuiCamera::default(),
    ));
}

// a RatatuiCameraWidget component will be available in your camera entity.
fn draw_scene_system(
    mut ratatui: ResMut<RatatuiContext>,
    mut camera_widget: Single<&mut RatatuiCameraWidget>,
) -> Result {
    ratatui.draw(|frame| {
        camera_widget.render(frame.area(), frame.buffer_mut());
    })?;

    Ok(())
}
As shown above, when RatatuiCameraPlugin is added to your application, any
bevy camera entities that you add a RatatuiCamera component to, will have
a RatatuiCameraWidget inserted that you can query for. Each
RatatuiCameraWidget is a ratatui widget that when drawn will print the most
recent frame rendered by the associated bevy camera, as unicode characters.
Use bevy_ratatui for setting ratatui up and receiving terminal events (keyboard, focus, mouse, paste, resize) inside bevy.
strategies
The method by which the rendered image is converted into unicode characters
depends on the RatatuiCameraStrategy that you choose. Insert a variant of the
component alongside the RatatuiCamera to change the behavior from the
default. Refer to the RatatuiCameraStrategy documentation for descriptions of
each variant.
For example, to use the "Luminance" strategy:
commands.spawn((
    Camera3d::default(),
    RatatuiCamera::default(),
    RatatuiCameraStrategy::Luminance(LuminanceConfig::default()),
));
autoresize
By default, the dimensions of the texture the camera renders to will be resized
each frame to the dimensions and aspect ratio of the buffer area it was last
rendered within, to gracefully handle any changes in the window size or your
ratatui layout. If you would like to keep a fixed size and aspect ratio
instead, set dimensions, set the autoresize attribute inside
RatatuiCamera to false (or use RatatuiCamera::new(width: u32, height: u32)
to do both). Your supplied width and height will be used to create the render
texture and when rendered to the ratatui buffer with
RatatuiCameraWidget::render(...) it will retain its aspect ratio.
commands.spawn((
    RatatuiCamera::new(800, 600),
));
edge detection
When using the a 3d camera, you can optionally insert
a RatatuiCameraEdgeDetection component into your camera in order to add an
edge detection step in the render graph. When printing to the ratatui buffer,
special characters and an override color can be used based on the detected
edges and their directions. This can be useful for certain visual effects, and
distinguishing detail when the text rendering causes edges to blend together.
Set edge_characters to EdgeCharacters::Single(..) for a single dedicated
edge character, or set it to EdgeCharacters::Directional { .. } to set
different characters based on the "direction" of the edge, for example using
'―', '|', '/', and '\' characters to draw edge "lines". Detecting the correct
edge direction is a bit fuzzy, so you may need to experiment with
color/depth/normal thresholds for good results.
RatatuiCameraEdgeDetection {
    thickness: 1.4,
    edge_characters: Self::Directional {
        vertical: '|',
        horizontal: '―',
        forward_diagonal: '/',
        backward_diagonal: '\\',
    },
    edge_color: Some(ratatui::style::Color::Magenta),
    ..default()
}
depth detection
Sometimes you render using multiple widgets that each represent something in the same world-space, like multiple camera widgets with different render strategies, or a camera widget and text labels that hover over entities in your Bevy world. However, because each widget is drawn in order, the last widgets to be drawn always cover those previous, even if it seems like they should be covered by some other world object (for example, if you draw a world with characters, and then draw nametags over the characters, the nametags may be visible even if the character is standing behind a wall).
By recording a "closest depth" associated with each terminal buffer cell, and skipping draws when the new cell to be drawn has a more distant depth than the depth already recorded, you can achieve depth occlusion even when mixing multiple kinds of widgets that draw separately. This library contains a couple of utilities for this purpose.
First, add RatatuiCameraDepthDetection to your ratatui camera entity, and the depth
prepass will be copied back from the GPU alongside your camera's render image:
// setup system
commands.spawn((
    RatatuiCamera::default(),
    RatatuiCameraDepthDetection,
));
Then, when drawing, use RatatuiCameraWidget::new_depth_buffer() to initialize
a RatatuiCameraDepthBuffer that you can pass into camera widget render calls
(or other depth-aware widget render calls) to compare depths against and update
while drawing:
// draw system
let depth_buffer = &mut widget.new_depth_buffer(area);

widget.render(area, frame.buffer_mut(), depth_buffer);

widget.render_overlay_with_depth(area, frame.buffer_mut(), &custom_widget, depth_buffer);
To achieve this, RatatuiCameraWidget implements both ratatui's Widget and
StatefulWidget traits, using the stateful version for the depth-aware
rendering. Because of this, if you have both traits imported, you may need to
resolve ambiguous trait resolution with fully qualified syntax:
<widget as StatefulWidget>::render(...);
multiple cameras
RatatuiCamera can be added to multiple camera entities. To access the correct
render, use marker components on your cameras to use when querying
RatatuiCameraWidget.
If you need multiple cameras to render to one image, create one RatatuiCamera
main camera that will define the dimensions, strategy, etcetera, and then create
additional RatatuiSubcamera cameras that point to the main camera.
supported terminals
By default, printing to terminal relies on the terminal supporting 24-bit color. I've personally tested and confirmed that the following terminals display correctly:
- Alacritty
- Kitty
- iTerm
- WezTerm
- Rio
- Ghostty
...but any terminal with 24-bit color support should work fine, if its performance is adequate.
You can also use the color_support option in RatatuiCameraStrategy to
convert colors to a more limited ANSI sets, in order to target terminals with
more limited color support, but results may be inconsistent as ANSI colors can
depend on the terminal and on user configuration.
compatibility
| bevy | bevy_ratatui_camera |
|---|---|
| 0.16 | 0.14 |
| 0.15 | 0.12 |
| 0.14 | 0.6 |
Dependencies
~29–43MB
~752K SLoC