4 releases
| 0.1.3 | Jan 31, 2025 |
|---|---|
| 0.1.2 | Jan 2, 2025 |
| 0.1.1 | Jan 1, 2025 |
| 0.1.0 | Dec 31, 2024 |
#338 in Command line utilities
447 downloads per month
82KB
1.5K
SLoC
rtw.tui
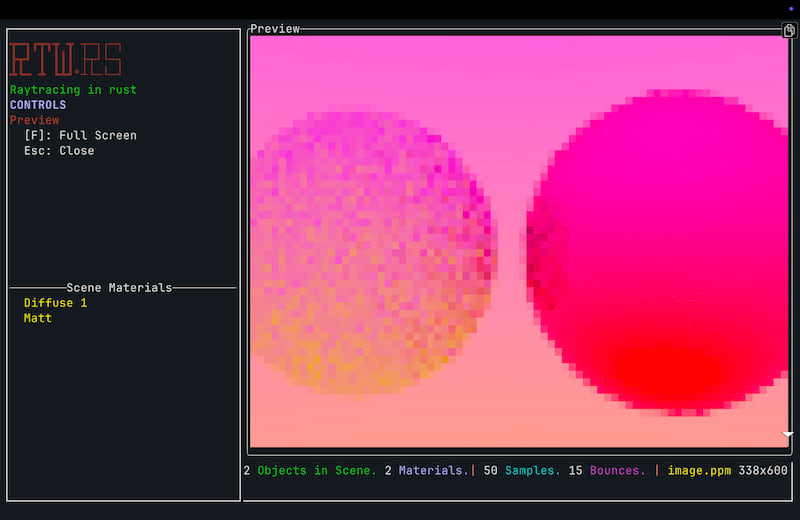
This is a terminal user interface (TUI) for my raytracer, that allows you to create, preview, and render simple scenes, all in your terminal! This is based on my library, rtwlib, and is a pseudo-demo for that.
Features
- Create spheres of any size and position!
- Make your own materials, diffuse, metal, glass? we got it all!
- A curated selection of object types (sphere)
- Render your scene in some amount of time.
- Loads of camera settings.
- Did I mention the spheres?
Installation
To use rtw.tui, you need to have Rust installed on your system. You can install Rust by following the instructions on the official website.
There are two ways to install rtw.tui, crates.io or building from source.
Crates.io
cargo install rtw-tui
Building from Source
# Clone the repository
git clone https://github.com/jamdotjar/rtweekend-tui.git

# Change to the project directory
cd rtweekend-tui

# Install dependencies
cargo build
# do something with the binrary ig, or just
cargo run
Usage
How to use your project. to open the TUI run the following command
rtwtui
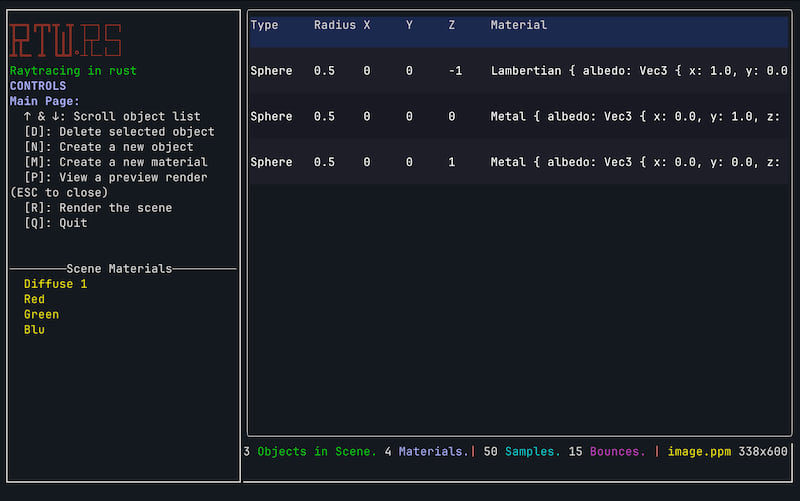
This will open the main page, were you can create objects, materials, and render your scene. For each page, I will list the keybindings and what they do.
IMPORTANT: If you try to submit anything (render, material, object) with invalid inputs, nothing will hapen. You will have to fix the inputs before you can submit ( or cancel with
Esc) ALSO IMPORTANT: If your renders take an abnormally long time and result in a black screen, your camera is probably inside an object. This can ususally be fixed by just moving the camera back a bit more Main Page
↑/↓- Scroll object listn- Create a new objectm- Create a new materialr- Render the sceneq- Quit
Object Editor
Tab/Shift+Tab- Change inputs←/→- Change inputsType- Input values↑/↓- Choose MaterialEnter- SaveEsc- Cancel
Material Editor
Tab/Shift+Tab- Change inputs←/→- Change inputsType- Input color↑/↓- Cycle through material typesEnter- SaveEsc- Cancel
Render Settings
Tab/Shift+Tab- Change inputs←/→- Change inputsType- Input valuesEnter- Render scene (this might take a bit)Esc- Close
Examples
Here's a a sphere!
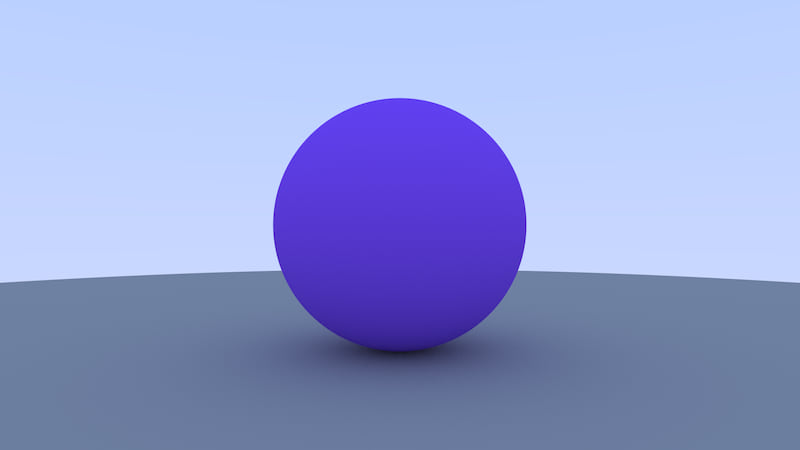
Sphere 1: radius 0.5, (1, 0, 0)
Sphere 2: radius 100.0, (1, -100.5, 0)

Camera: (-1, 0, 0), lookat(1, 0, 0), fov: 45
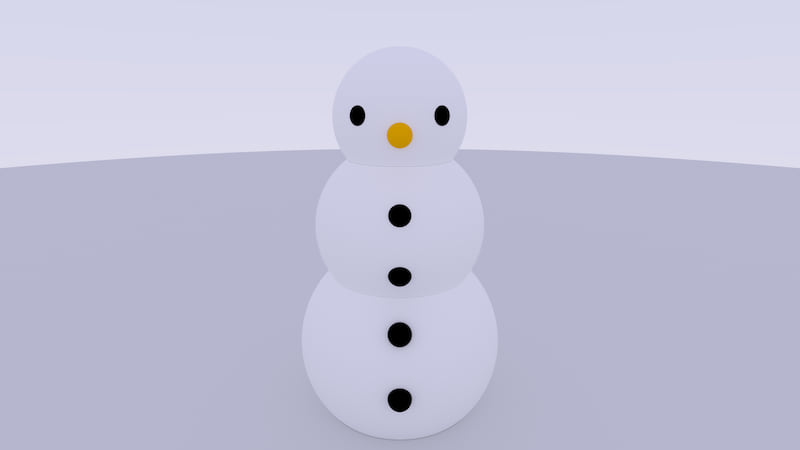
Here's a snowman I made with this:
Misc Info & Tips
- Y will always be "UP" in renders
- Lookat is the only way to set camera rotation, just coose a location and the camera will automatically rotate to face it.
- The more objects you add, the slower renders will be, so dont add 20 spheres and expect it to be fast.
- You don't need a lot of bounces for a good quality on most scenes (5-10 works fine on basic diffuse-only, for metal/glass feel free to bring it up a bit)
- Samples affect render time significantly more than bounces, but you should still have a fairly high sample count to avoid noise. For a clean render, anything above 100-150 is usually good.
- Images will be created whereever you run the tool, so if you want all your images in one folder run the tool from there.
this app creates portable pixelmap files (.ppm). These are not widely used, and not ideal for sharing due to their lack of compression. I'd suggest converting them to png or jpg if you want to store them longterm, as otherwise they can be space hogs. Here is a list of programs that could be used to view/convert PPM files:
- GIMP (Mac/Windows/Linux) might be a bit overkill
- Preview (Mac - builtin)
- ImageMagick (Mac/Windows/Linux) conversion only
- IrfanView (Windows)
- this website
This list isnt exhaustive, so check if your normal image viewer can be used first.
Gallery
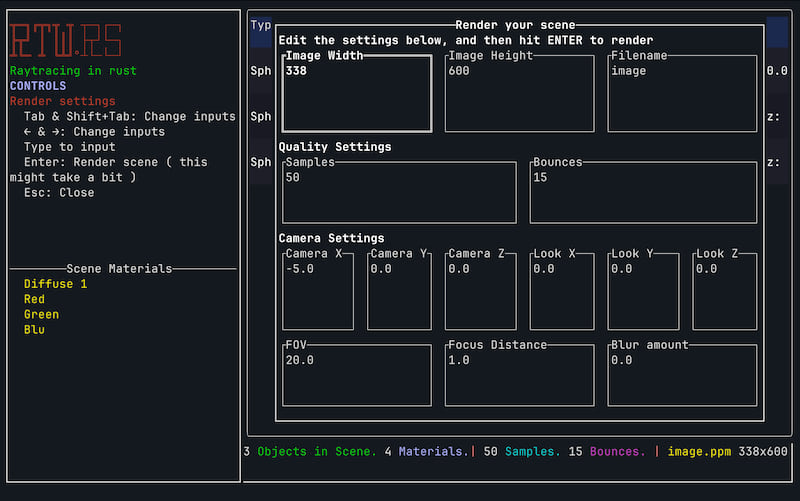
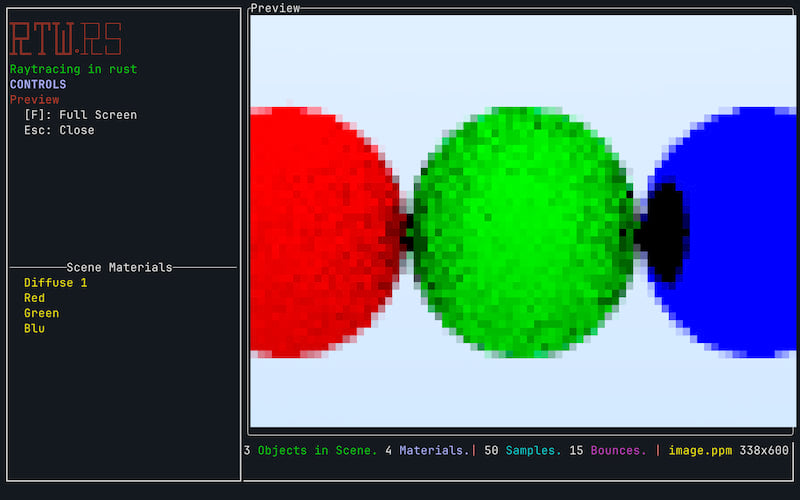
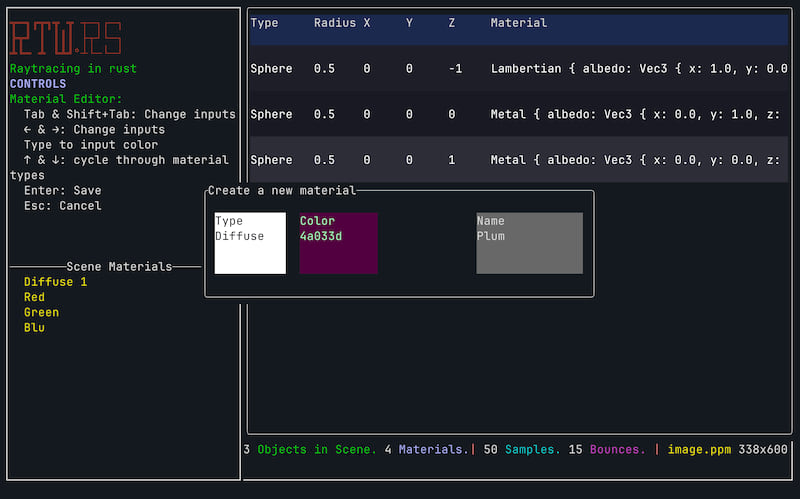
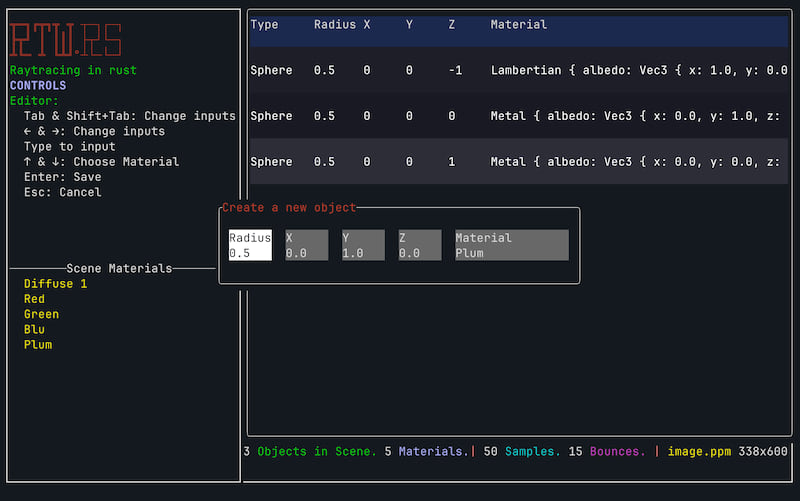
Future Plans
- Add more object types
- More intuitive camera controls
- Better export options
- Scene saving/loading anything that is in the library will probably be added here, so check the library for more info on what might be added
License
This project is licensed under the GPL-3.0 License.
Dependencies
~11–22MB
~325K SLoC
