1 unstable release
| 0.1.0 | Sep 26, 2023 |
|---|
#1258 in GUI
27KB
607 lines
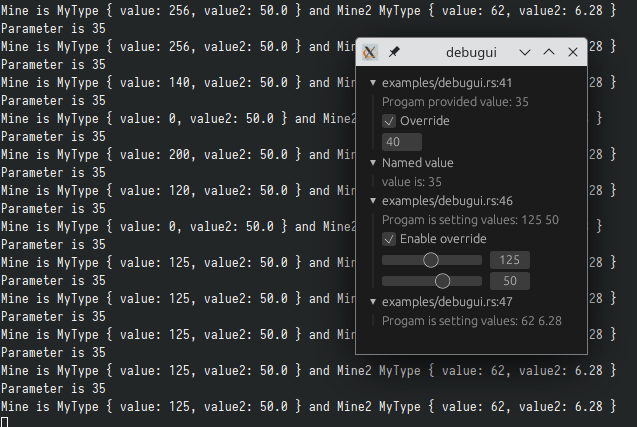
Lets you manipulate values in your program at runtime with a gui window.
See examples for how to plug values into debugui

Setup
If you want to use it in a cli program, it automatically creates an event loop in a separate thread and creates the window for you.
This only works on platforms that support creating an event loop not on the main thread
See below for how to use debugui in a gui program.
Enabling
By default debugui has no dependencies and its macros will produce no effects.
You must set the enabled feature to use the debugui window.
This is done so that you may include debugui easily in your project, but still
produce a build as if it was not used without changing any of your own source.
Integrate with an existing winit event_loop
If you already have your own window/event loop debugui won't be able to create a
second one, so you have to integrate it as shown below:
    // Call this after creating your event loop and wgpu instance
    debugui::init_on!(
        debug_ui_resources, // name this as you wish
        &mut event_loop, // winit::event_loop
        &instance, // &wgpu::Instance
        &adapter, // &wgpu::Adapter
        &device, // any type that implements Borrow<wgpu::Device> i.e. you can pass an Arc<wgpu::Device>, &wgpu::Device, etc.
        &queue // // any type that implements Borrow<wgpu::Queue>
    );

    // ... your code

    event_loop.run(|event, _, control_flow| {
        // this returns true if the event was for debugui's window
        if debugui::feed_on!(debug_ui_resources, &event, control_flow) {
            return;
        }

        // ... your code
    }
Dependencies
~0–32MB
~466K SLoC