5 releases
| 0.1.4 | Feb 21, 2025 |
|---|---|
| 0.1.3 | Feb 19, 2025 |
| 0.1.2 | Feb 18, 2025 |
| 0.1.1 | Feb 18, 2025 |
| 0.1.0 | Feb 18, 2025 |
#967 in Embedded development
28KB
496 lines
Introduction

This is an async implementation of the ATH10 and ATH20 thermo-hygro sensor that relies on hardware abstraction crates for platform agnosticism. It supports asyncronous using executors such as tokio or Embassy.
Supported Devices
This has been tested with the Adafruit AHT20 breakout board using the STEMMA QT/Qwiic connection standard.
Asynchronous and Blocking
This driver is based in part on the excellent shtcx-rs crate. However, while the shtcx-rs crate includes non-blocking and blocking methods this crate provides only async and blocking methods.
Usage
Providing an instance of a Delay type is required for most operations
blocking variant requires a blocking Delay type that can be wated upon for
processing time required in the sensor. In the async variant, an async
Timer type must be provided.
An example for the async version follows:
use ahtx0::ahtx0;
use linux_embedded_hal::{Delay, I2cdev};
use tokio;

// You're going to need some kind of executor here, either embassy or tokio
#[tokio::main]
async fn main() {
    let i2c0 = I2cdev::new("/dev/i2c-3").unwrap();
    let mut delay = Delay;
    let mut aht = ahtx0(i2c0);

    // We don't care that much if calibration failed
    let _ = aht.calibrate(&mut delay).await;

    // To query the device state from the sensor:
    let device_id = aht.state().await.unwrap();

    // and, finally to get the current sensor values:
    let measurement = aht.measure(&mut delay).await;
}
The destroy method shouldn't be needed in normal
circumstances, but it can be useful when using a mock
because it'll return the i2c device back, which allows
the done() method to be called on it.
Using the example program
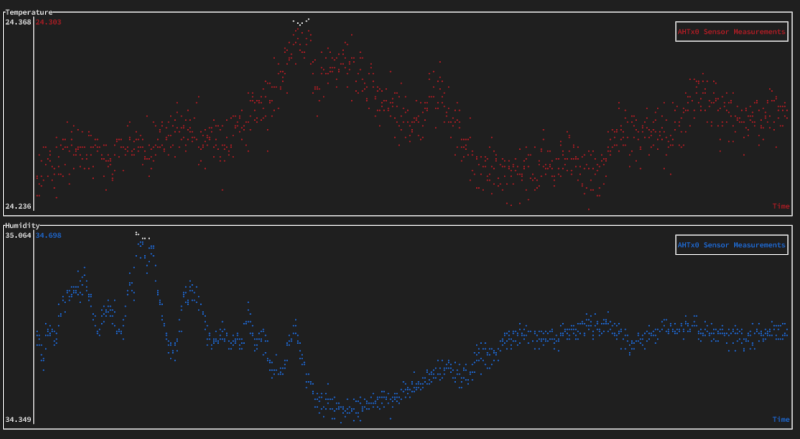
To use the provided example, you may need to change the i2c device to match the one that you've attached the sensor to. Control-c to exit.
Acknowledgements
Many thanks to the authors of the shtcx-rs, and to the team at Adafruit who wrote the python implementation. Both were very helpful in getting started with this.
Dependencies
~78KB