63 releases (10 breaking)
| 0.14.27 | May 10, 2025 |
|---|---|
| 0.14.20 | Mar 31, 2025 |
| 0.11.14 | Dec 20, 2024 |
| 0.11.6 | Nov 29, 2024 |
| 0.4.0 | Jun 5, 2023 |
#19 in Game dev
1,850 downloads per month
Used in 7 crates
2MB
20K
SLoC
SDL3 

Bindings for SDL3 in Rust.
SDL is the Simple Directmedia Library, a cross-platform library to abstract the platform-specific details for building applications. It takes care of everything from handling events, creating windows, playing audio, accessing device cameras and sensors, locking, GPU access, and much more. See more here: https://wiki.libsdl.org/SDL3/APIByCategory.
SDL officially supports Windows, macOS, Linux, iOS, and Android, and several other platforms.
Migration Progress
Now that the SDL3 API is mostly stabilized, we are working on a new version of the Rust bindings for SDL3. The migration is in progress, and we are looking for contributors to help us complete it.
Expect some bugs and missing features. Feel free to create issues or work on them yourself.
- Update all modules to SDL3, use new sdl3-sys bindings, follow migration guide.
- Fix tests.
- Update examples to SDL3.
- Add new features from SDL3.
- Update documentation.
Please refer to the sdl3-rs repository for the latest updates.
The low-level bindings are being worked on in the sdl3-sys repository.
Overview
This is an interface to use SDL3 from Rust.
Low-level C components are wrapped in Rust code to make them more idiomatic and abstract away inappropriate manual memory management.
Quick Start
Add the following to your Cargo.toml:
[dependencies]
sdl3 = { version = "0", features = [] }
Linking to SDL3
This crate requires the SDL3 system library to link and run.
By default without any of these features enabled, it will try to link a system SDL3 library as a dynamic/shared library using the default library search paths.
You may select how to link the library via features:
build-from-source: Fetch and build the library from source. Recommended if you just want it to work and don't have SDL3 installed system-wide.build-from-source-static: Fetch and build the library from source and link it statically.use-pkg-config: Usepkg-configto find the library.use-vcpkg: Usevcpkgto find the library.static-link: Link the library statically.link-framework: Link the library as a framework on macOS.
You can read more about these options here.
Documentation
Contributing
We're looking for people to help get SDL3 support in Rust built, tested, and completed. You can help out!
Many examples and documentation requires updating. Interfaces have changed from SDL2 to SDL3, and the Rust bindings need to be updated to reflect these changes.
If you see anything wrong, missing, or suboptimal, please feel free to open a PR with your improvements.
If you would like to discuss ideas or ask questions, join the #rust channel on Discord.
History
This project was forked from Rust-sdl2 and the SDL2 code migrated to SDL3 according to the SDL2->SDL3 migration guide.
If you want a library compatible with earlier versions of SDL, please see Rust-sdl2.
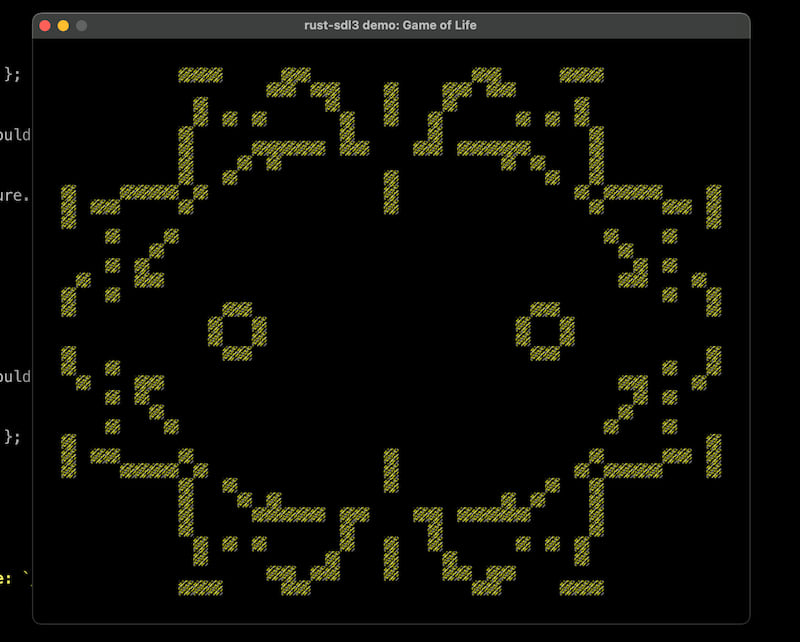
Screenshots
Dependencies
~2.6–4.5MB
~54K SLoC