2 unstable releases
| 0.2.0 | May 30, 2021 |
|---|---|
| 0.1.0 | Apr 28, 2021 |
#5 in #door
365KB
797 lines
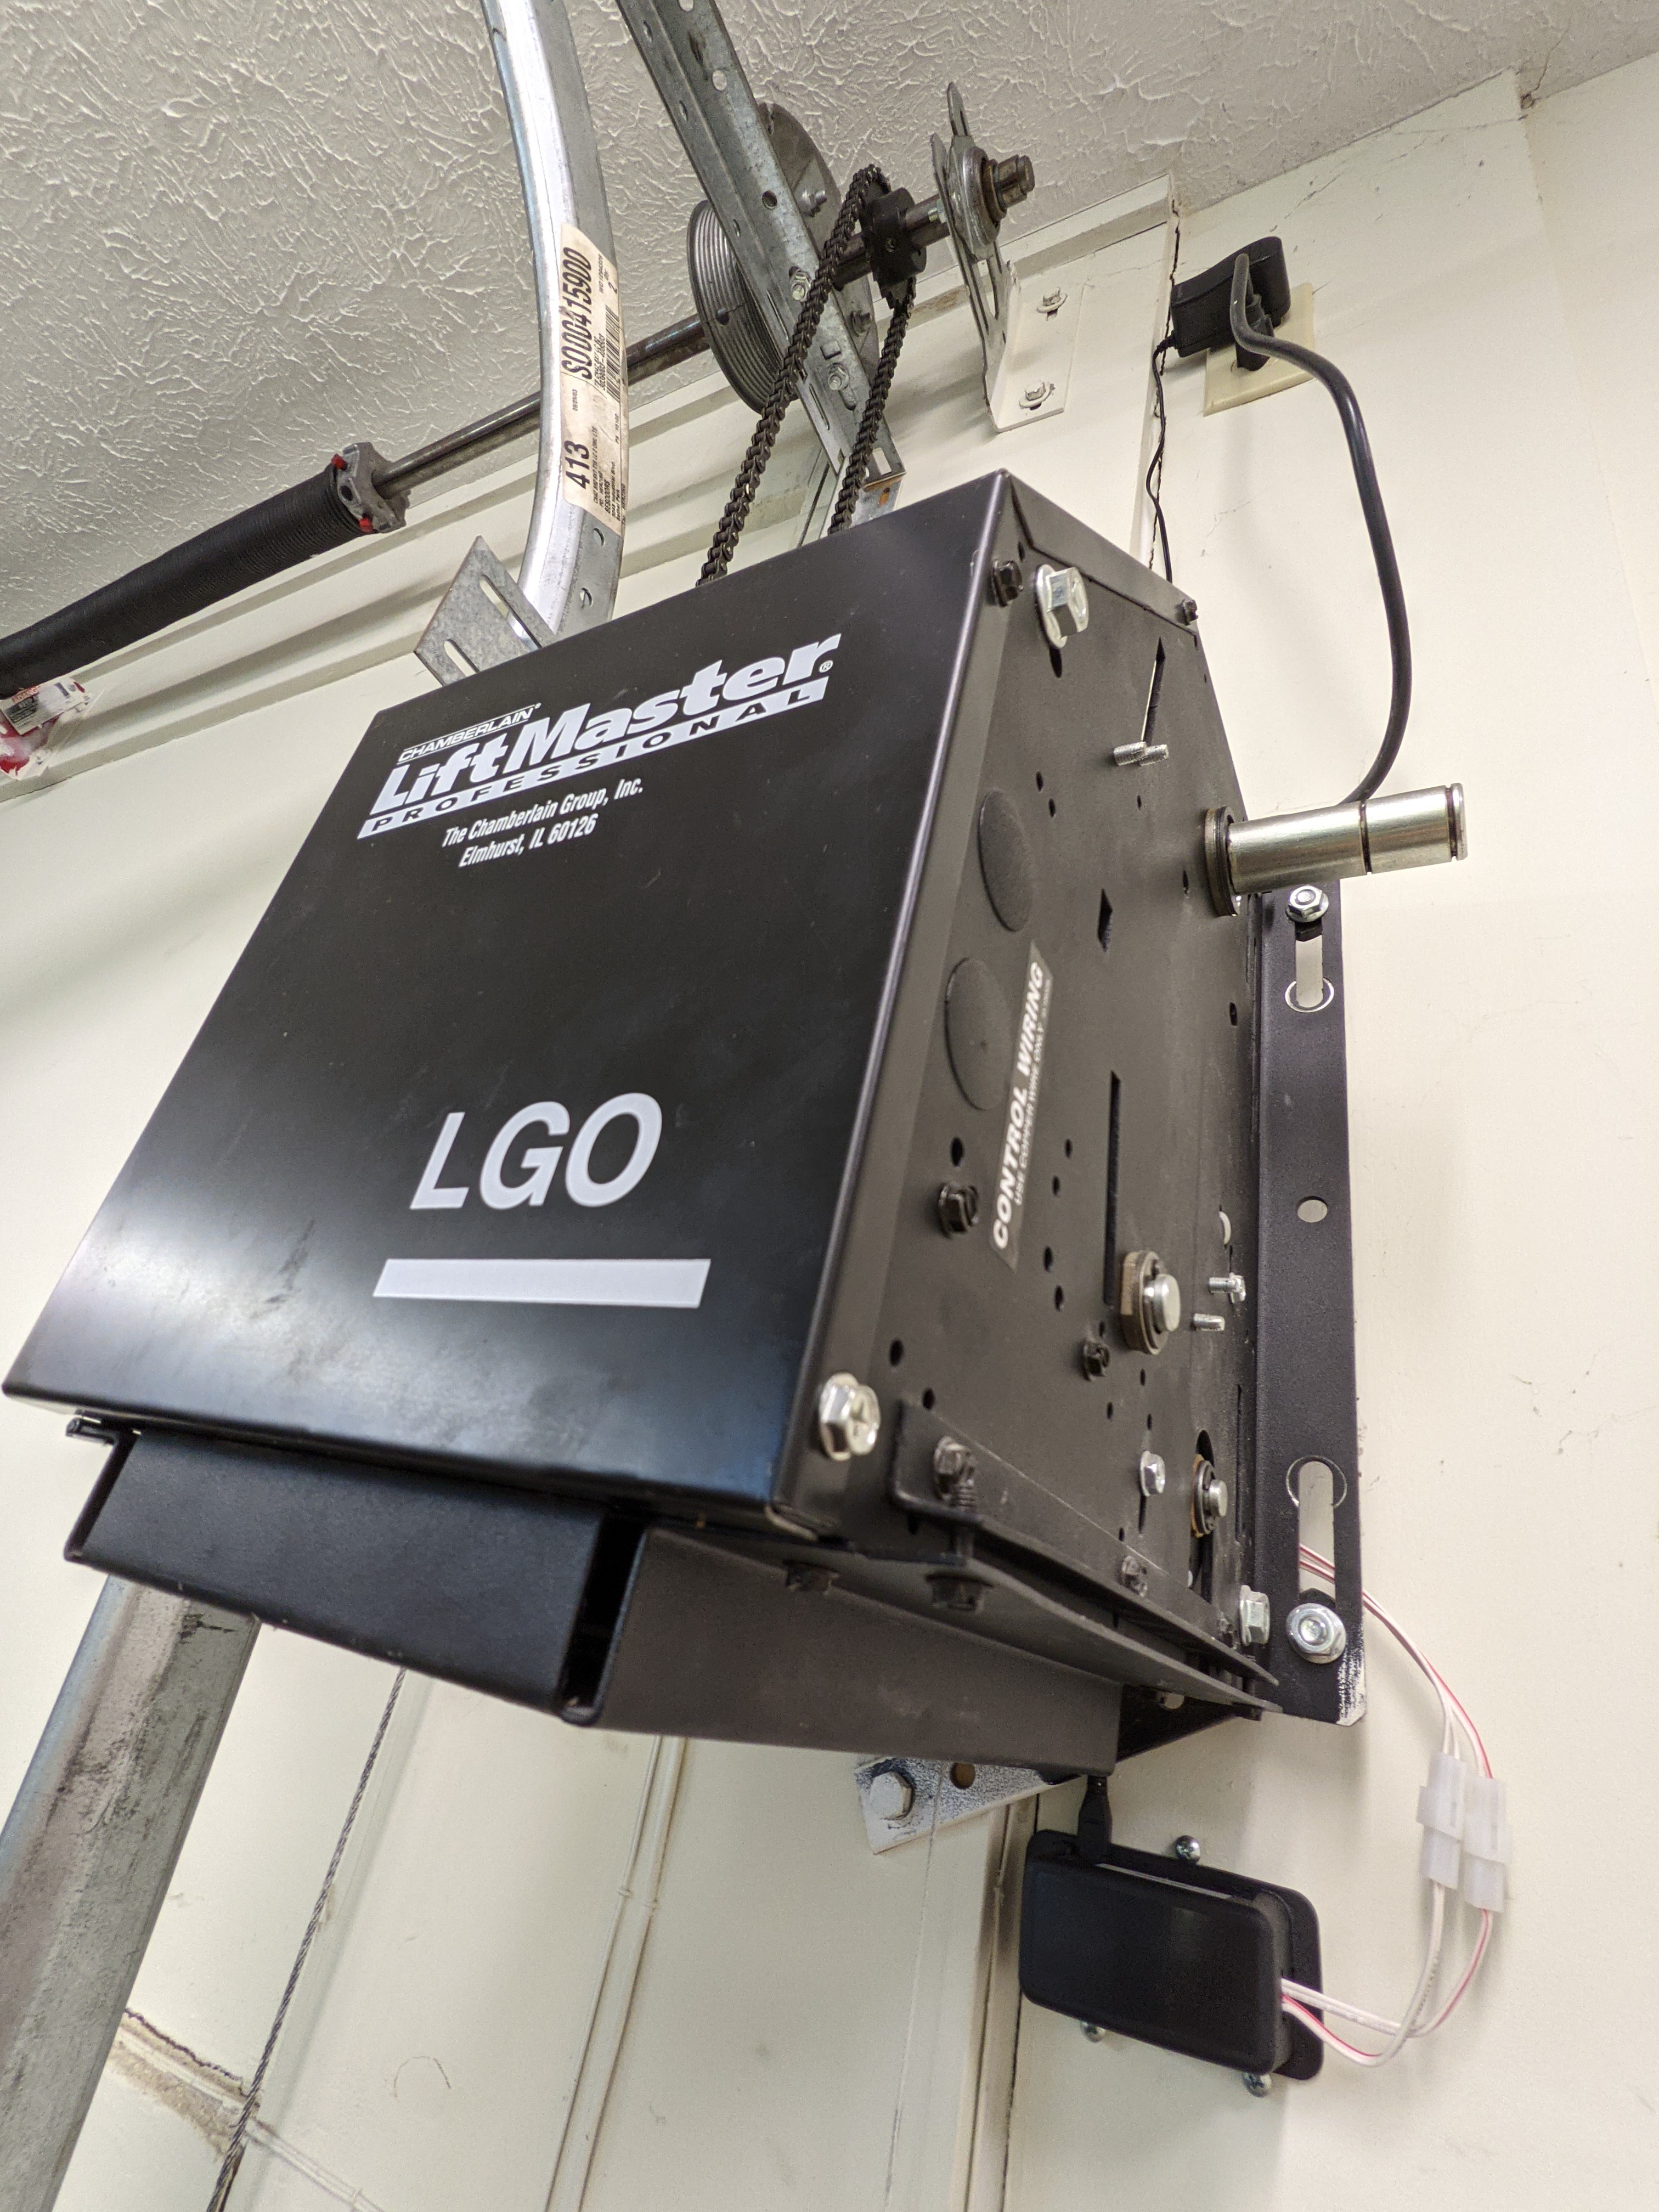
Open and close your garage door (or similar) with a Raspberry Pi.
Sometimes I forget to close my garage door when I leave the house. Sometimes I need to let someone into my house when I am not home. This allows me to do both of those things in a low-complexity way. Or, at least, in a way with complexity that I'm comfortable with.
Pros
- Low cost. Raspberry Pis are ubiquitous and low-cost. I had two lying around. The required HATs are cheap (or you could just solder a relay directly), cases are cheap, and wire is cheap.
- No ecosystem. The boards connect over regular Wi-Fi or ethernet and expose a simple HTTP interface. You can expose them to the internet however you want, or don't. You can expose them to automation tooling (like Home Assistant), or don't.
Cons
- Not turnkey. Building the hardware and setting up the software is not hard, but it is still a solution that involves more setup than something like an off-the-shelf device.
- No polish. Will not pass the Significant-Other Bar™ out-of-the-box.
Quickstart
Just want to try it out? If you have Cargo installed, clone and run:
$ cargo run --no-default-features config.example.toml
And then click the link!
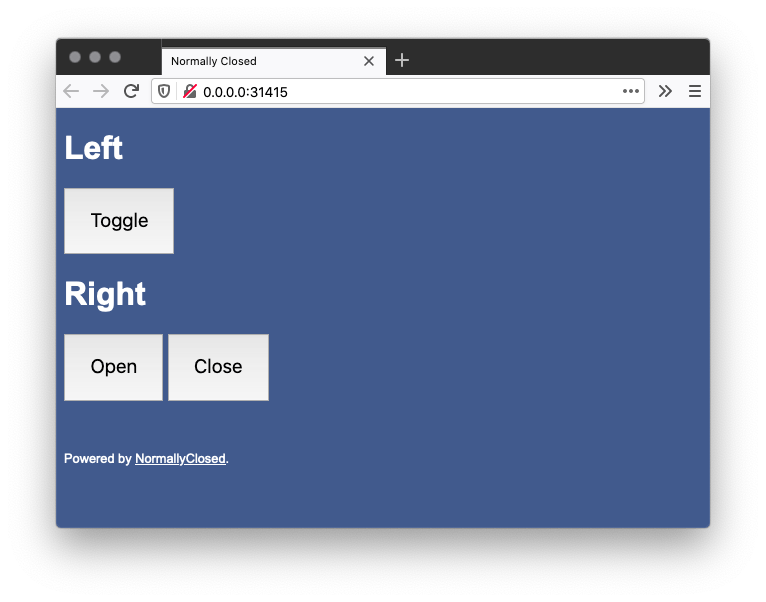
Press the buttons to see the changes to GPIO pins that would happen on a real Raspberry Pi.
Hardware
You will need to obtain three main components:
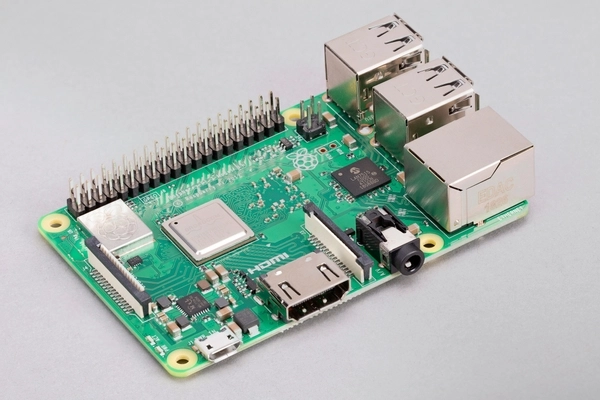
- Raspberry Pi computer
- One 24V relay per button (usually from a HAT) controlled via GPIO
- Wall- or ceiling-mountable case
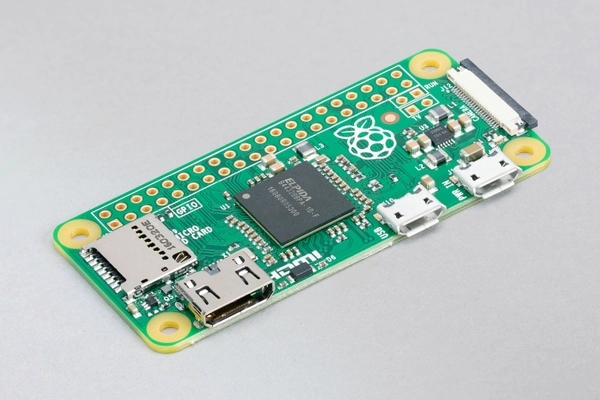
Example Build #1: Pi Zero
The Raspberry Pi Zero is the ideal board given its price, that the software CPU/RAM requirements are low, and that it will likely be mounted to the ceiling. Due to its size and HAT availability, the Pi Zero can only control at most two single-button doors or one open/close-button door.
Ensure you get the Zero W for a board that includes a Wi-Fi chip (or the Zero WH).
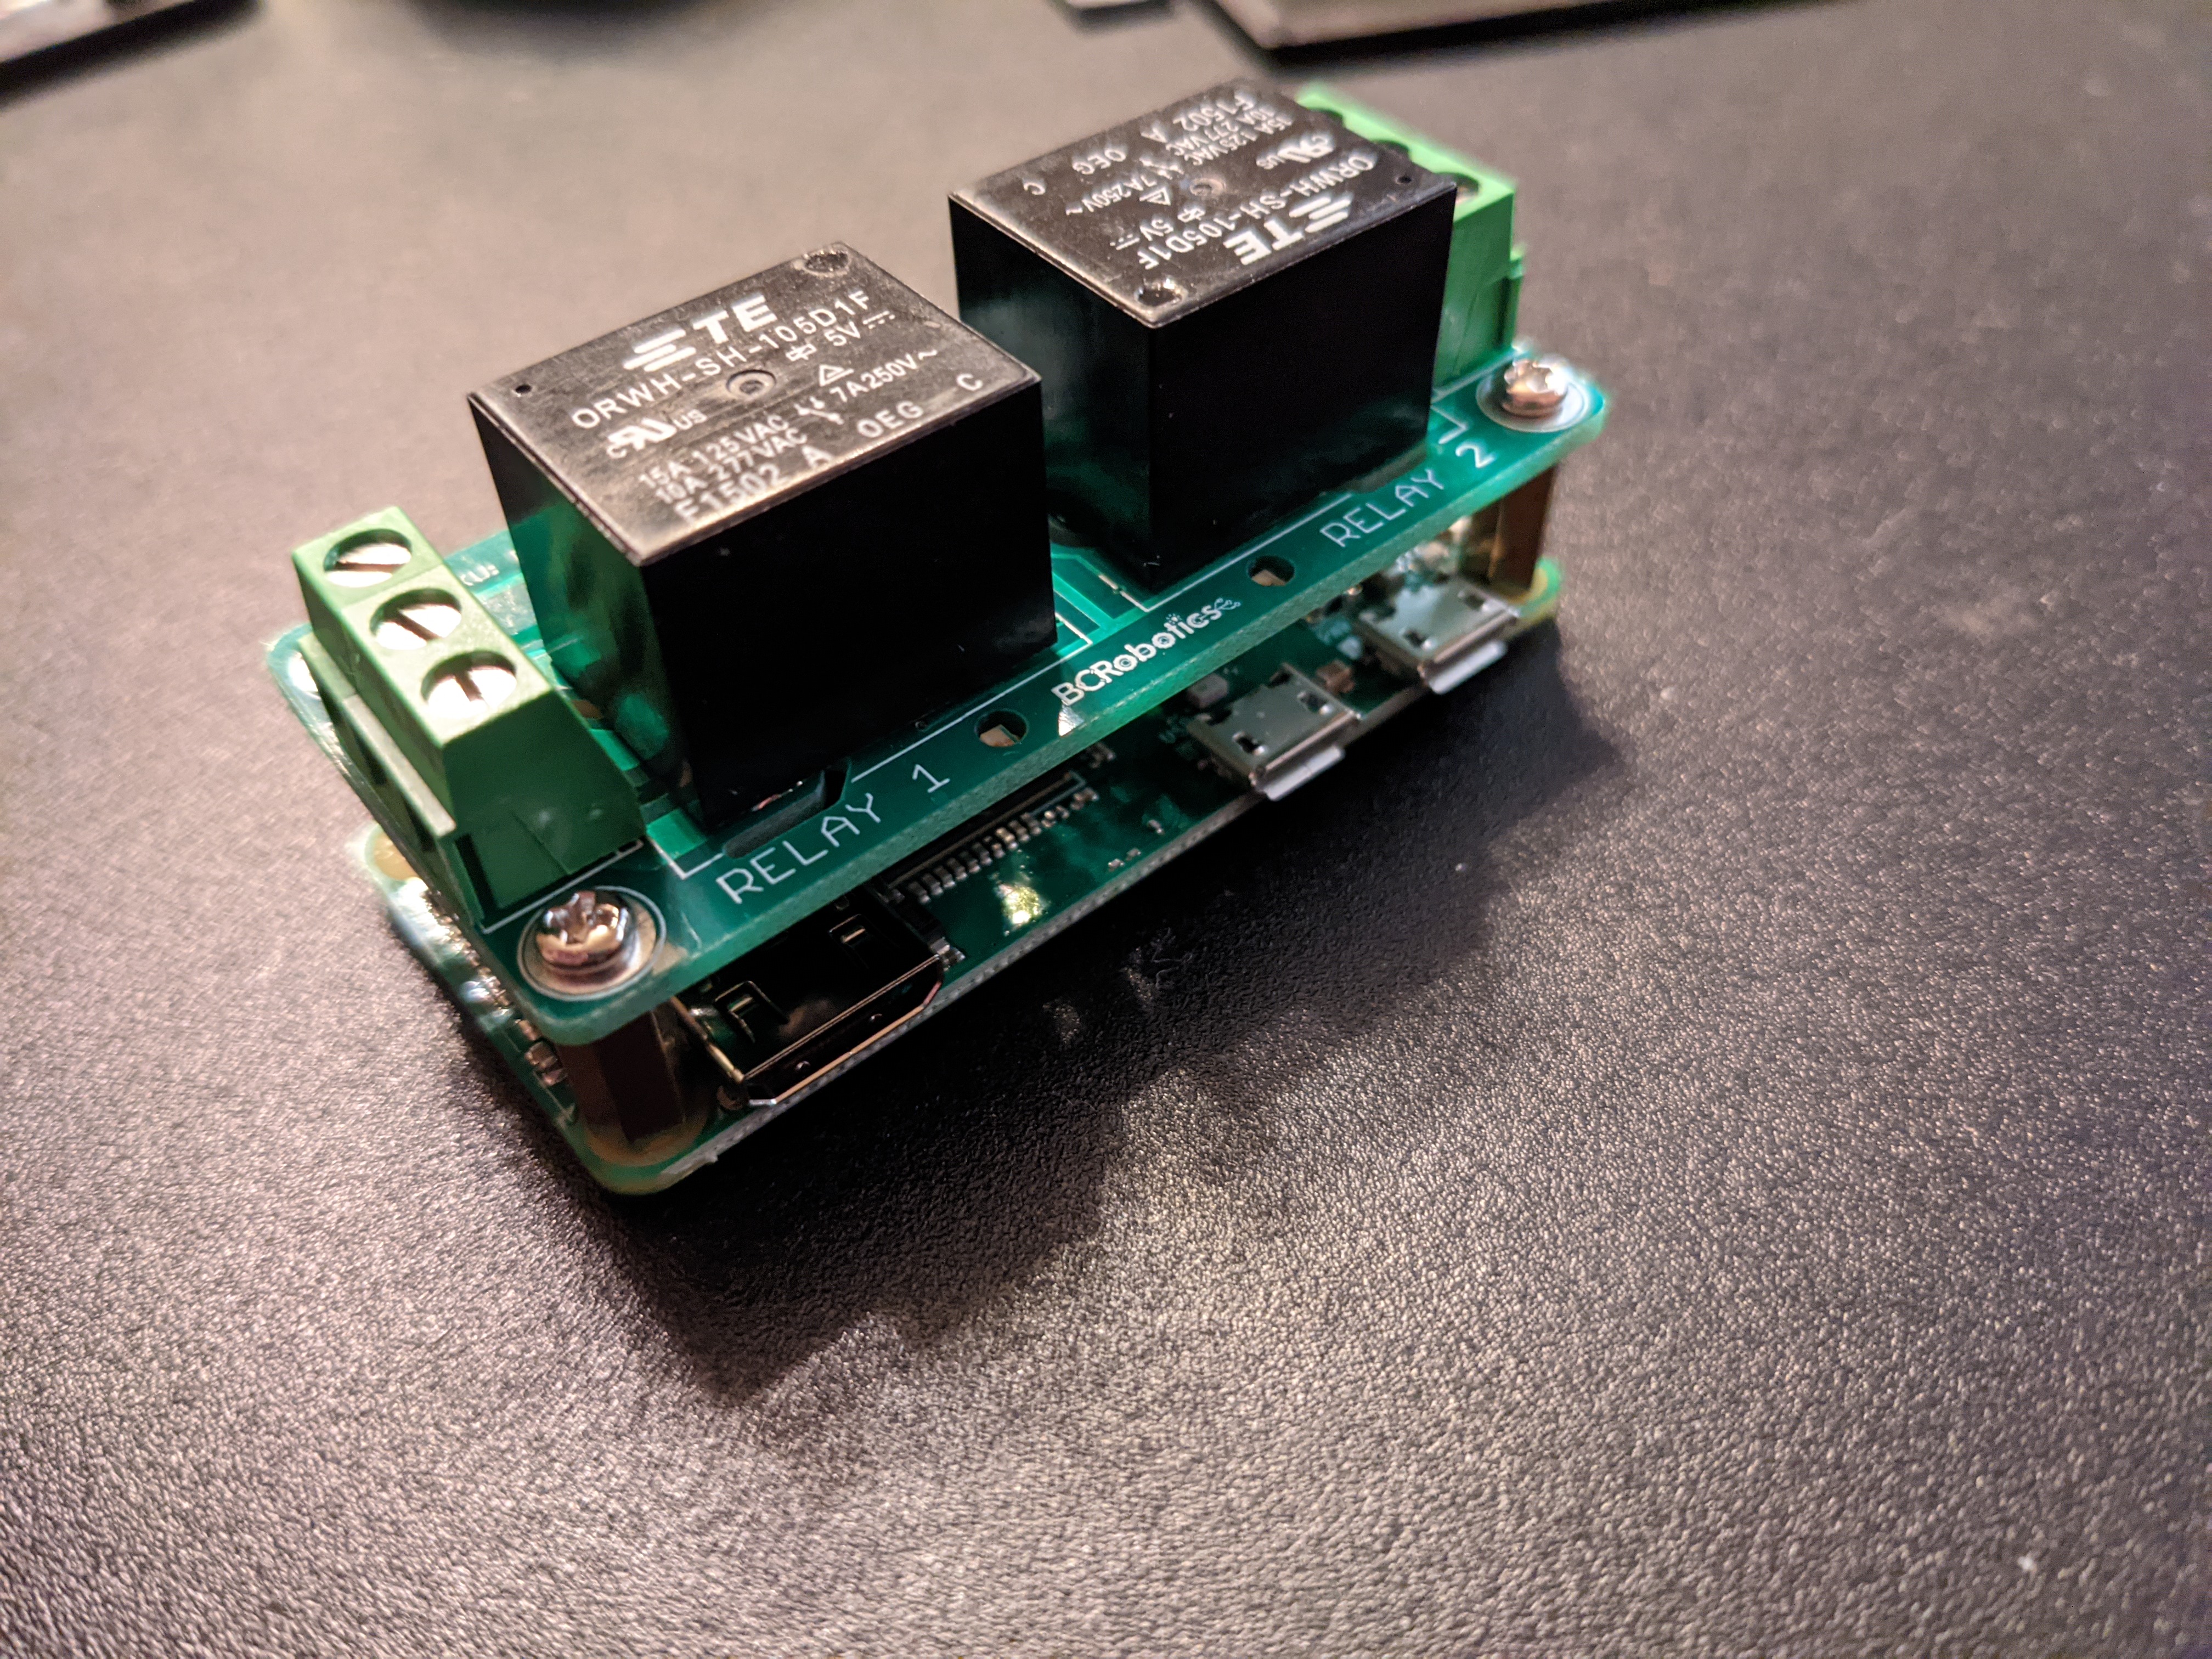
The BC Robotics Relay HAT provides two relays for controlling up to two single-button doors or one open/close-button door.
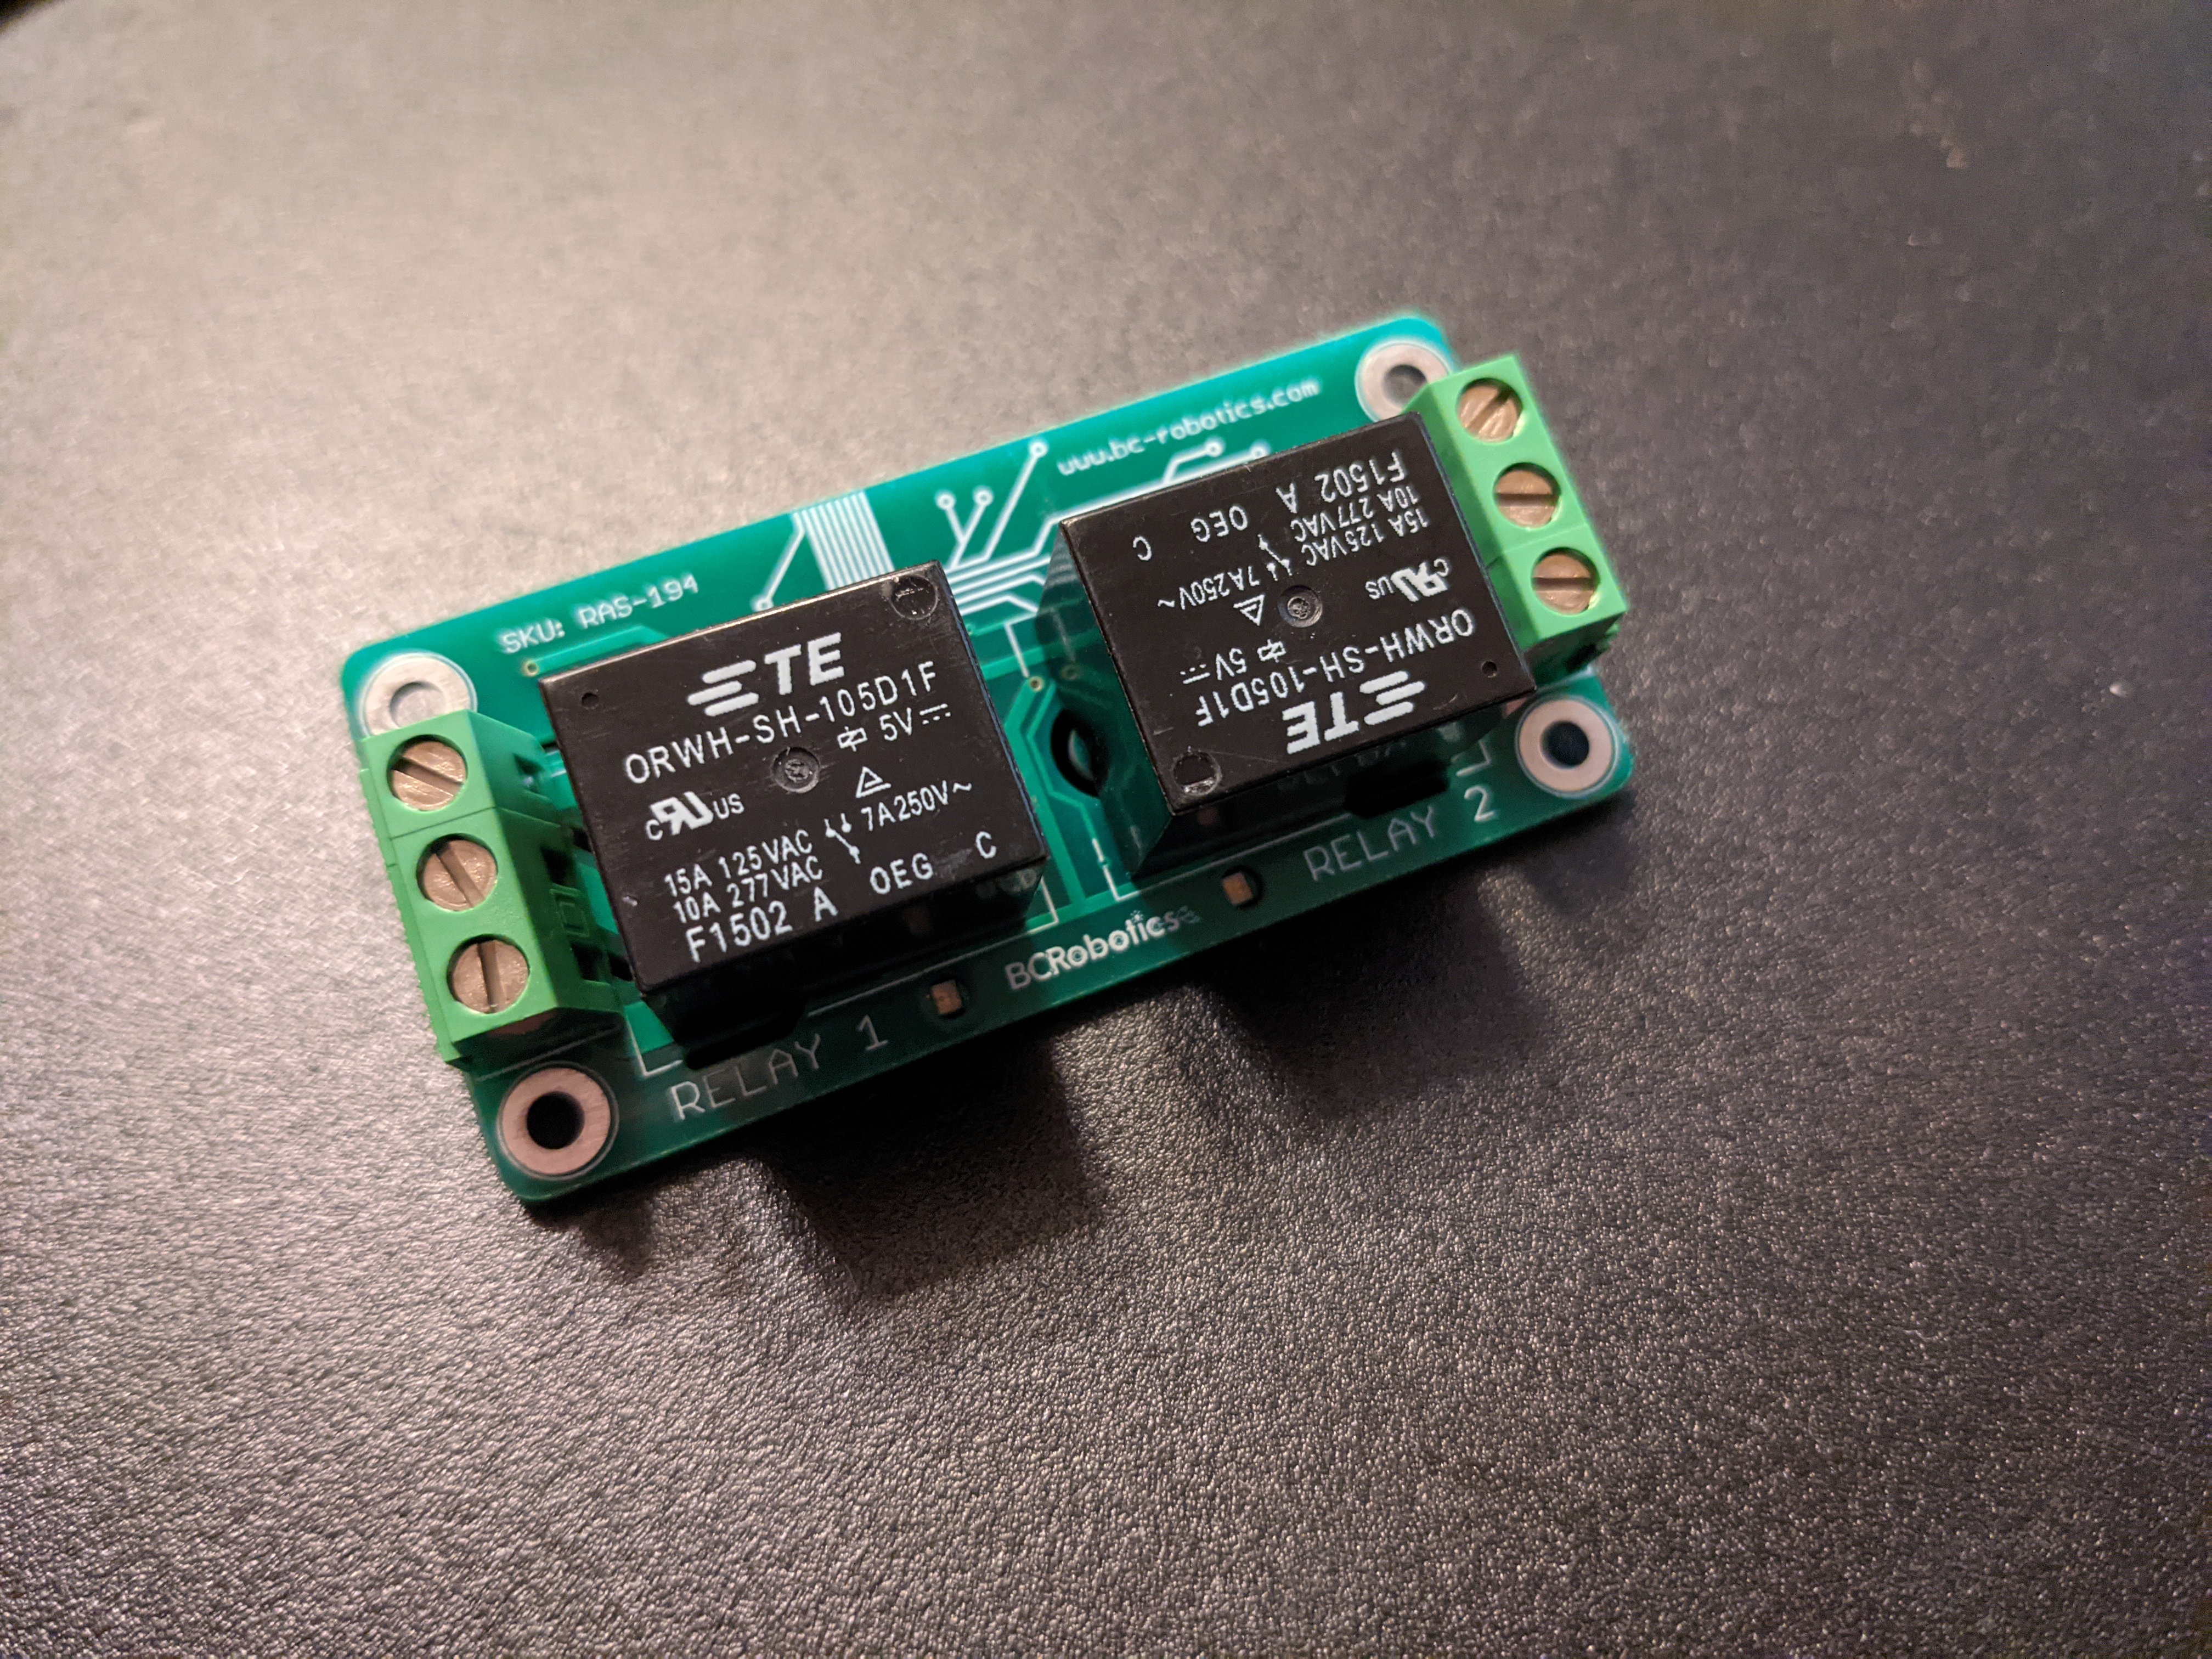
The HAT attaches to the Pi via a 40-pin connector. You can use either 11mm or 12mm standoffs on the opposite side to secure it in place.
Looking for alternative HATs?
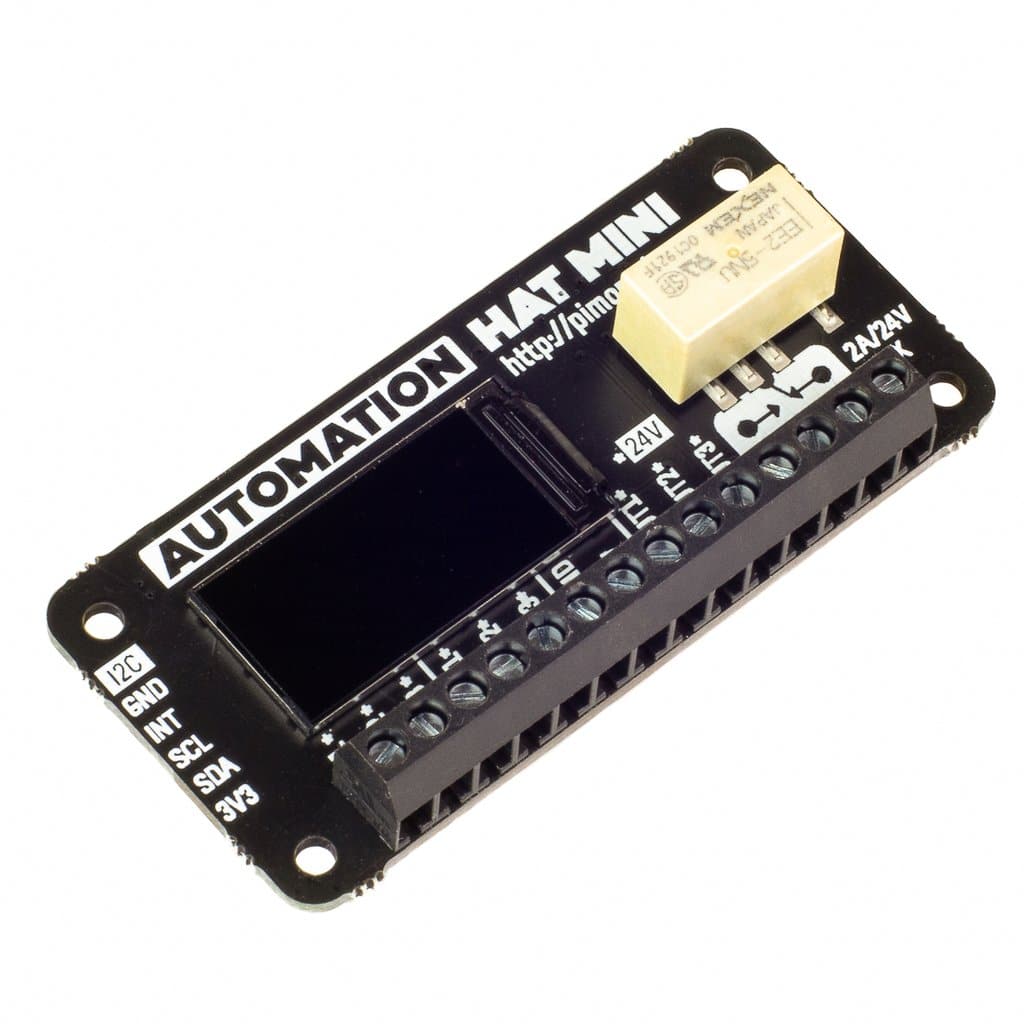
The Pimoroni Automation HAT mini provides only a single relay suitable for one single-button door.
The HAT attaches to the Pi via a 40-pin connector. You can use 10mm standoffs on the opposite side to secure it in place.
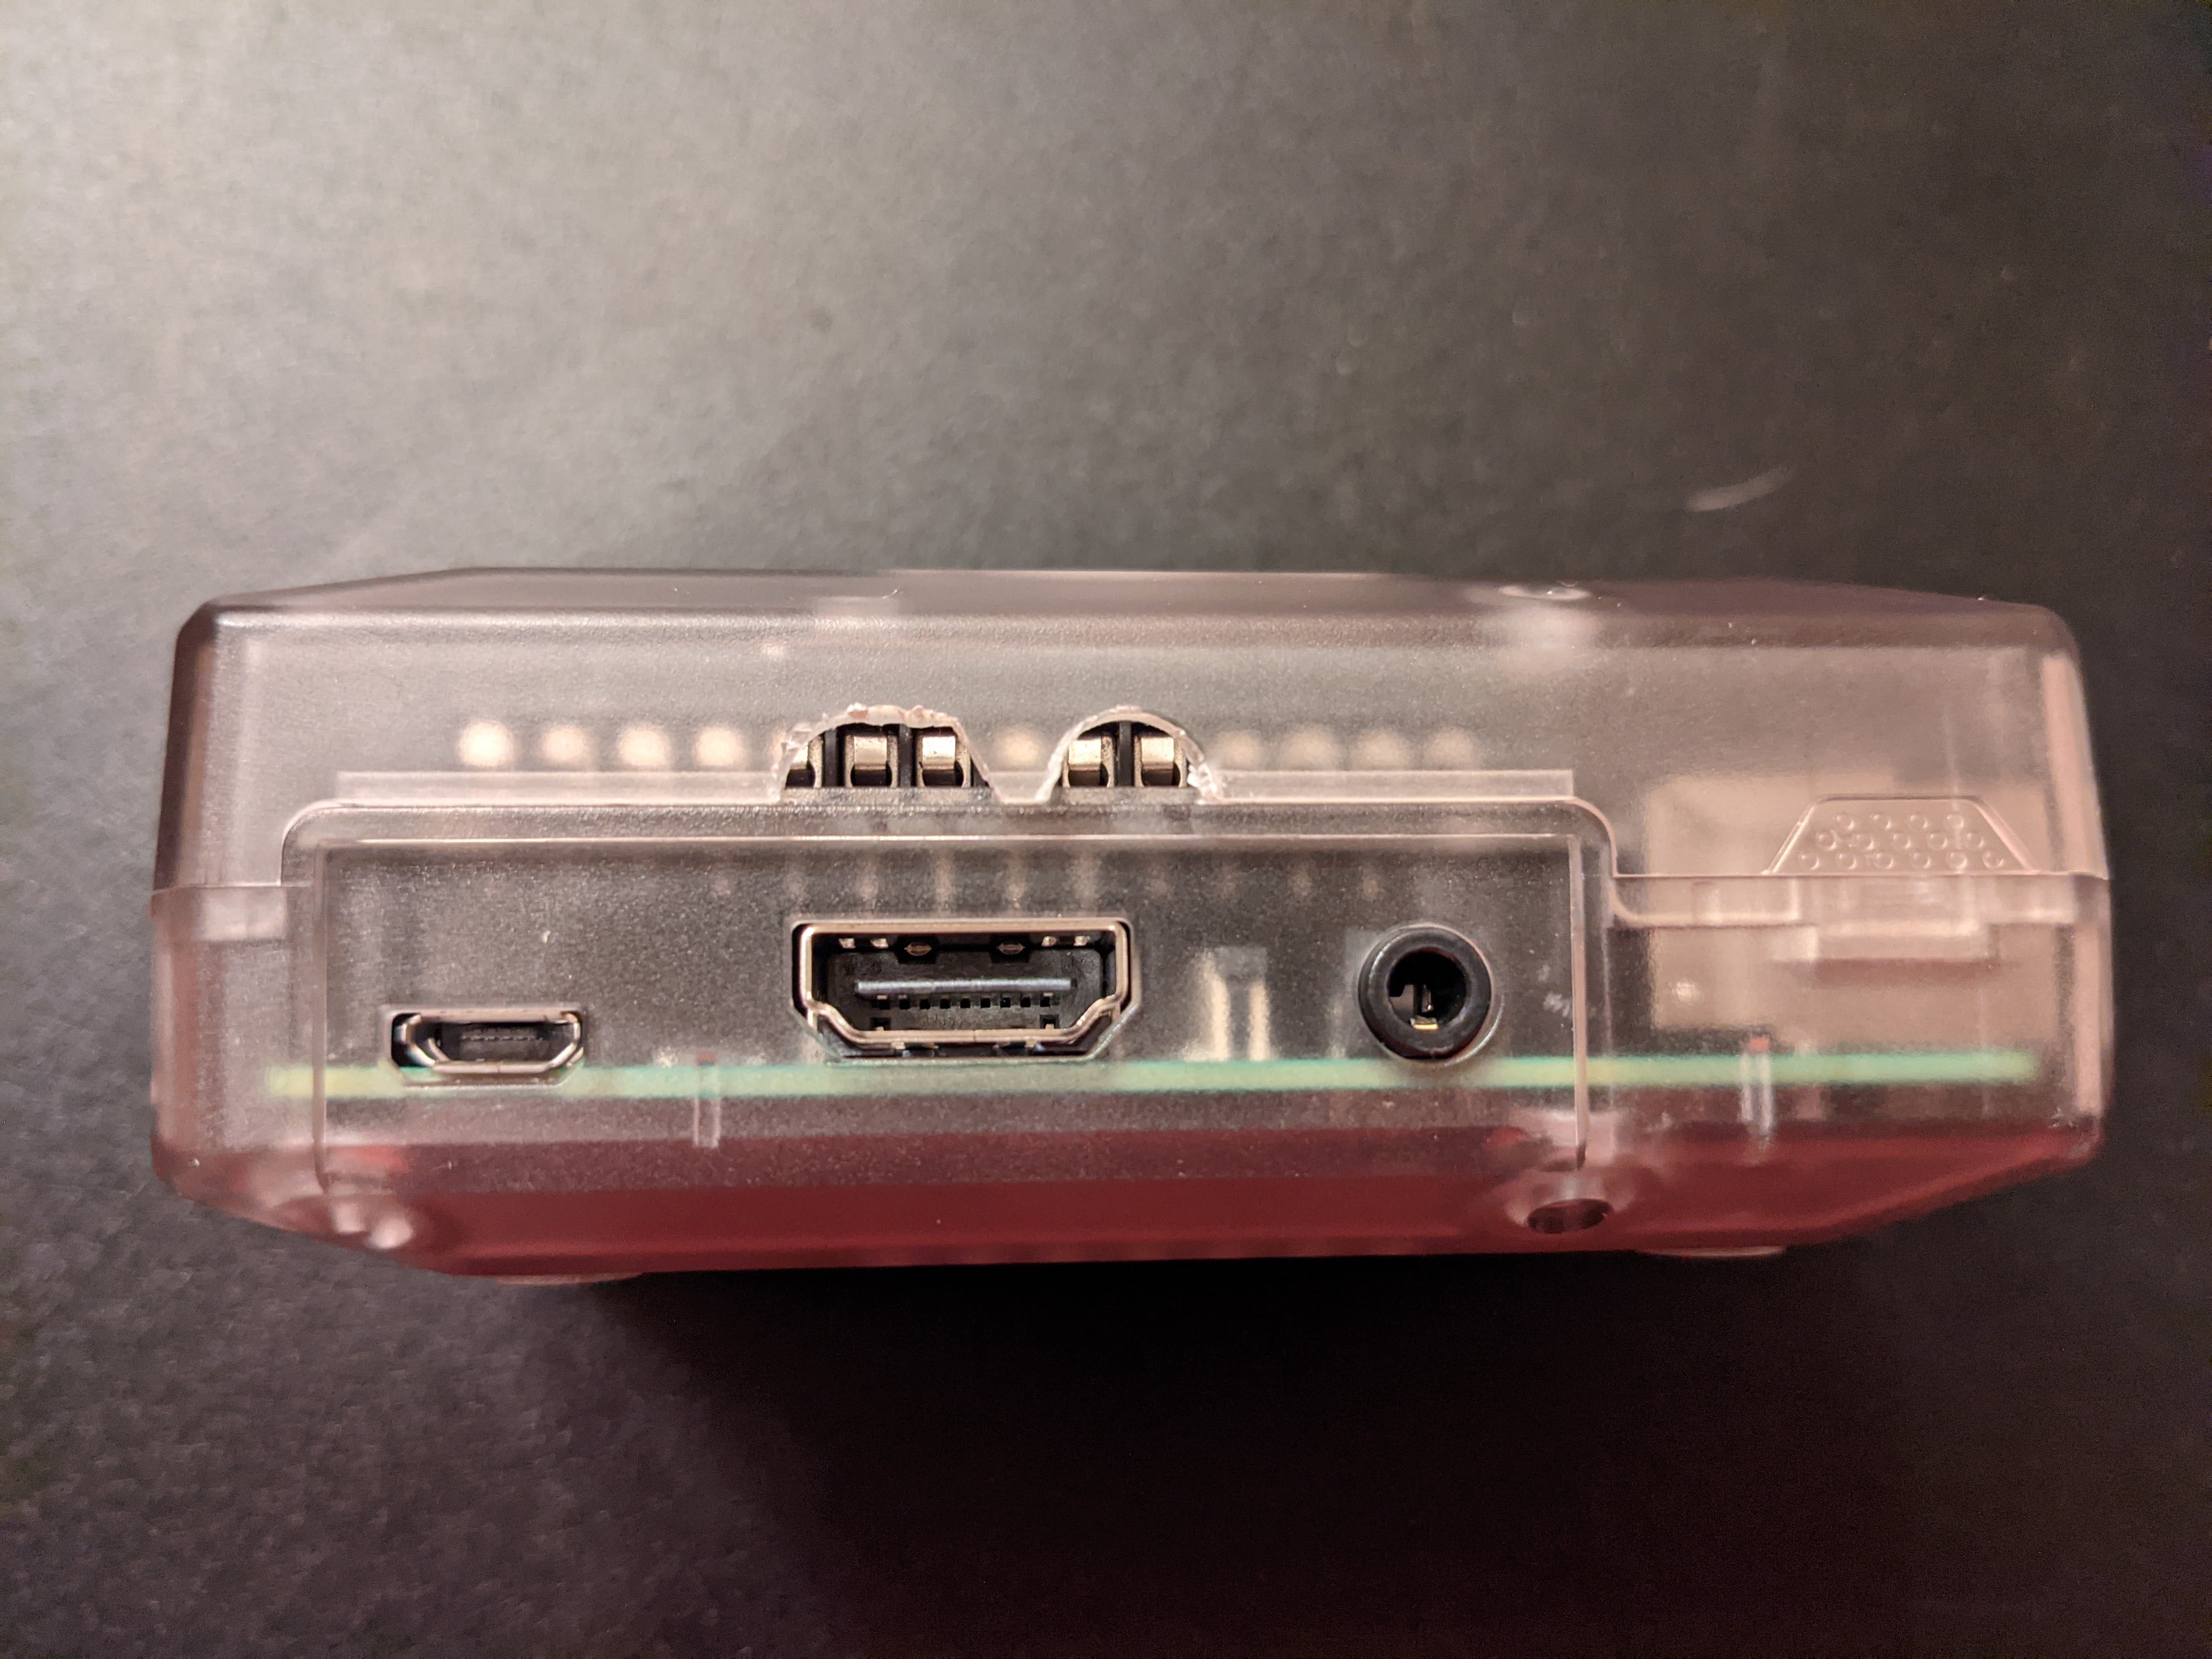
The UniPiCase Zero (Tall) is tall enough to fit the HAT although it will require minor modification to work.
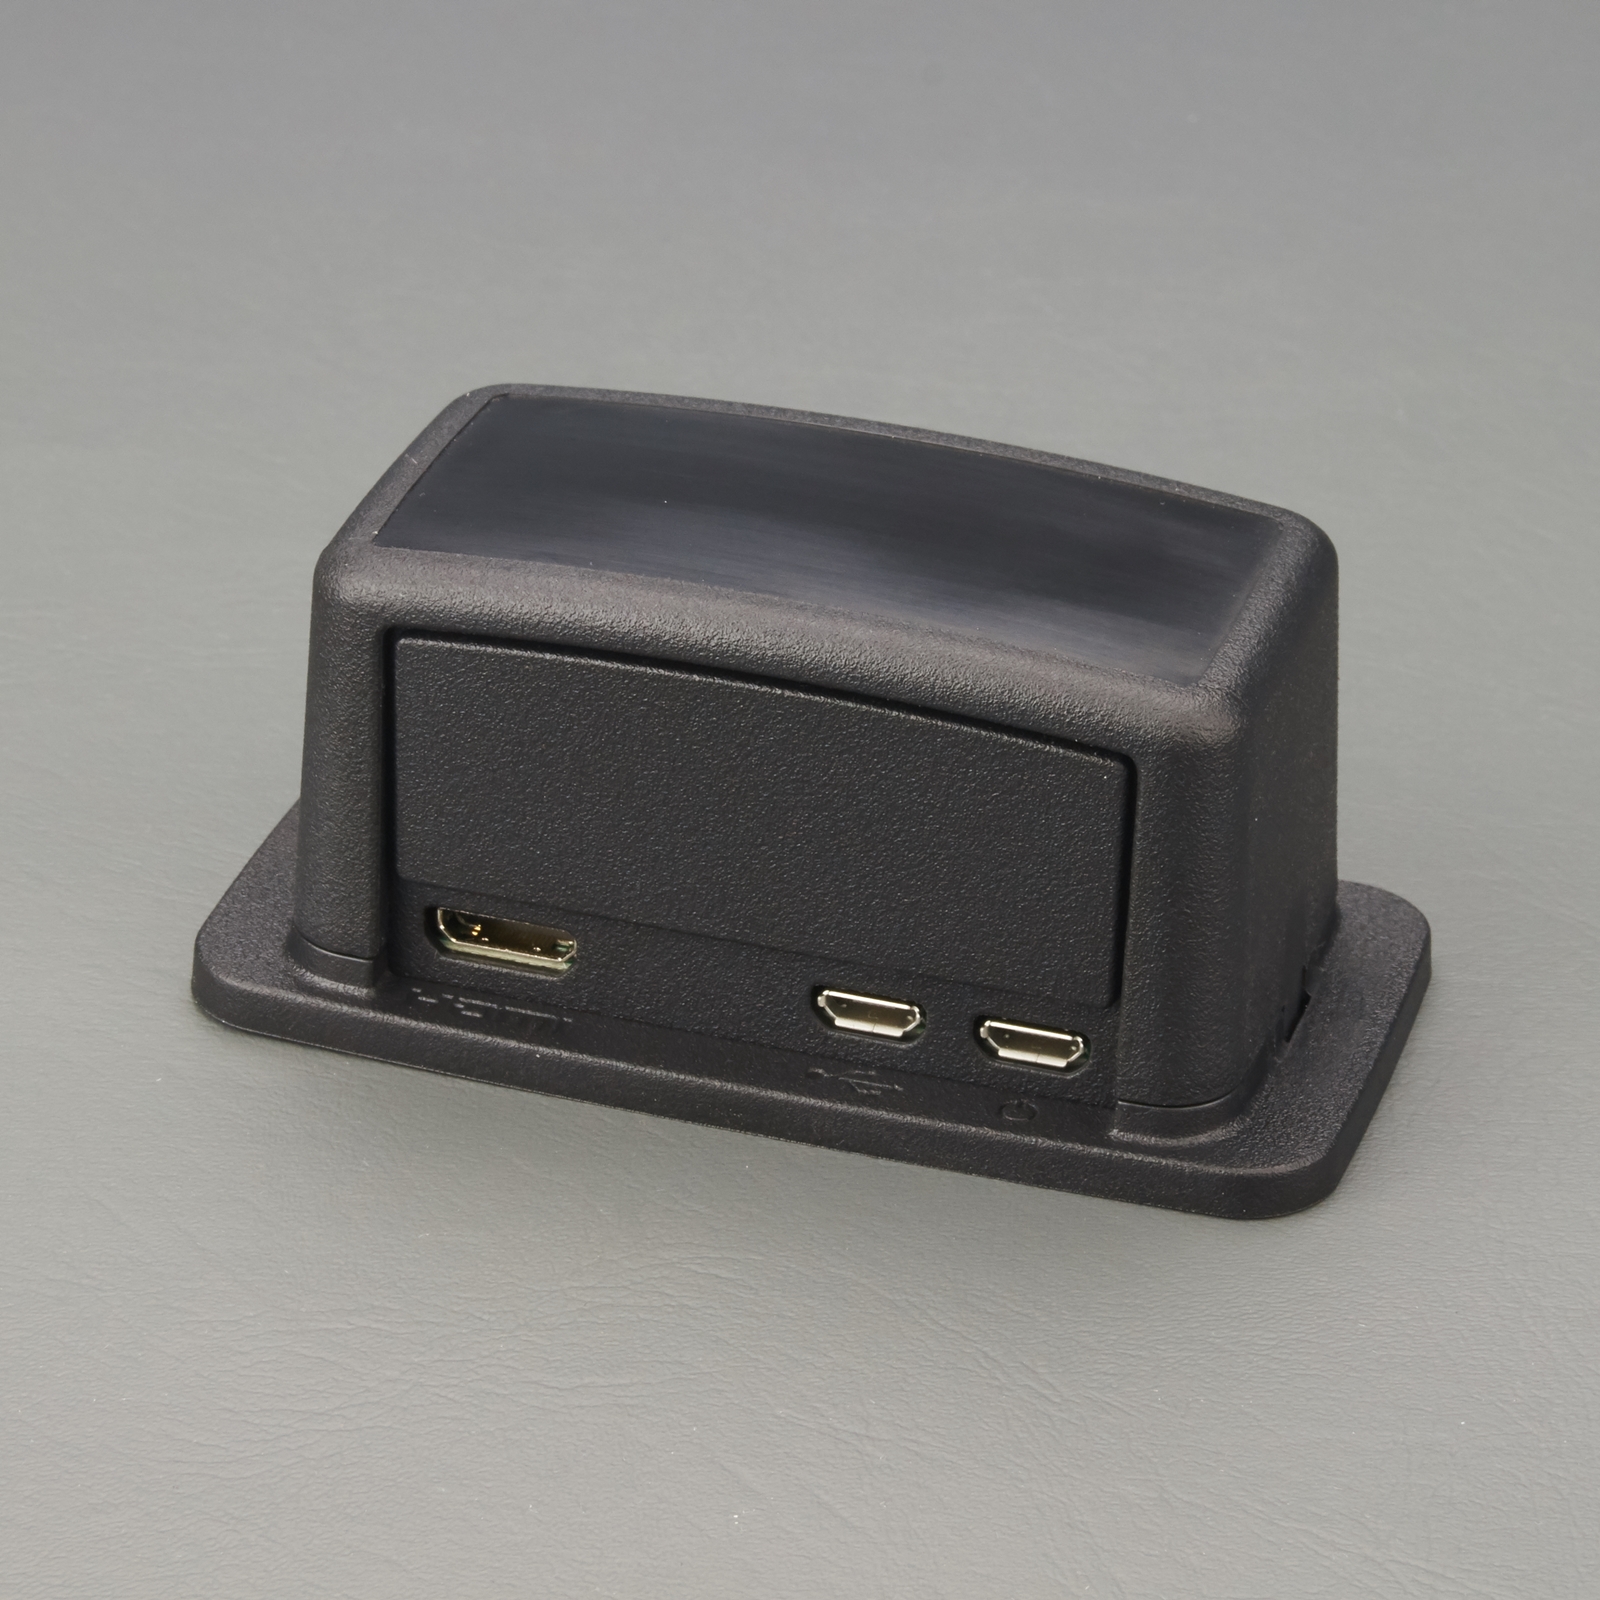
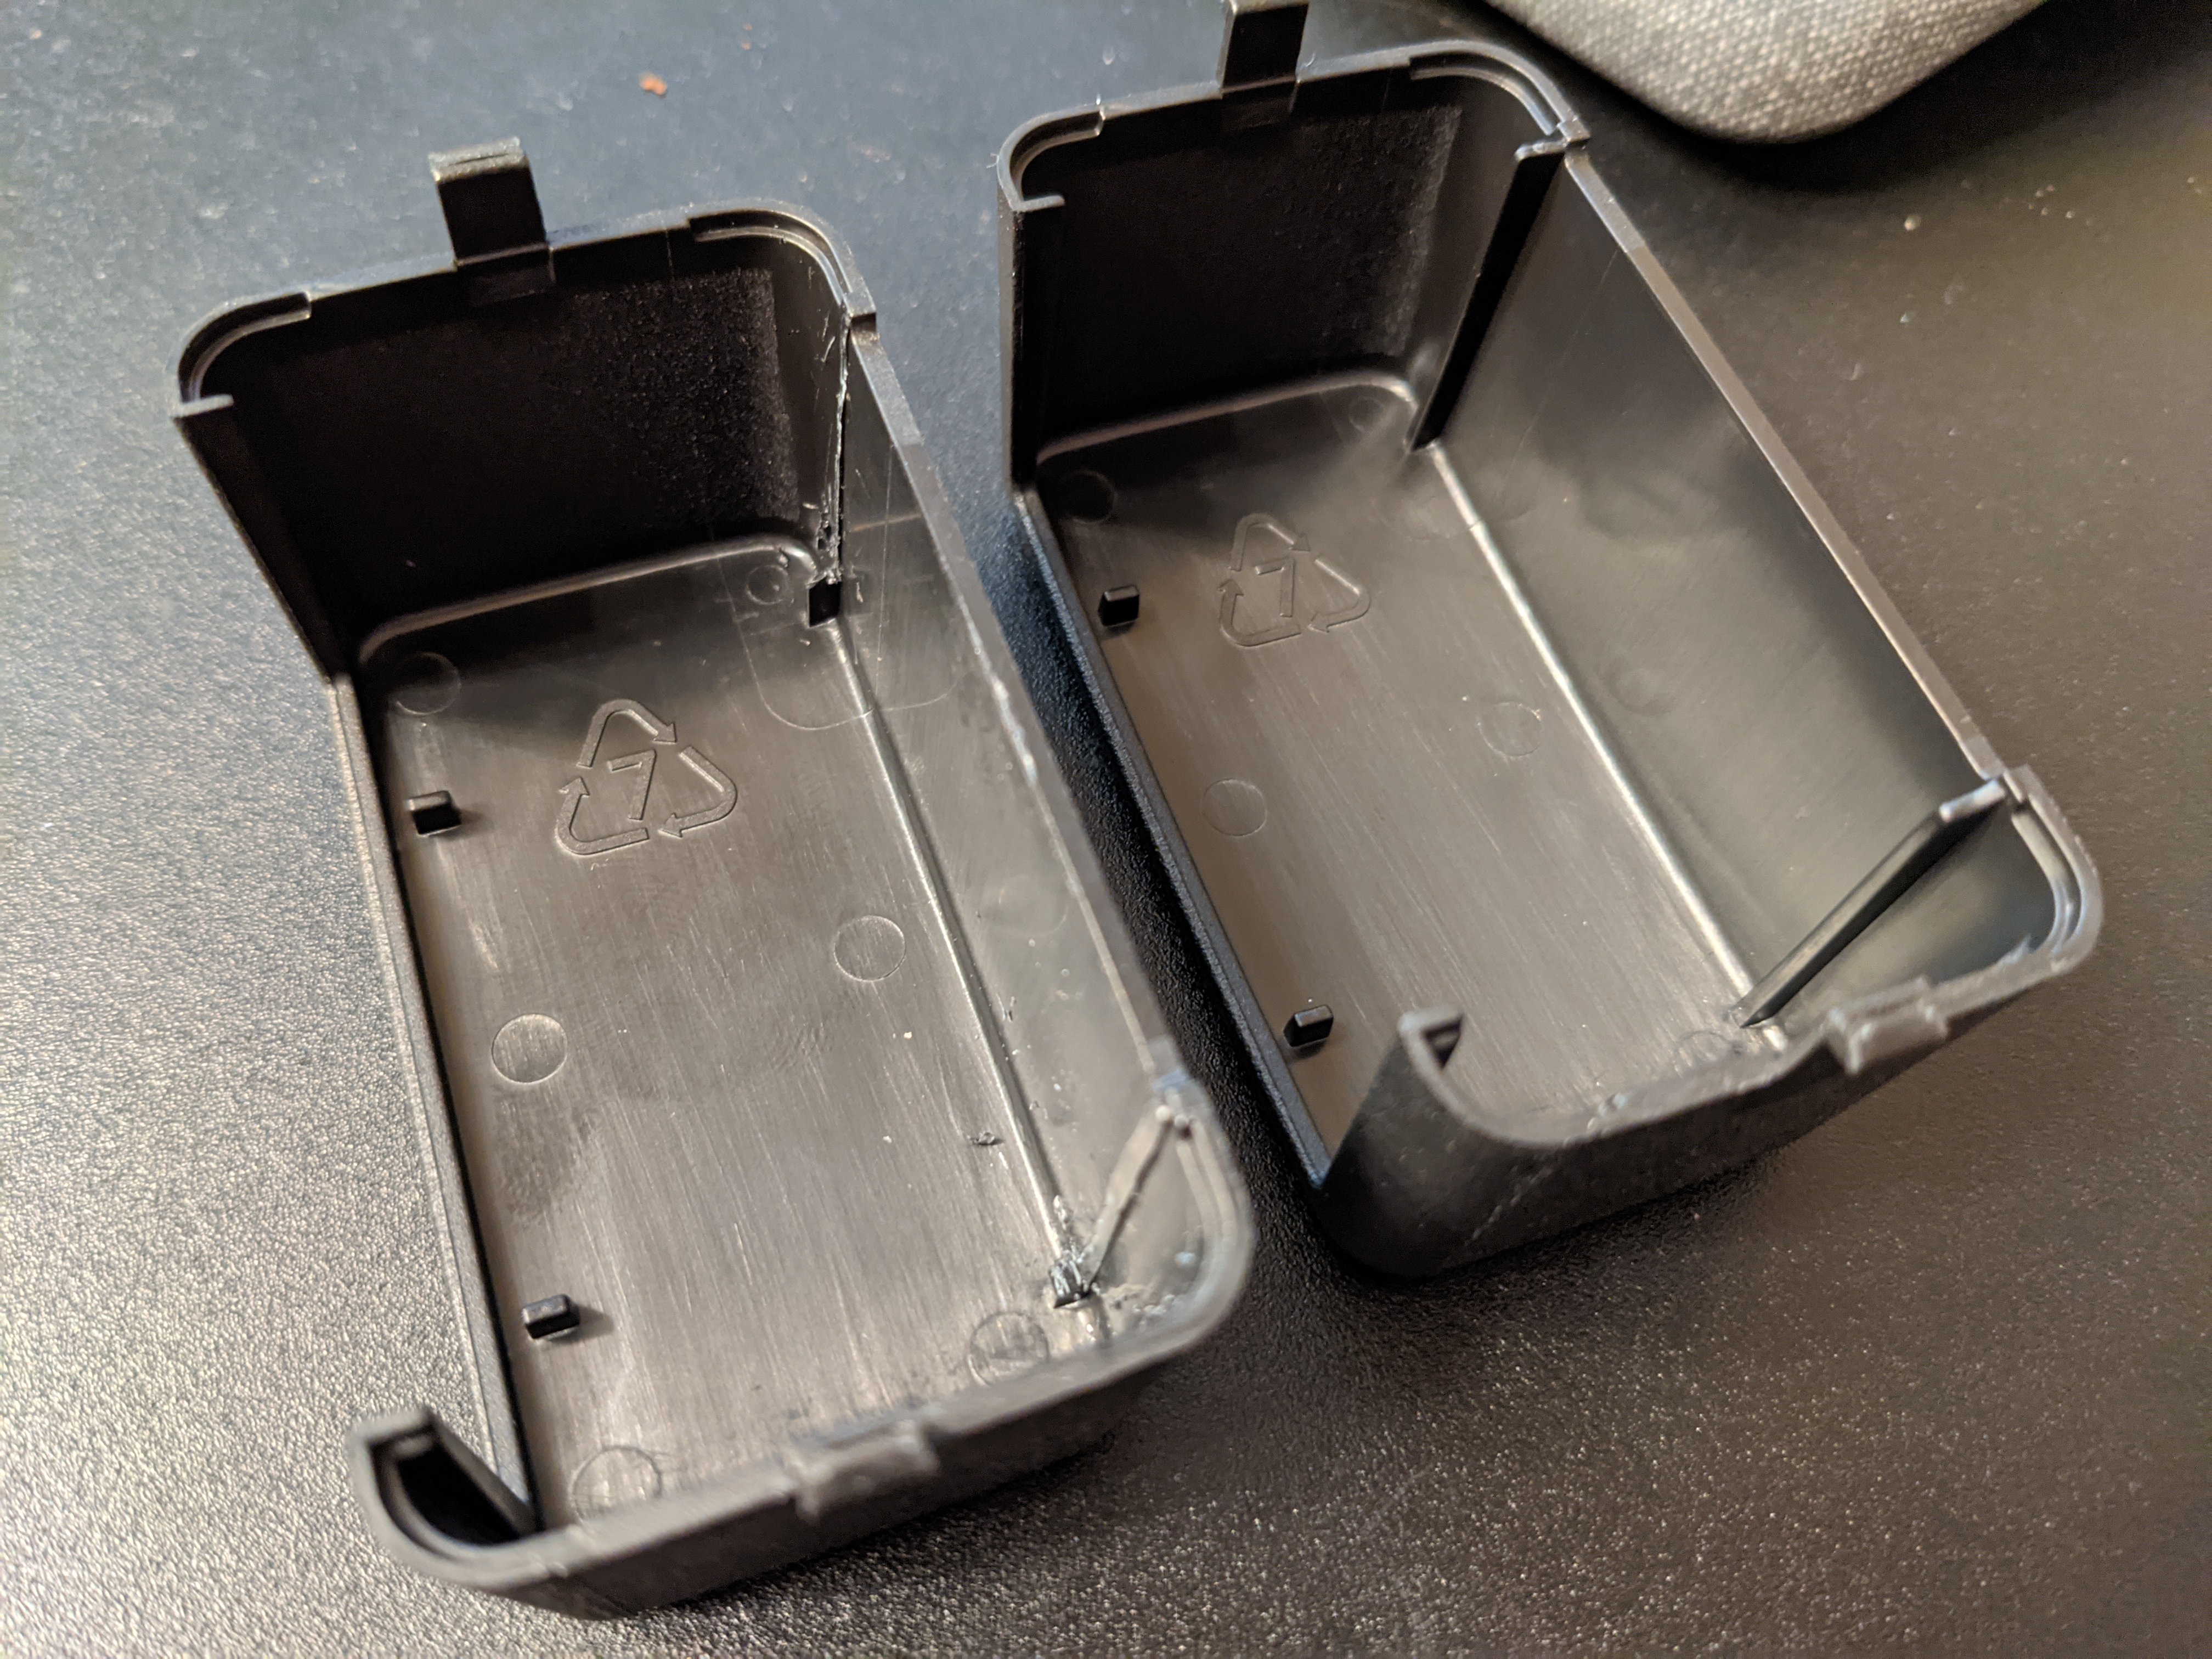
The case top features two structural pieces of plastic that must be shaved down in order to accommodate the HAT.
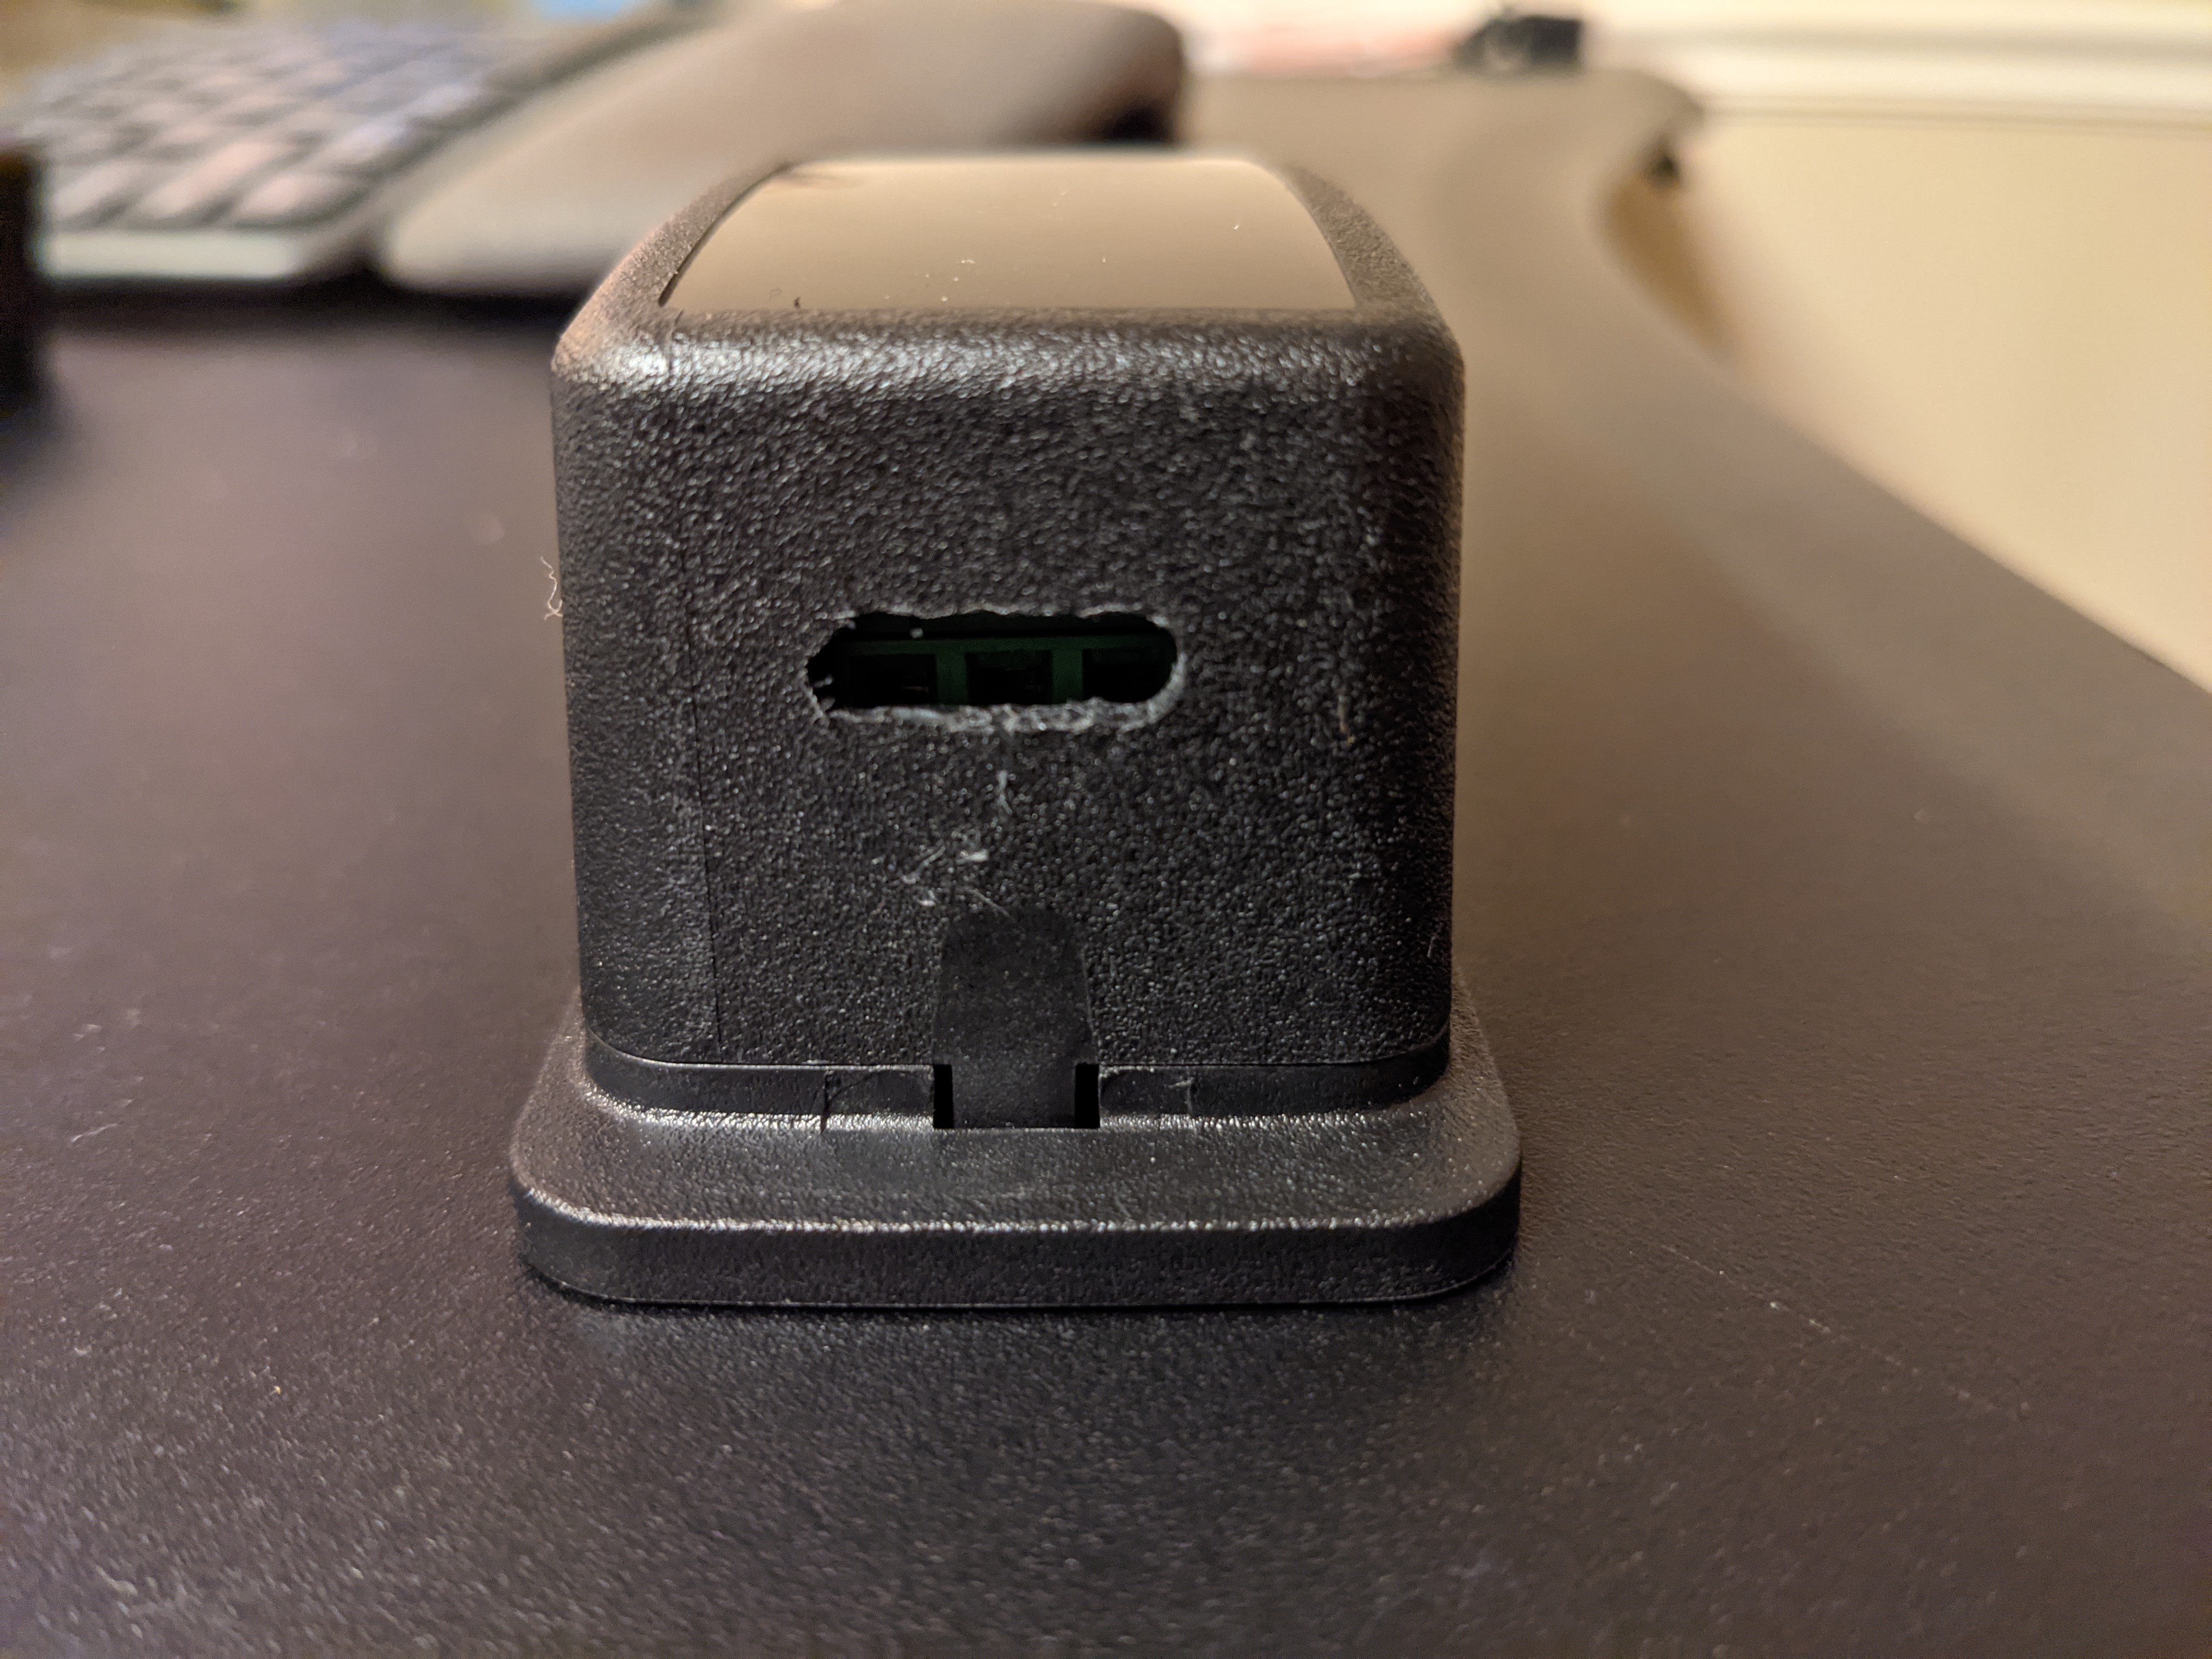
A dedicated opening will need drilled through the case near the terminal(s) to accommodate the garage door wire.
Attach the wire to the relays. You should use the "Common" (COM) and "Normally Open" (NO) terminals (despite the name of the project) since triggering the button should temporarily close the circuit.
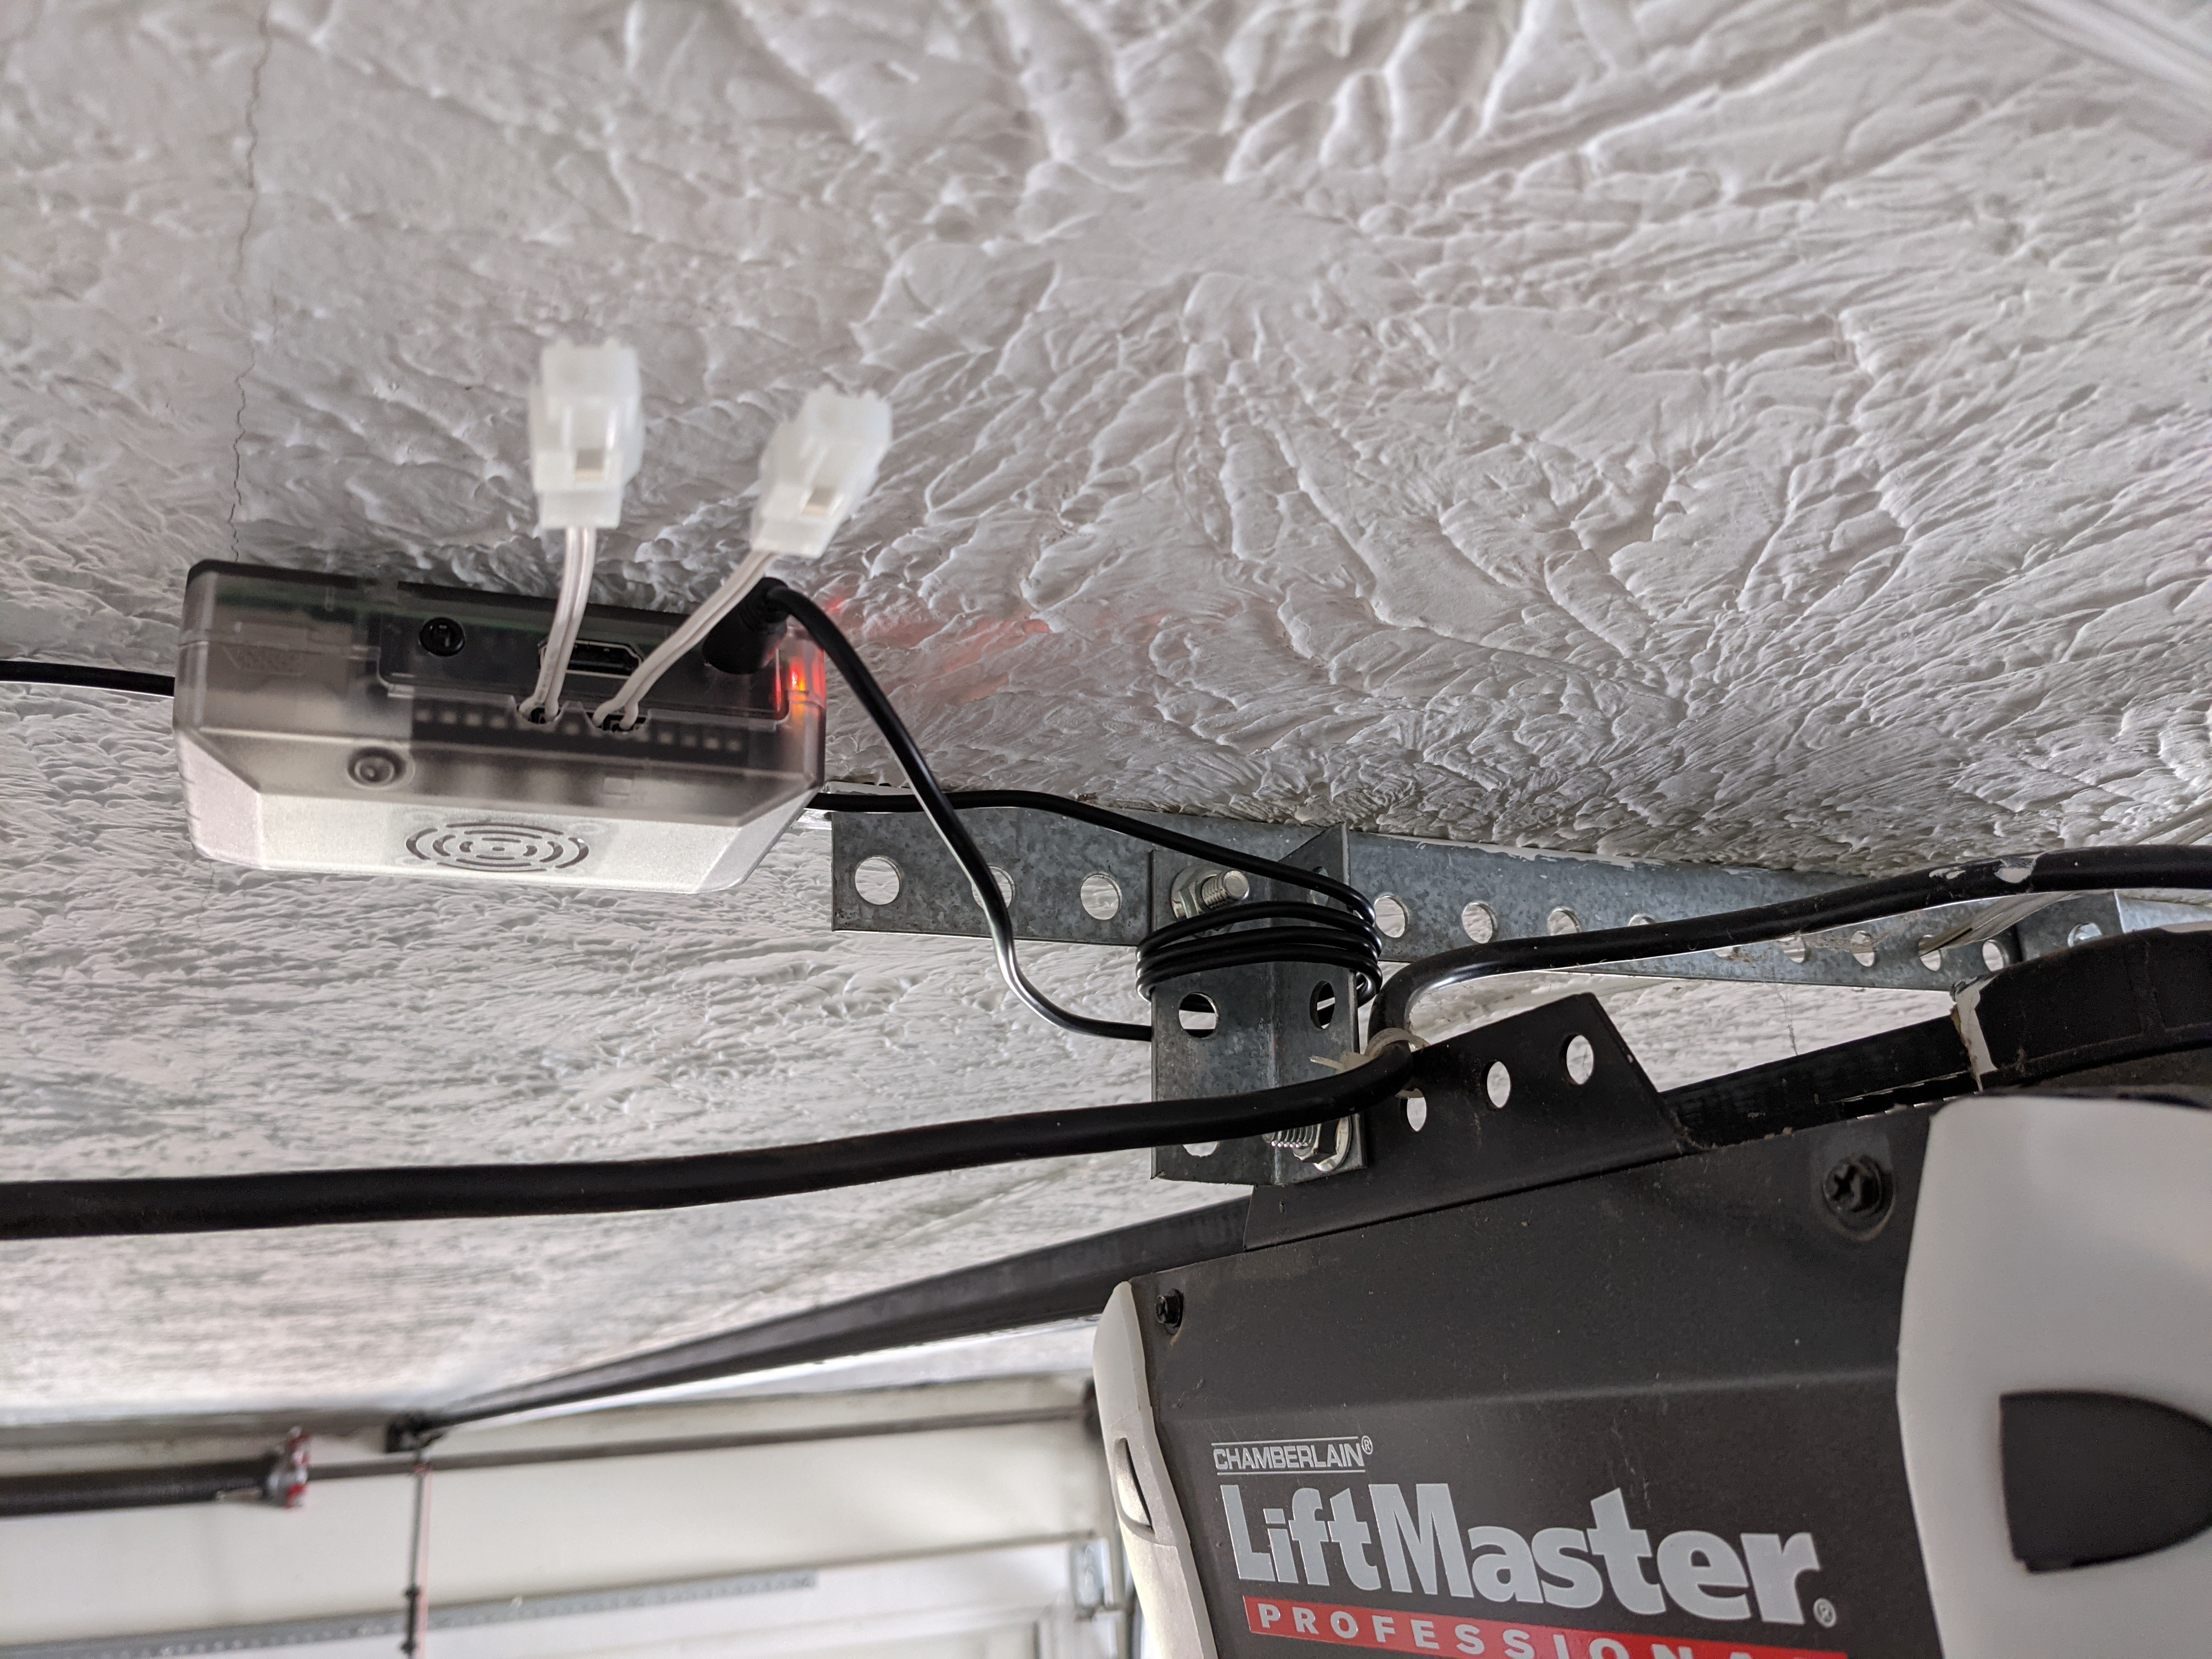
The case does not have mounting holes. The assembly is light enough that poster-mounting squares or other double-sided adhesive could be used. I sank two screws below and one above the case to secure it.
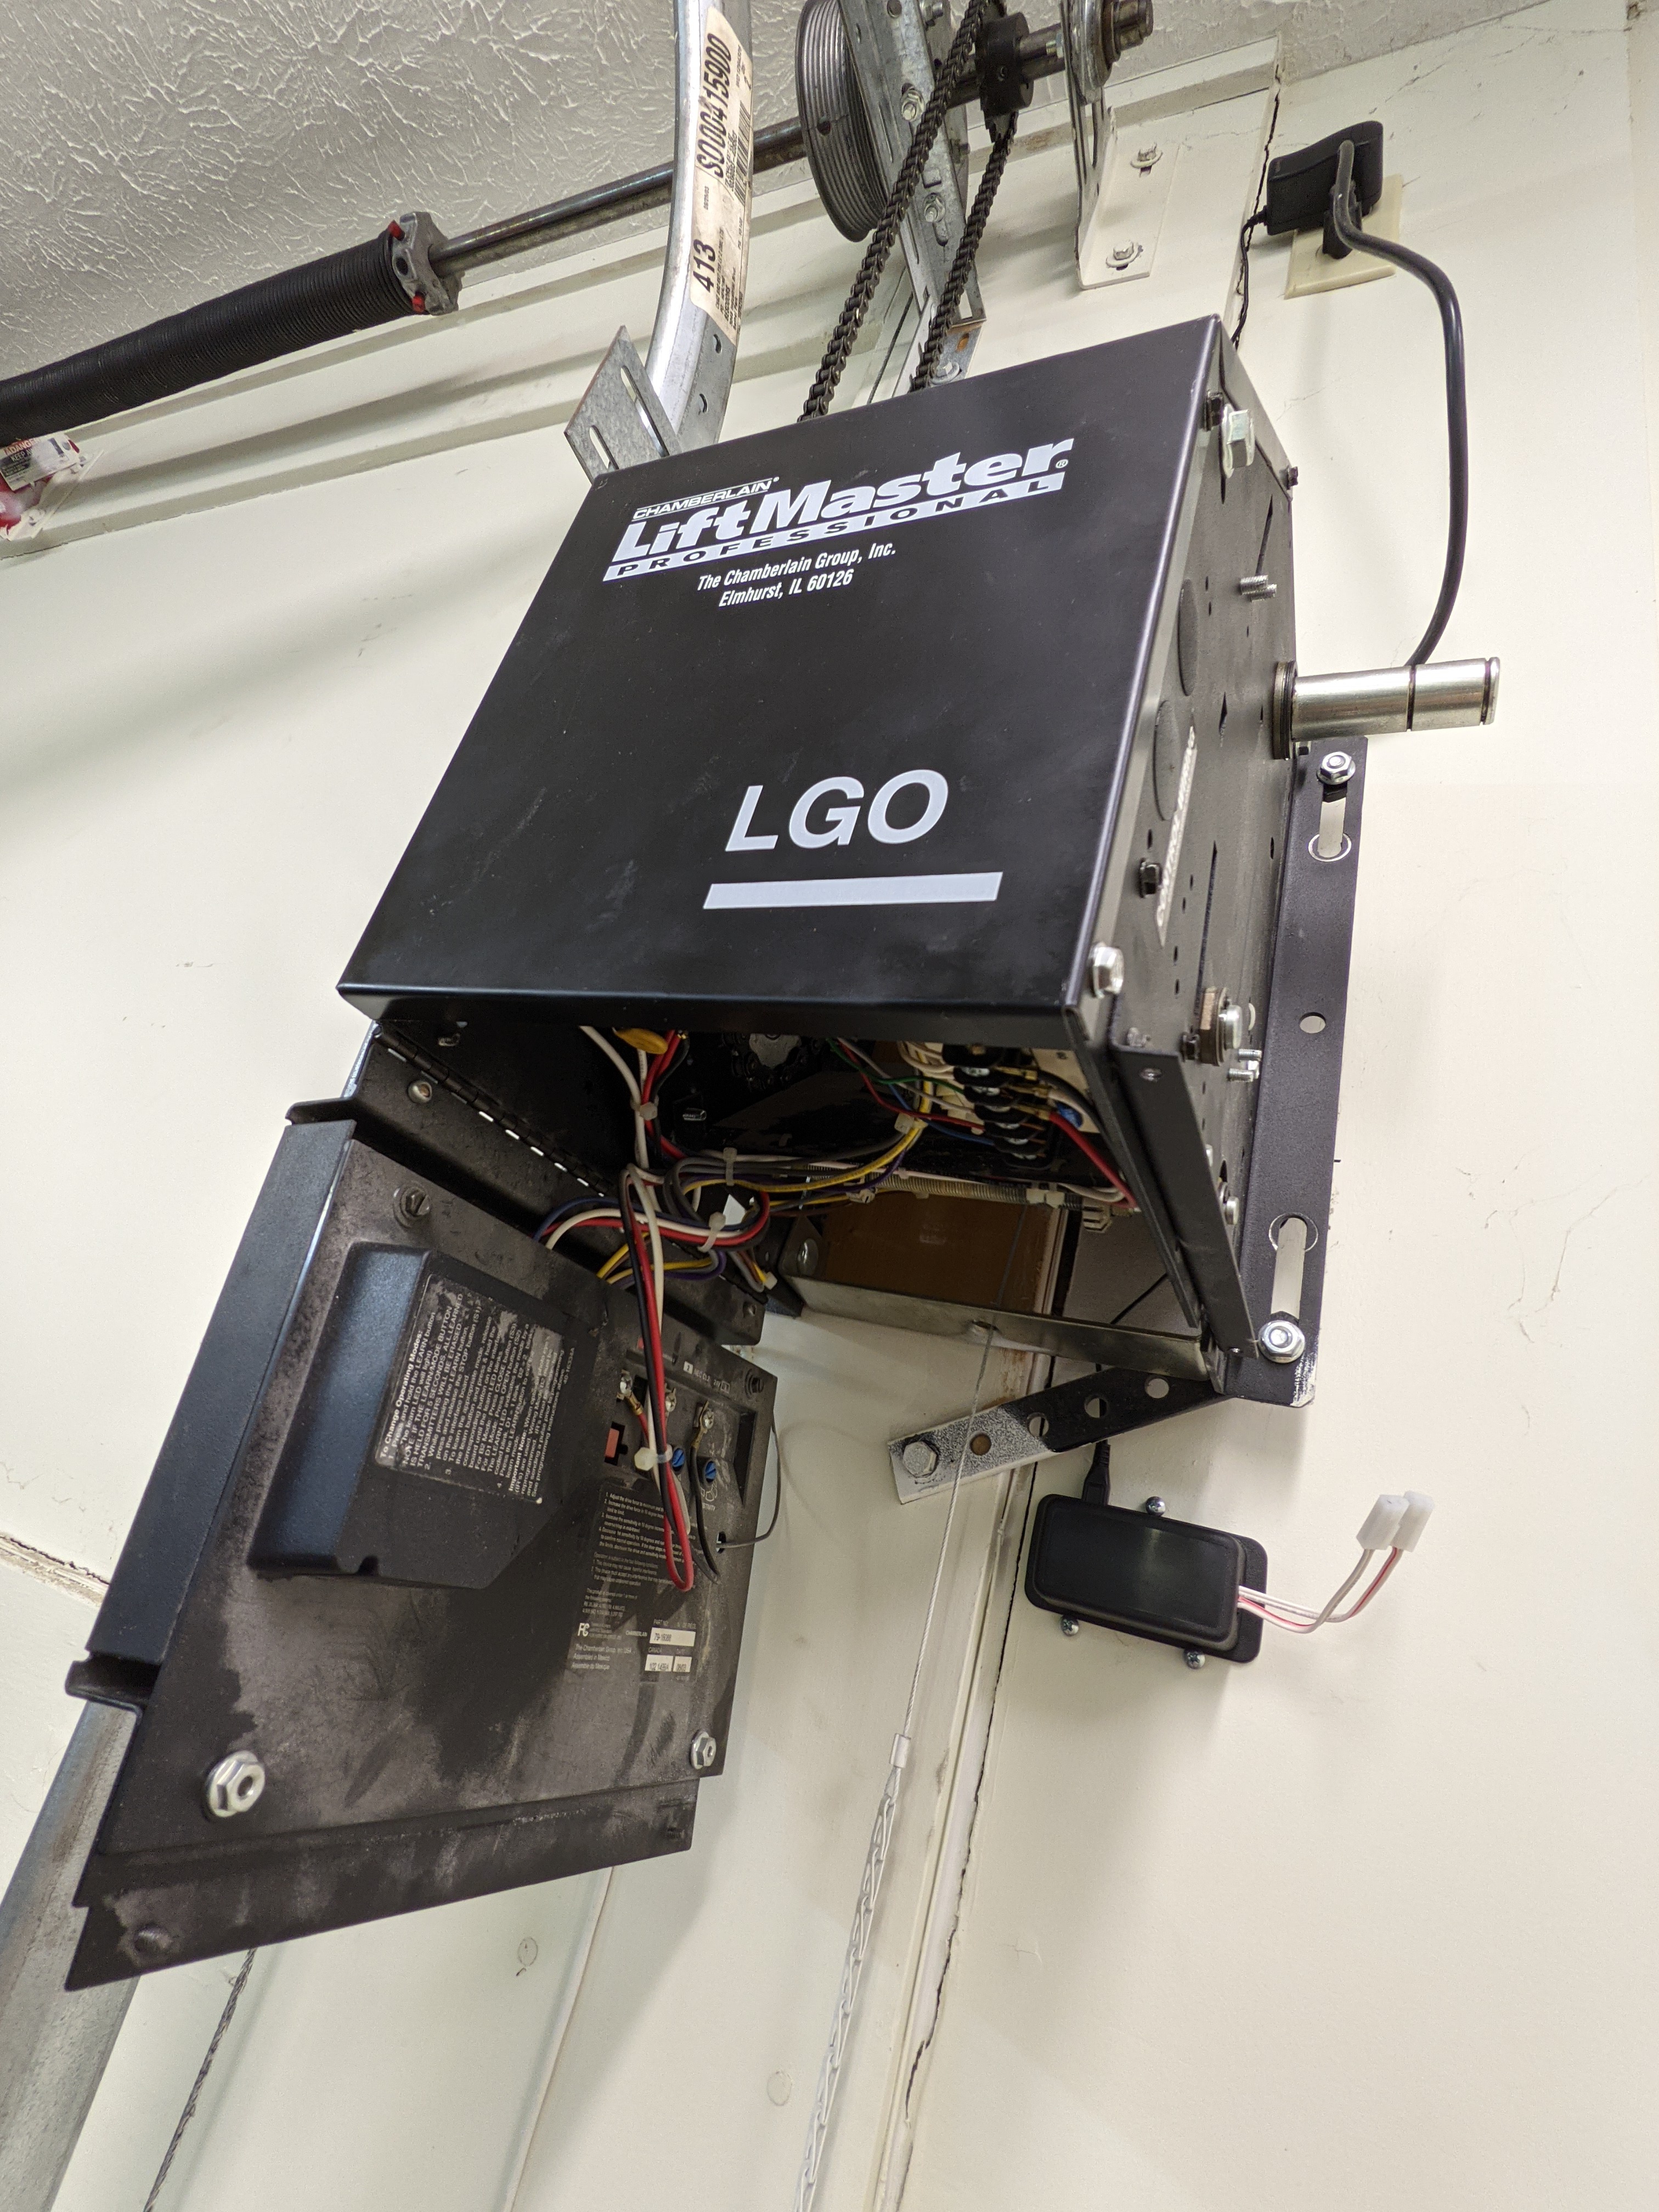
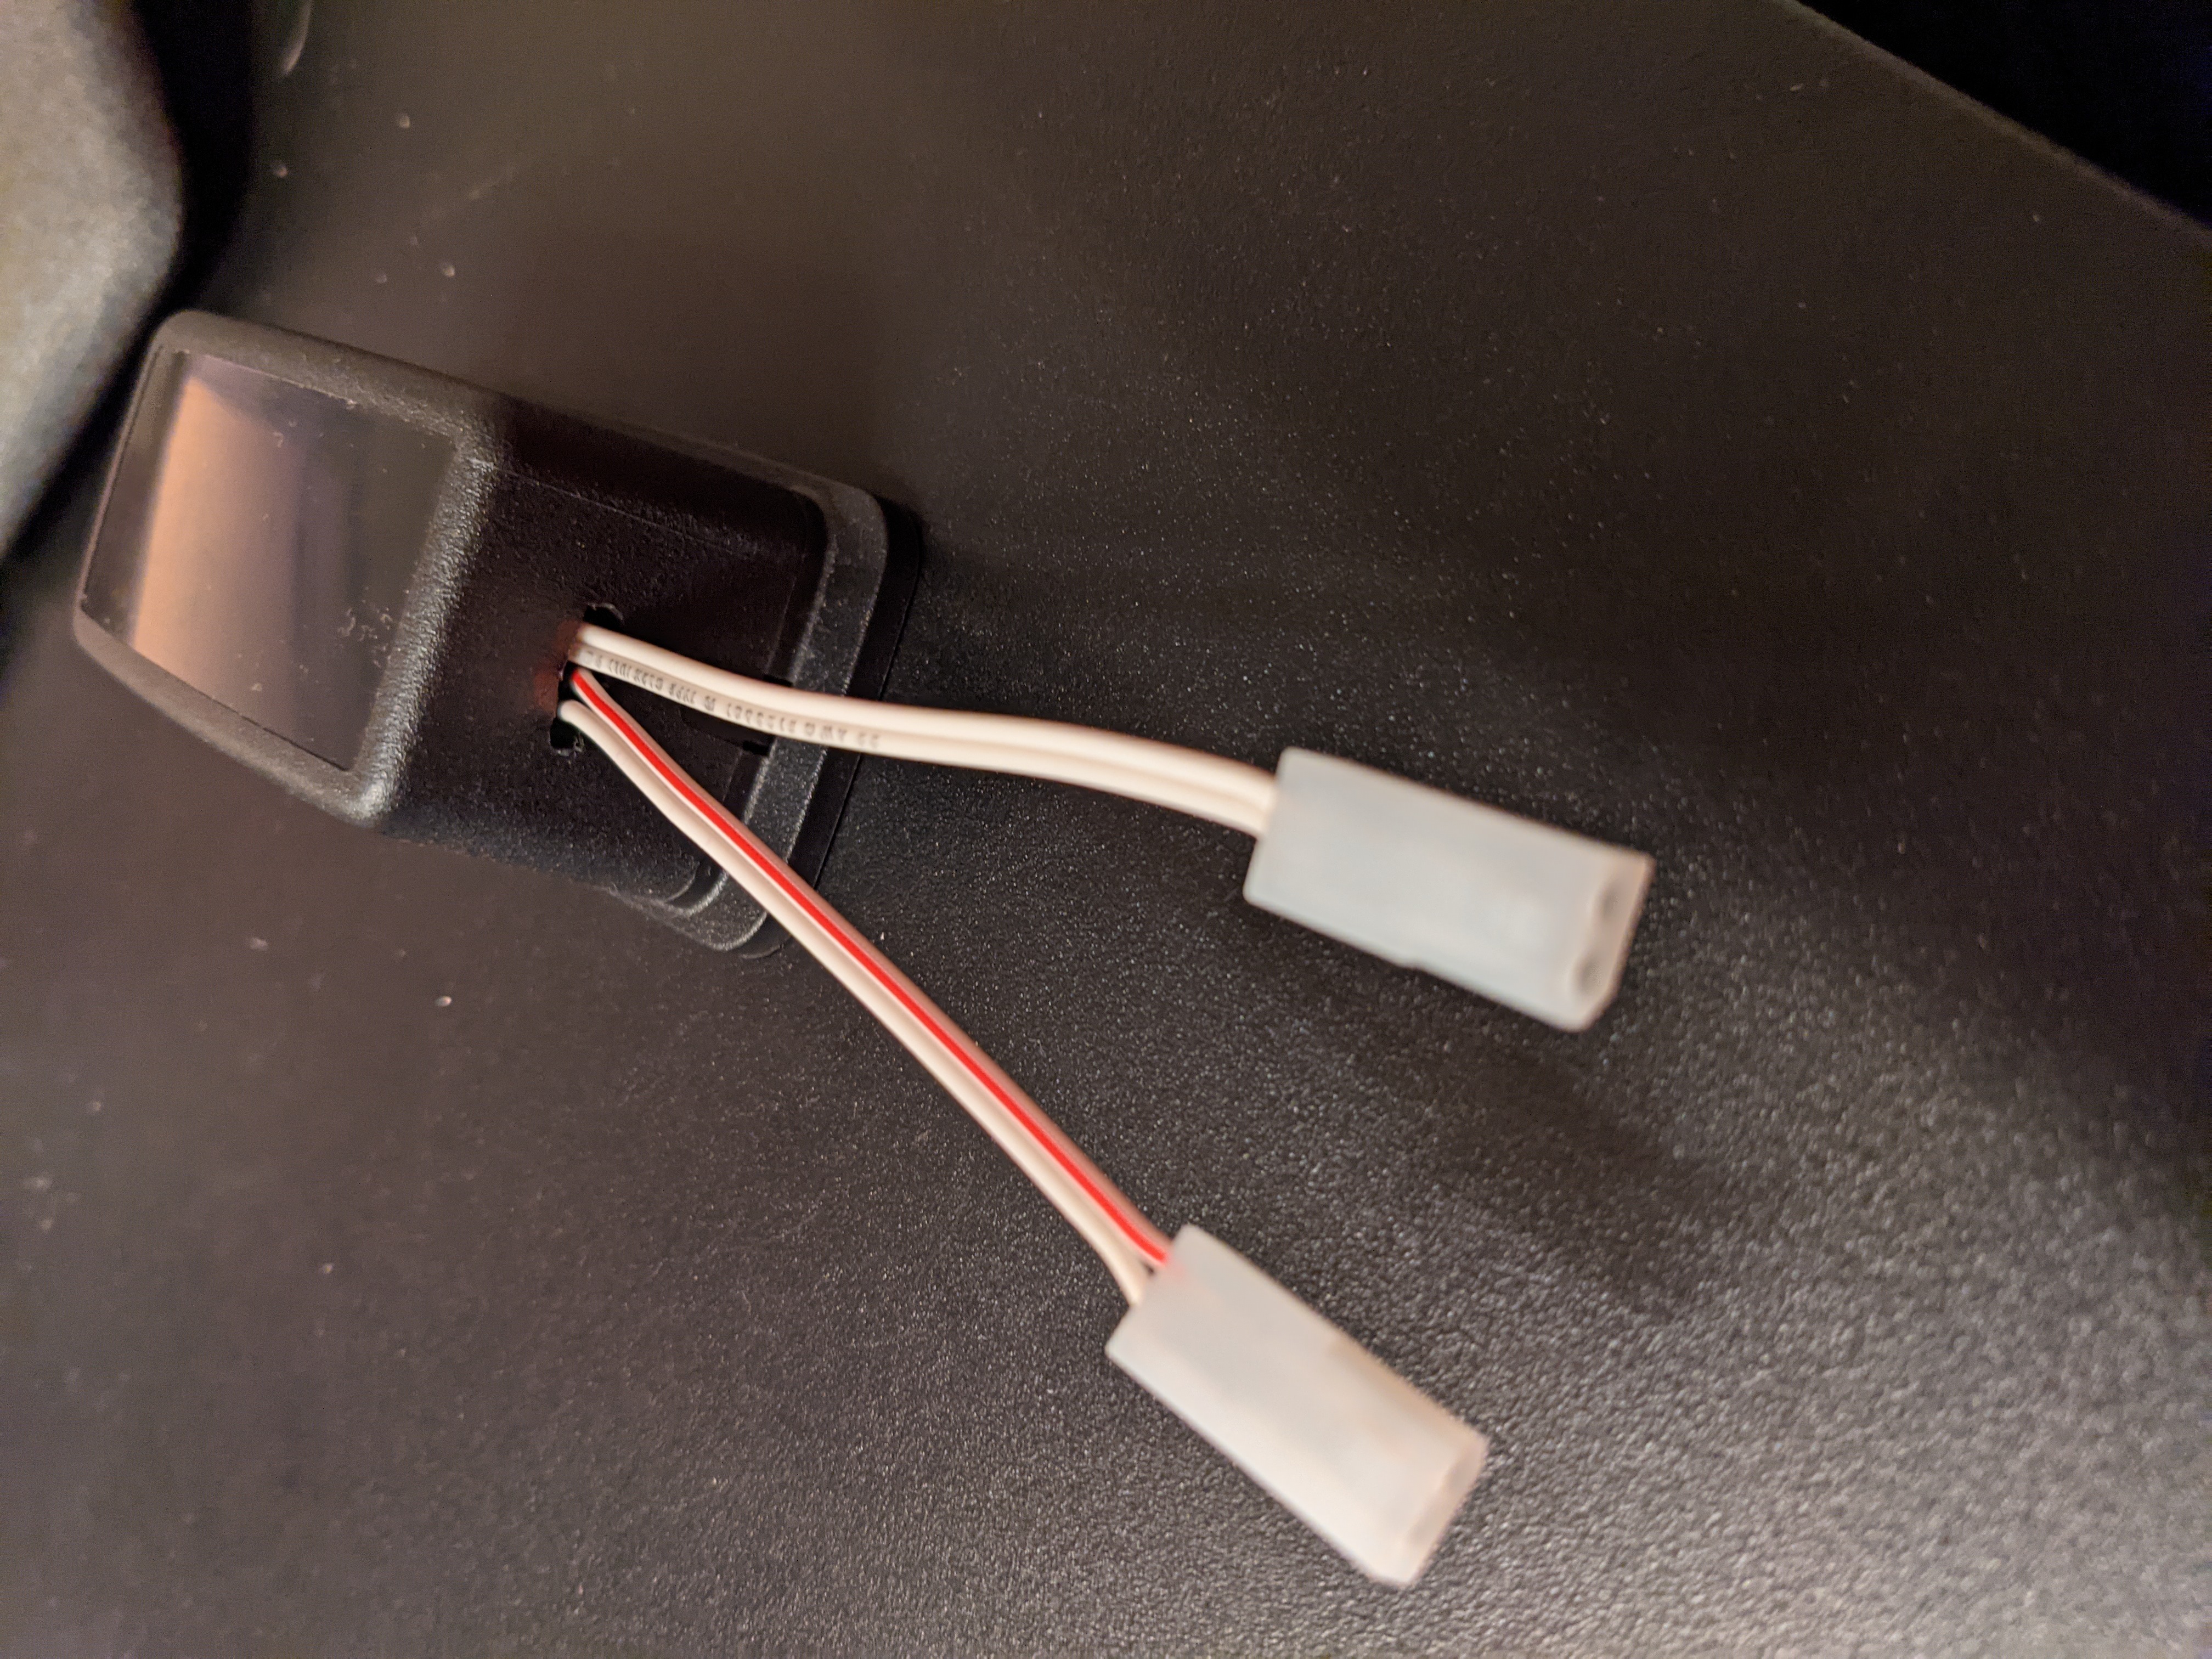
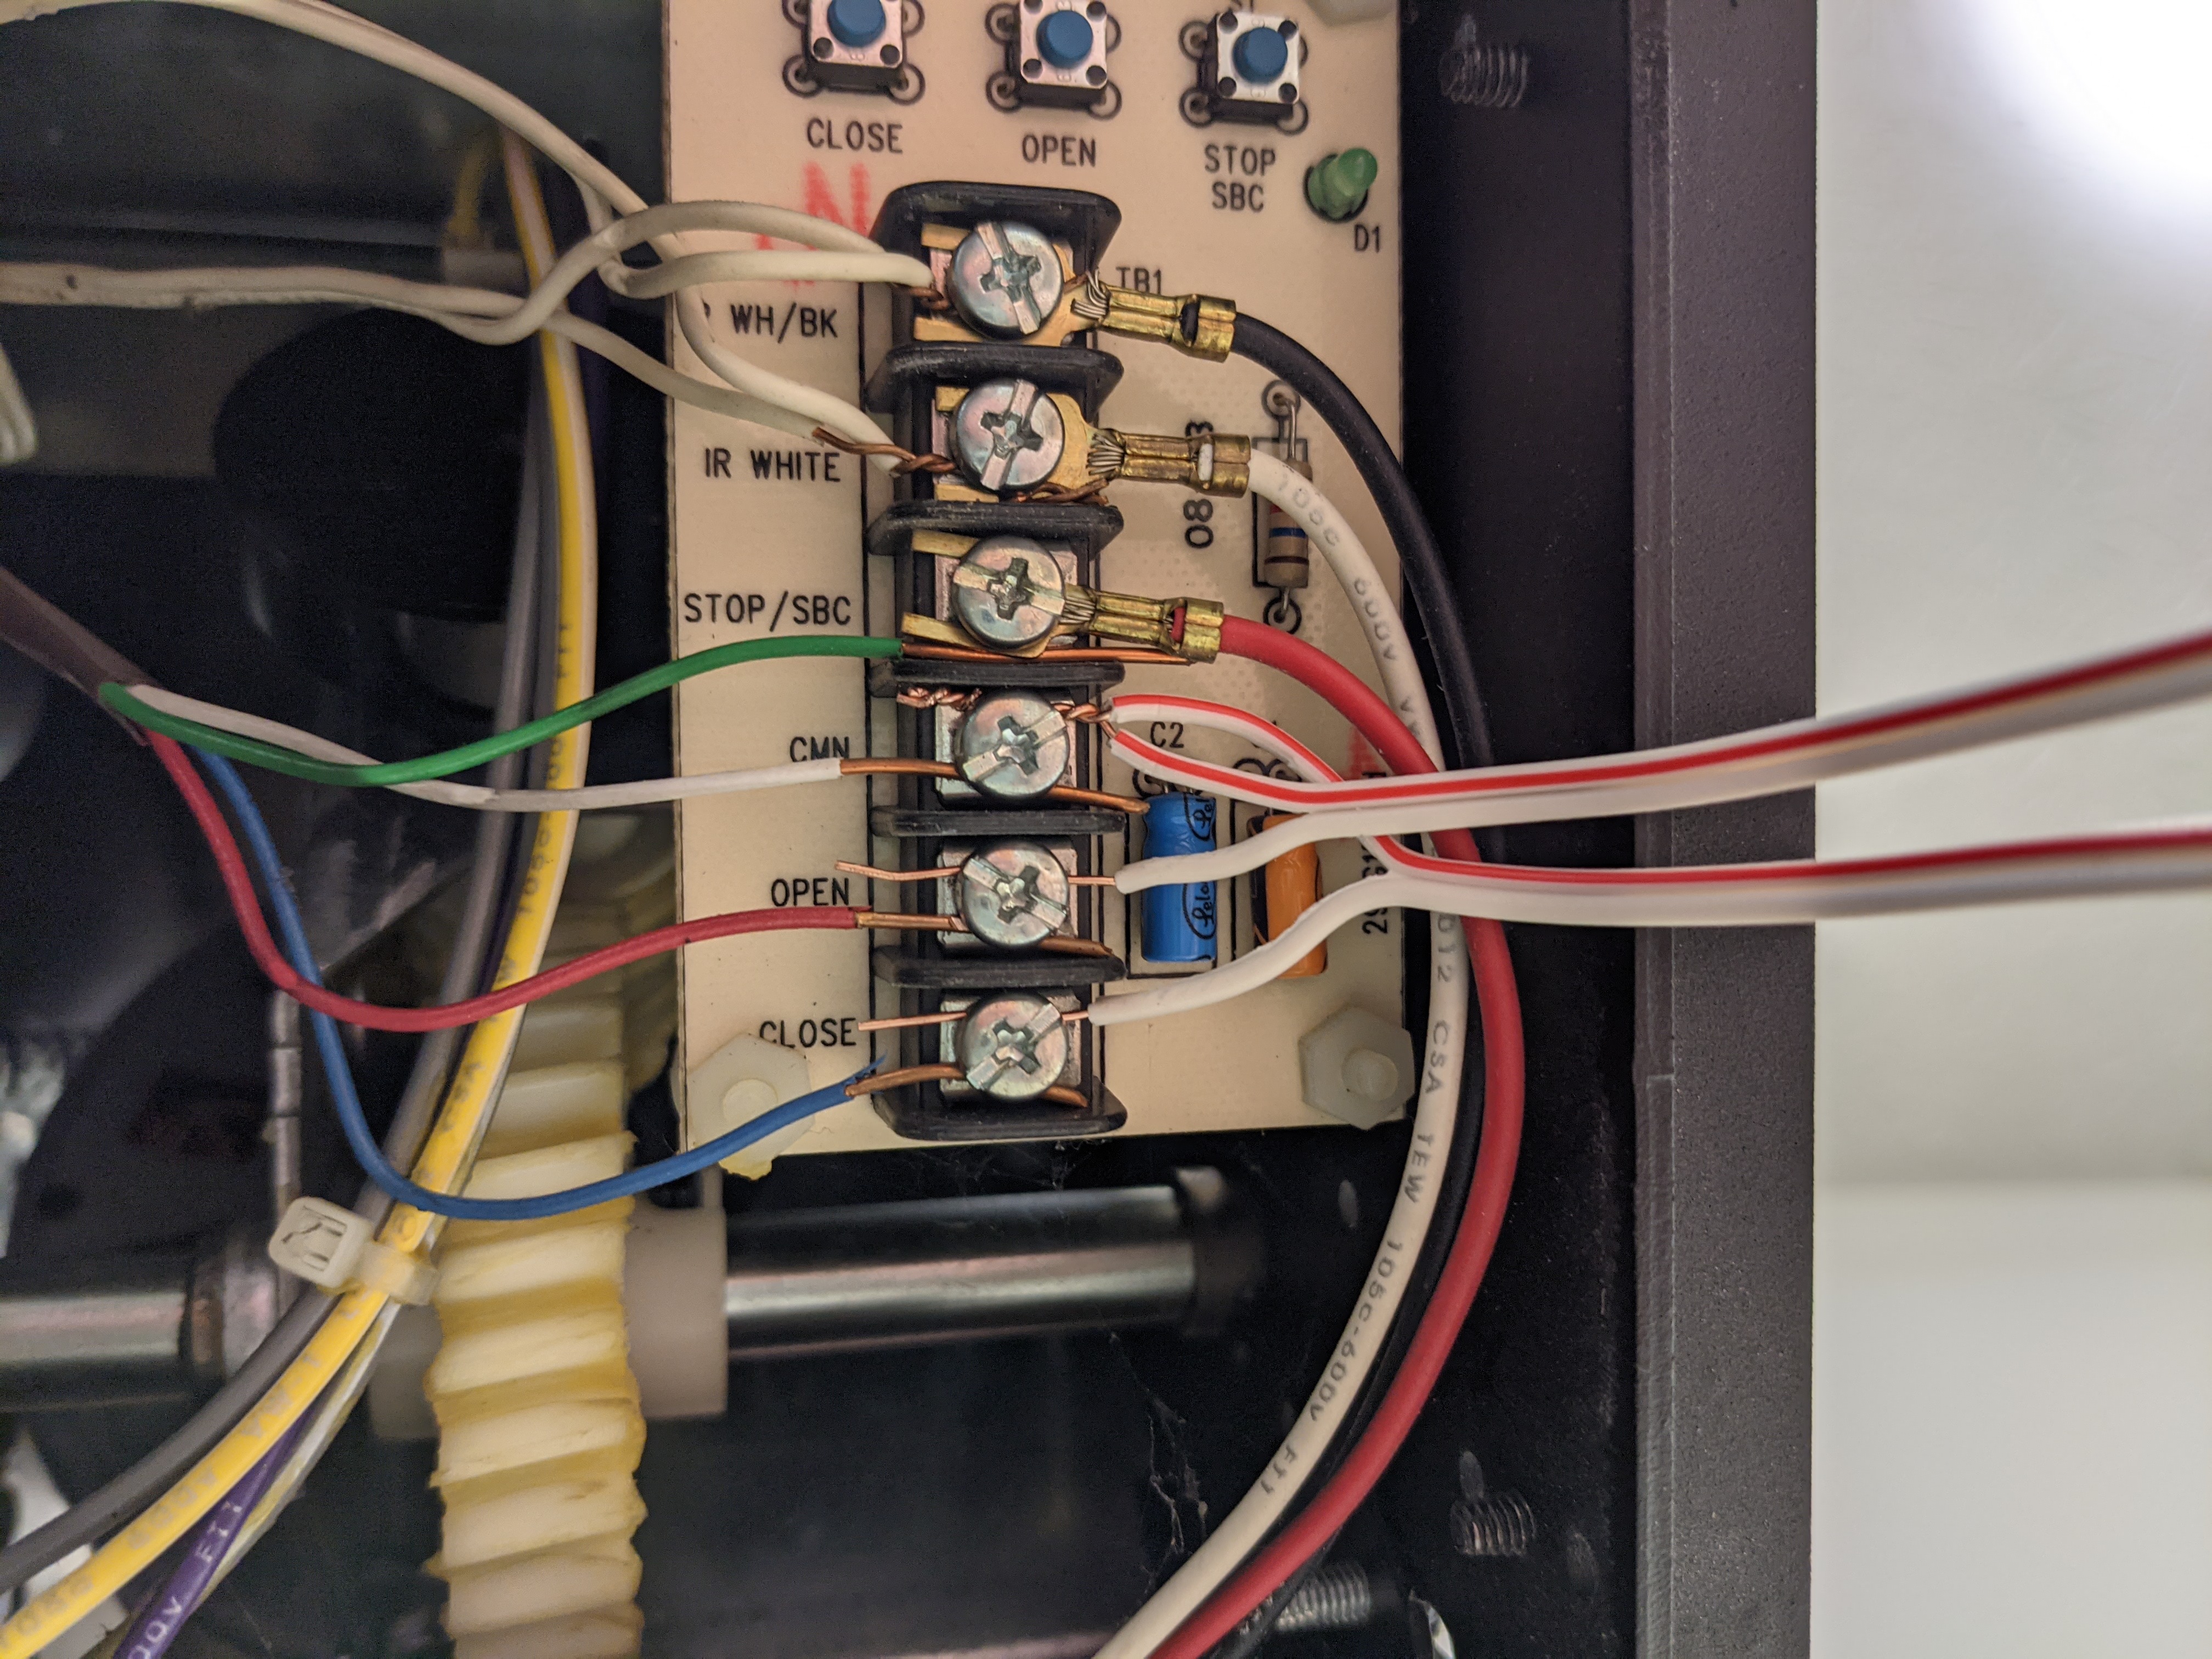
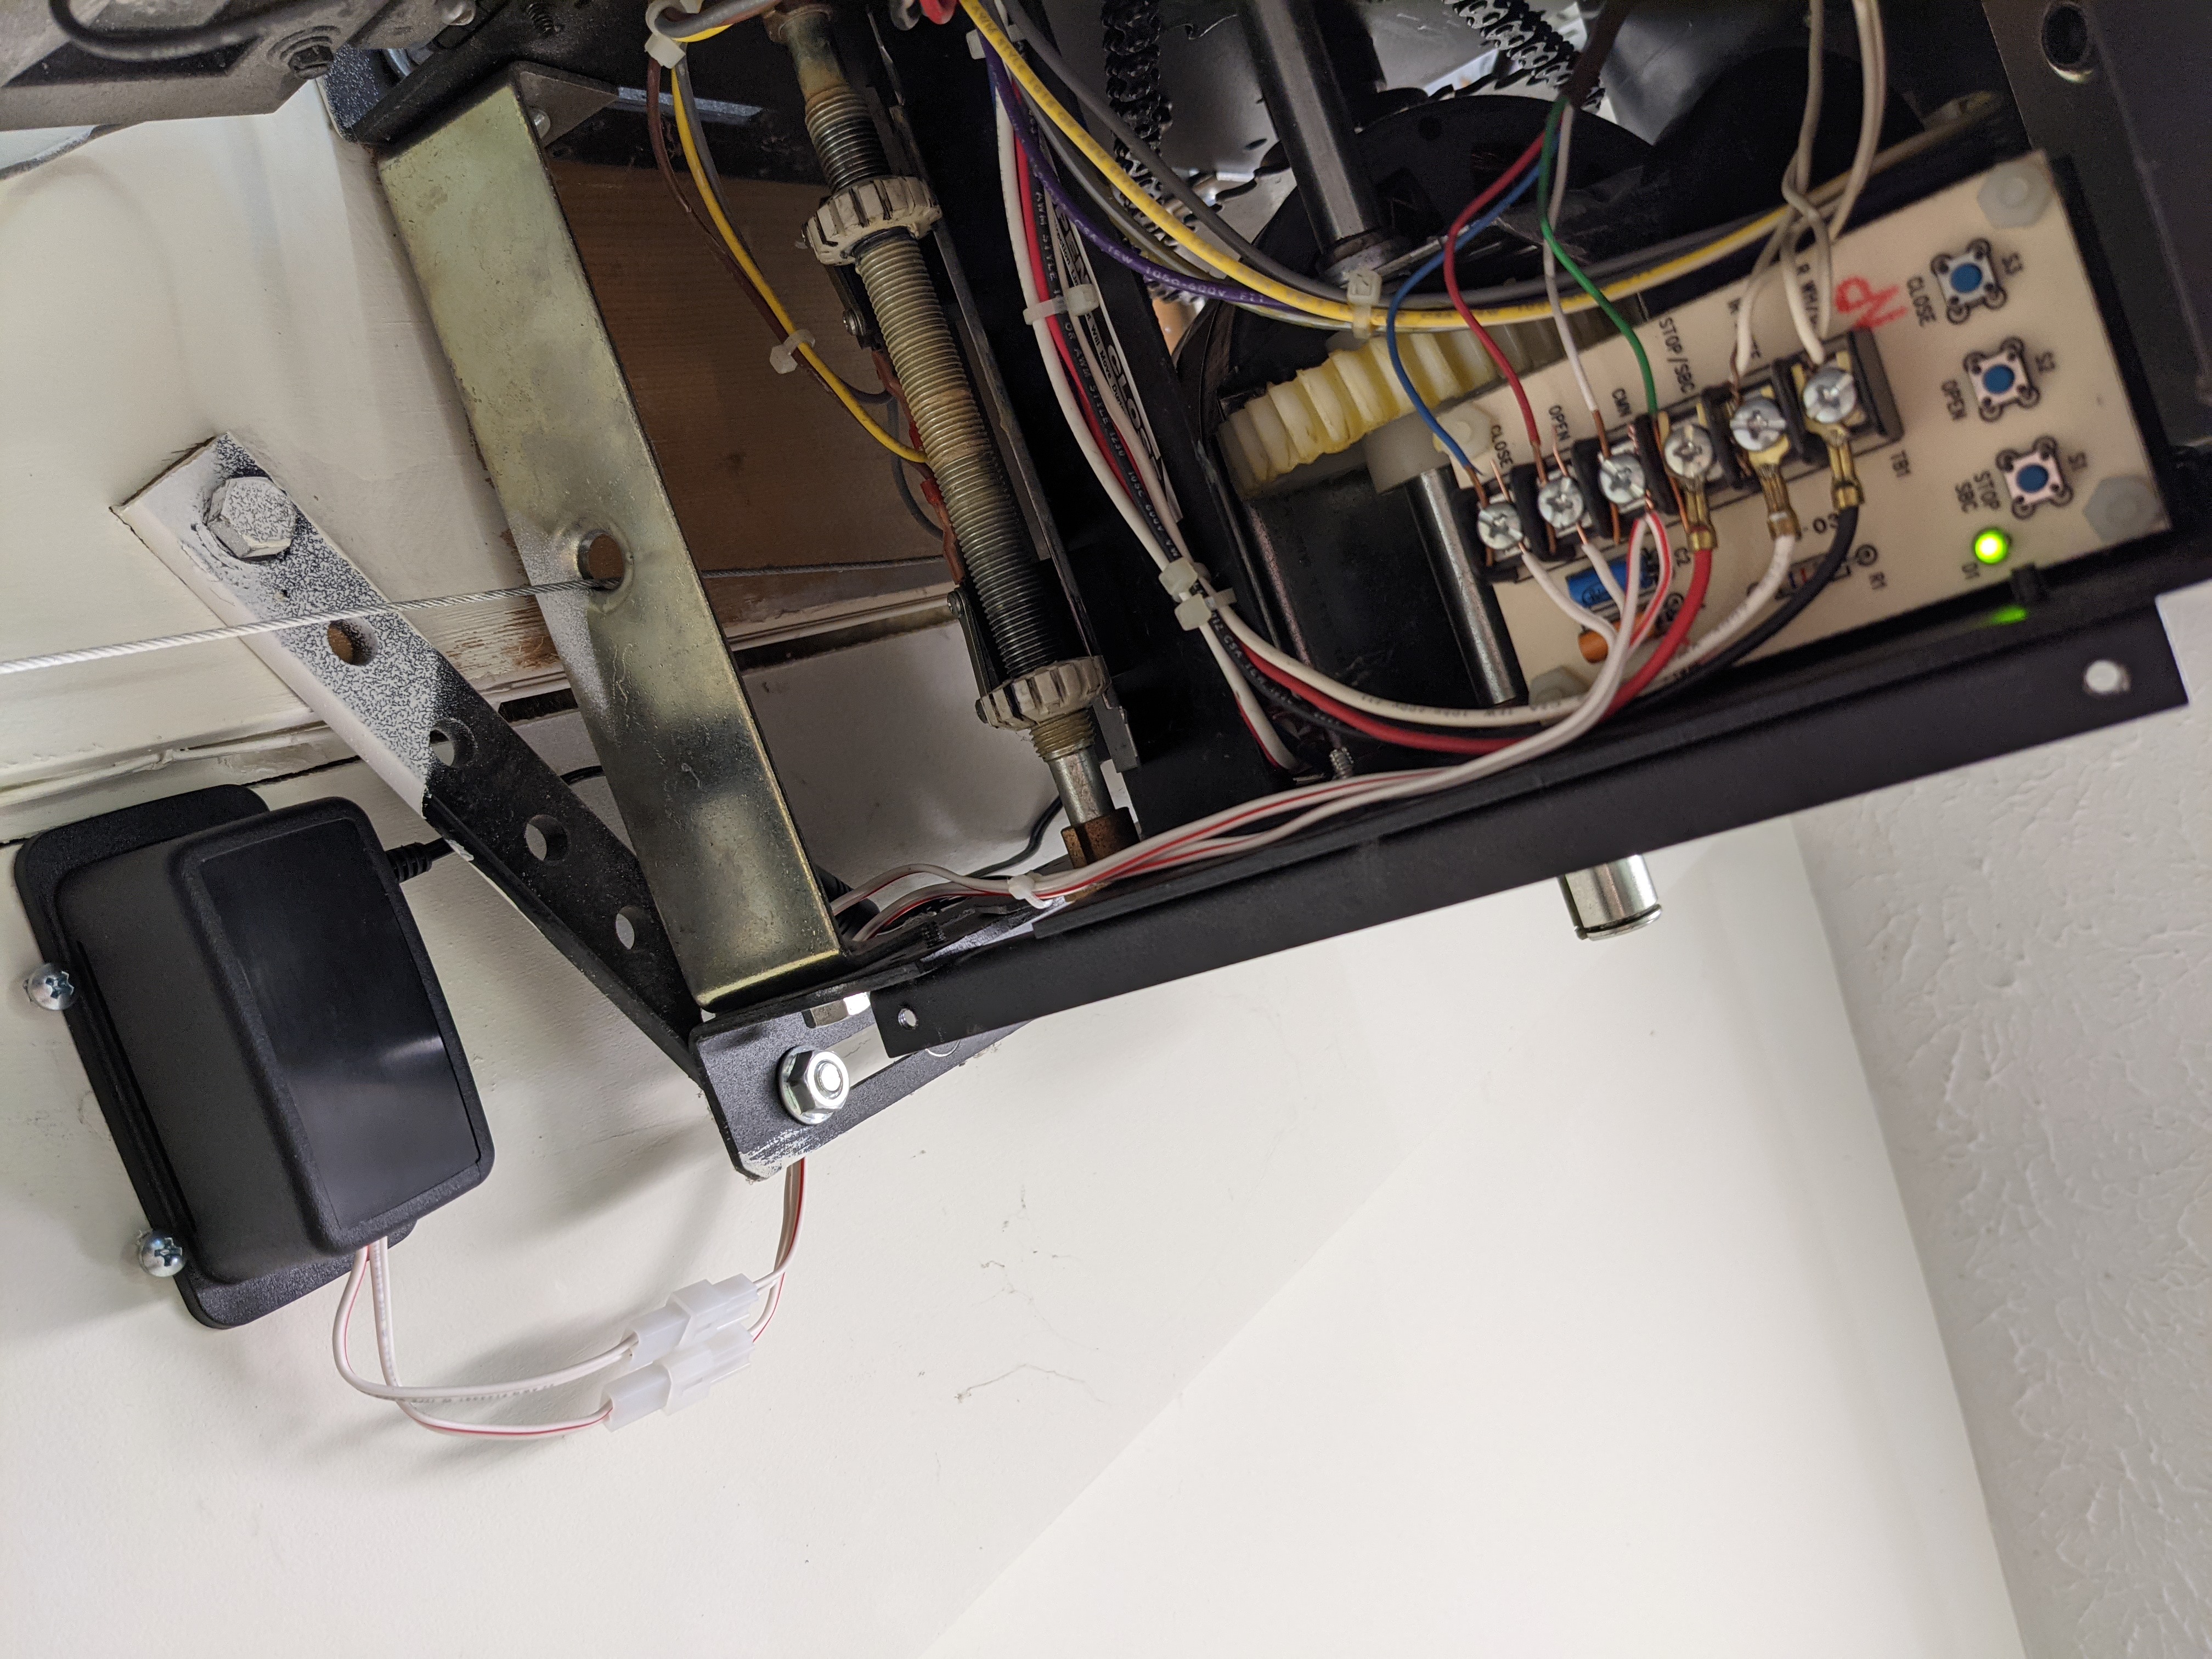
Attach the other end of the wires to the garage door motor unit in the same terminals as the wall buttons.
Example Build #2: Pi 3/4
The full-size Raspberry Pi boards are more than capable (if not overkill). Generally they would only be preferred if you already had one or if you need more than 2 relays to control more than 2 doors (without otherwise building a custom relay board).
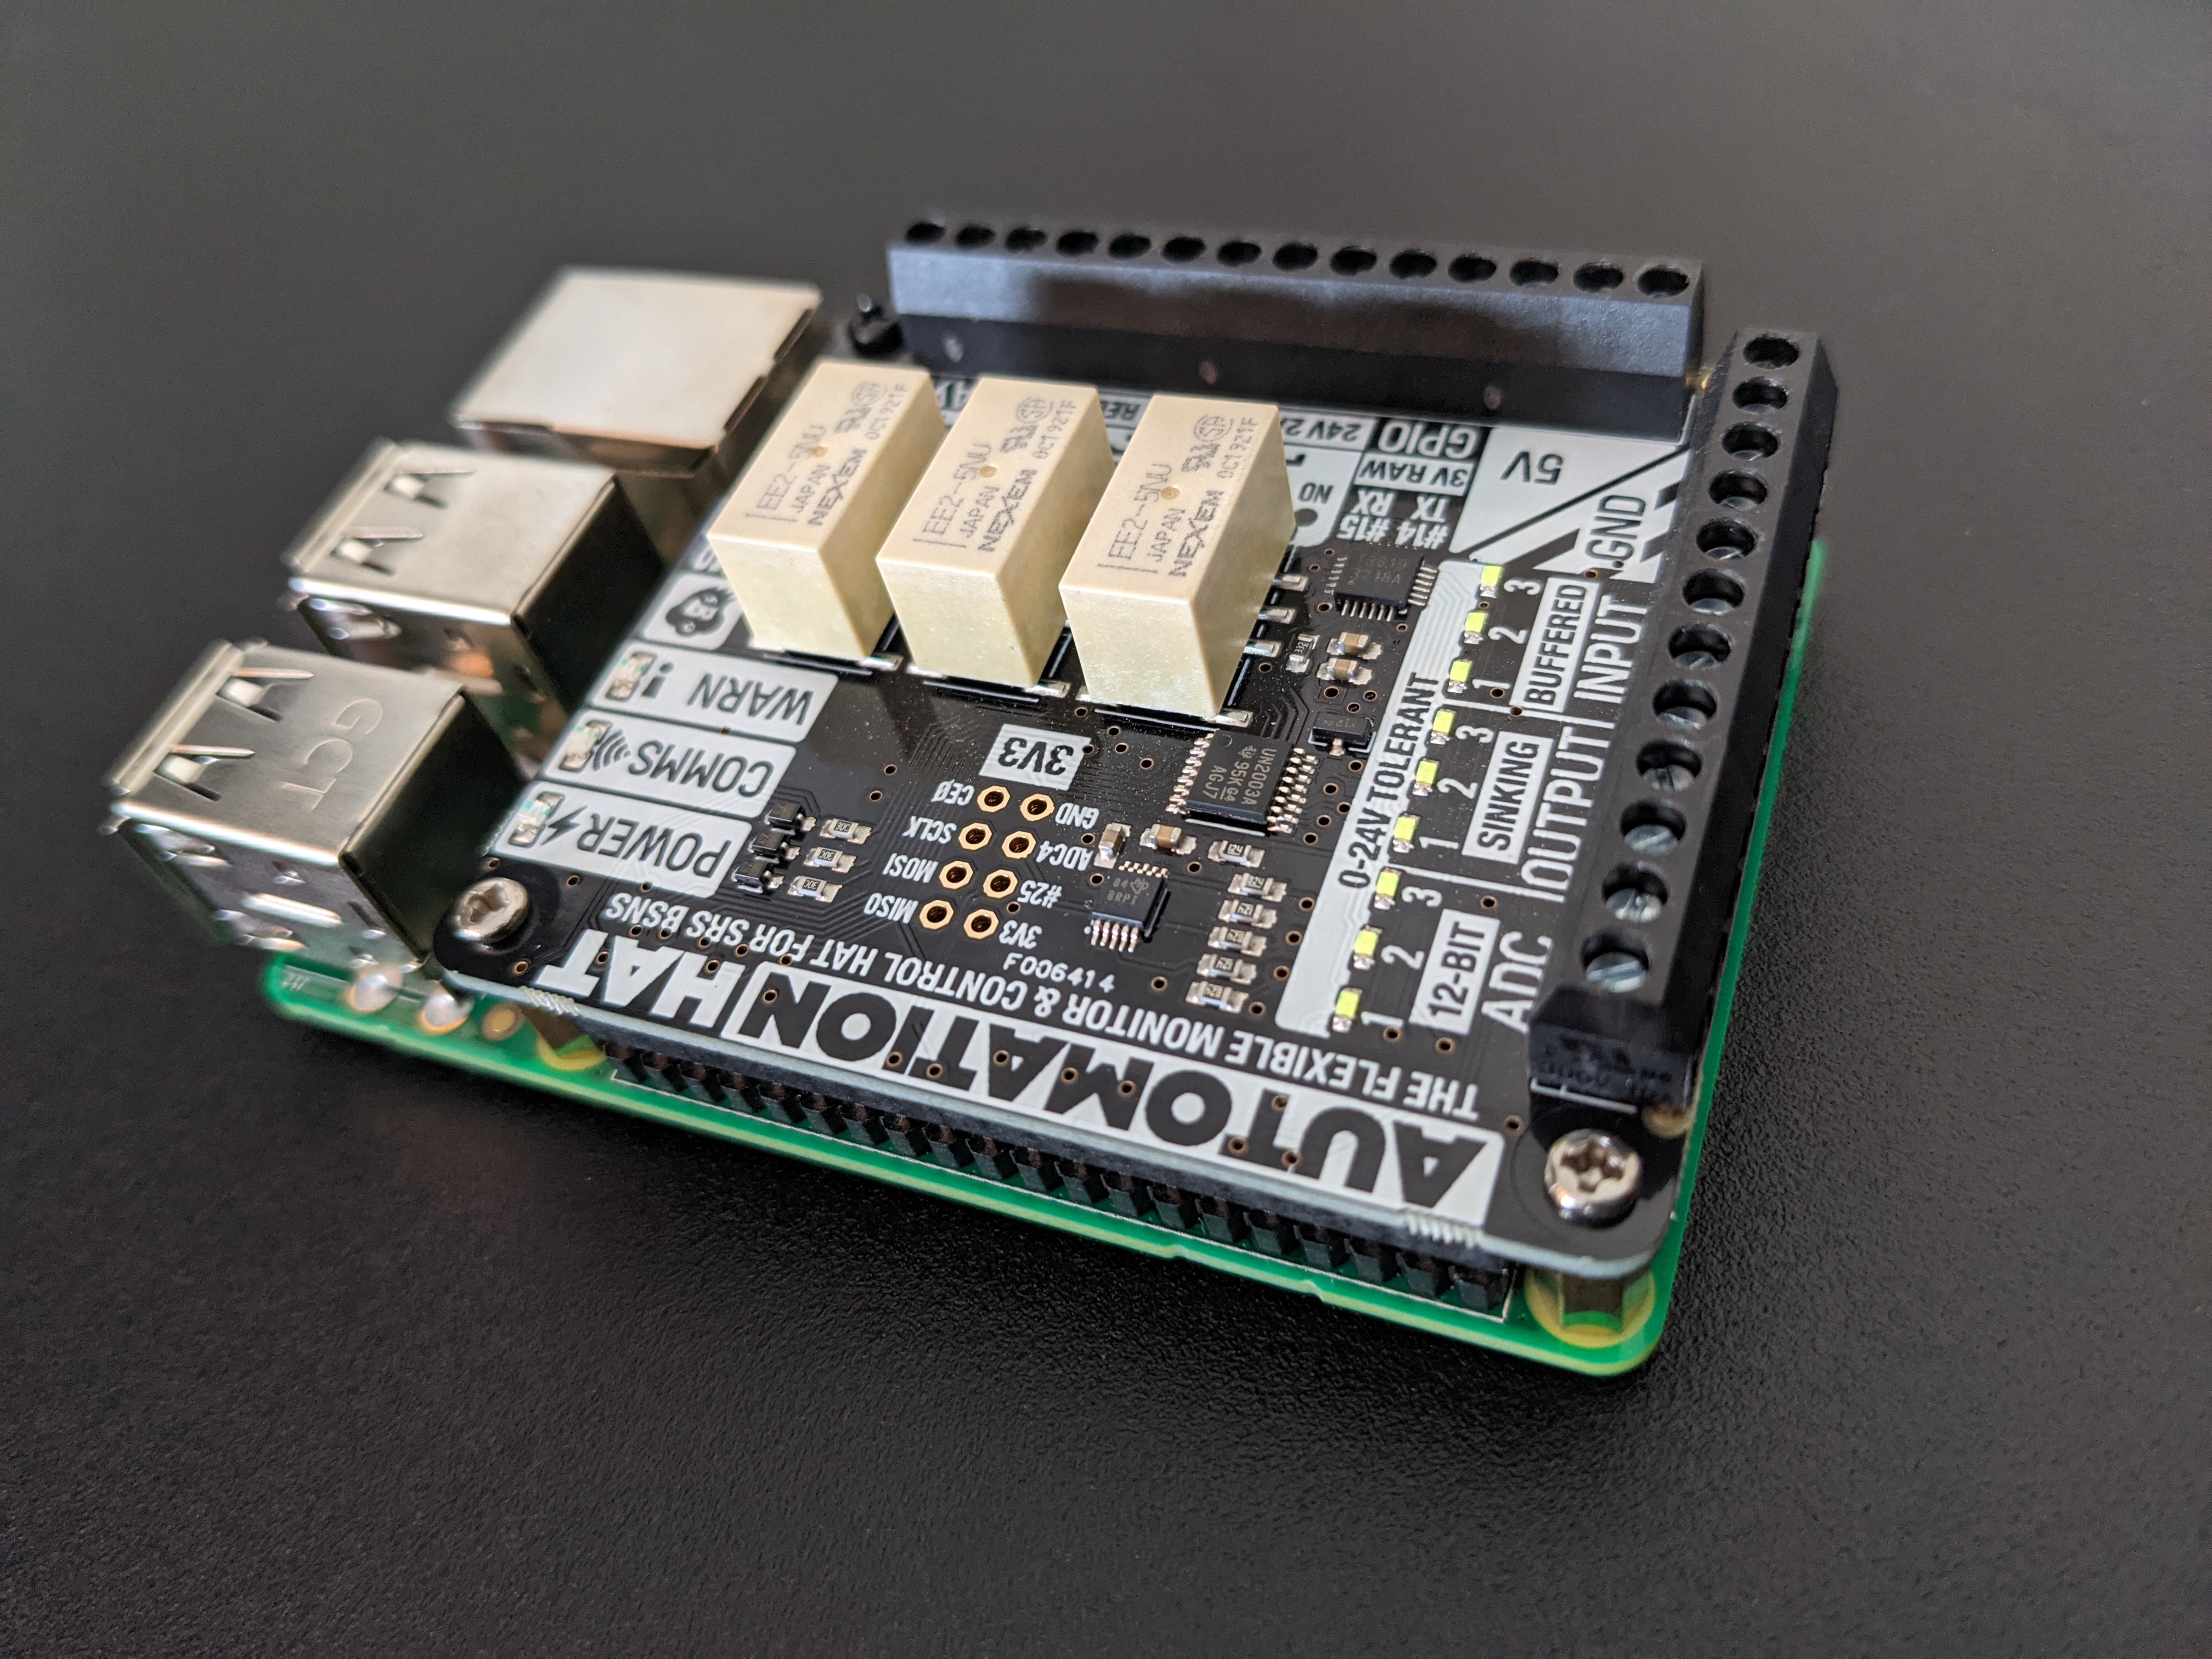
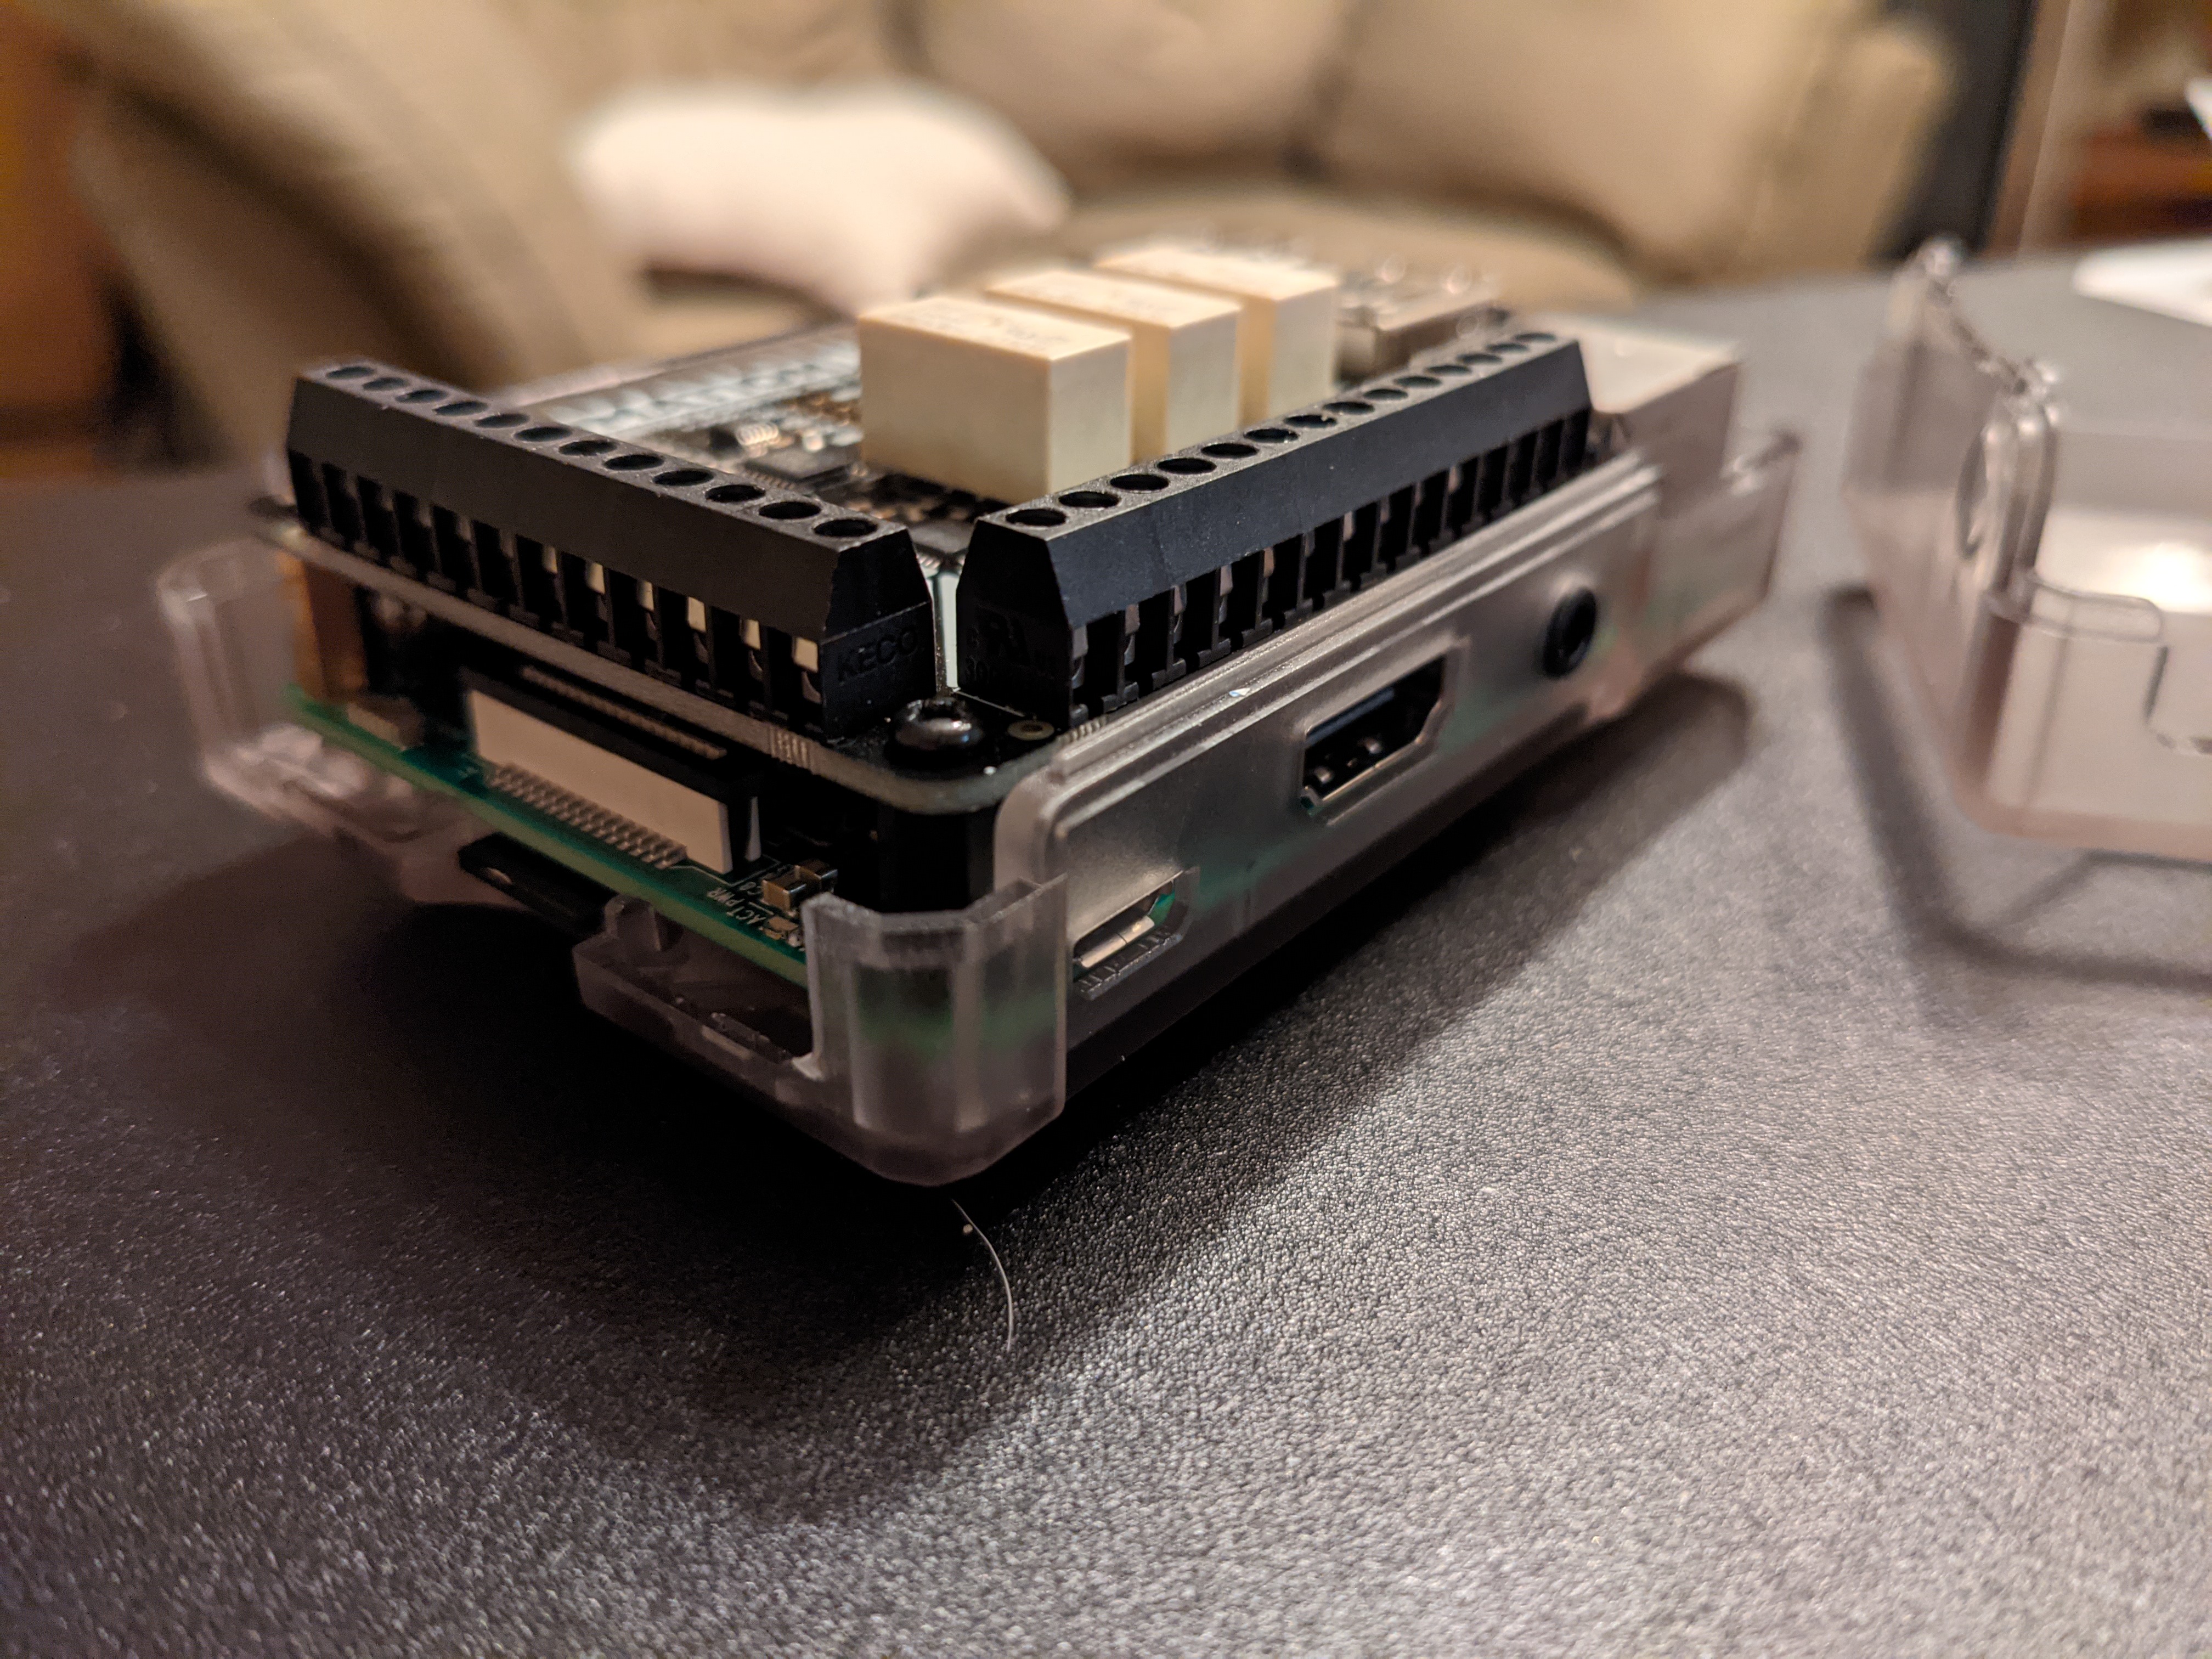
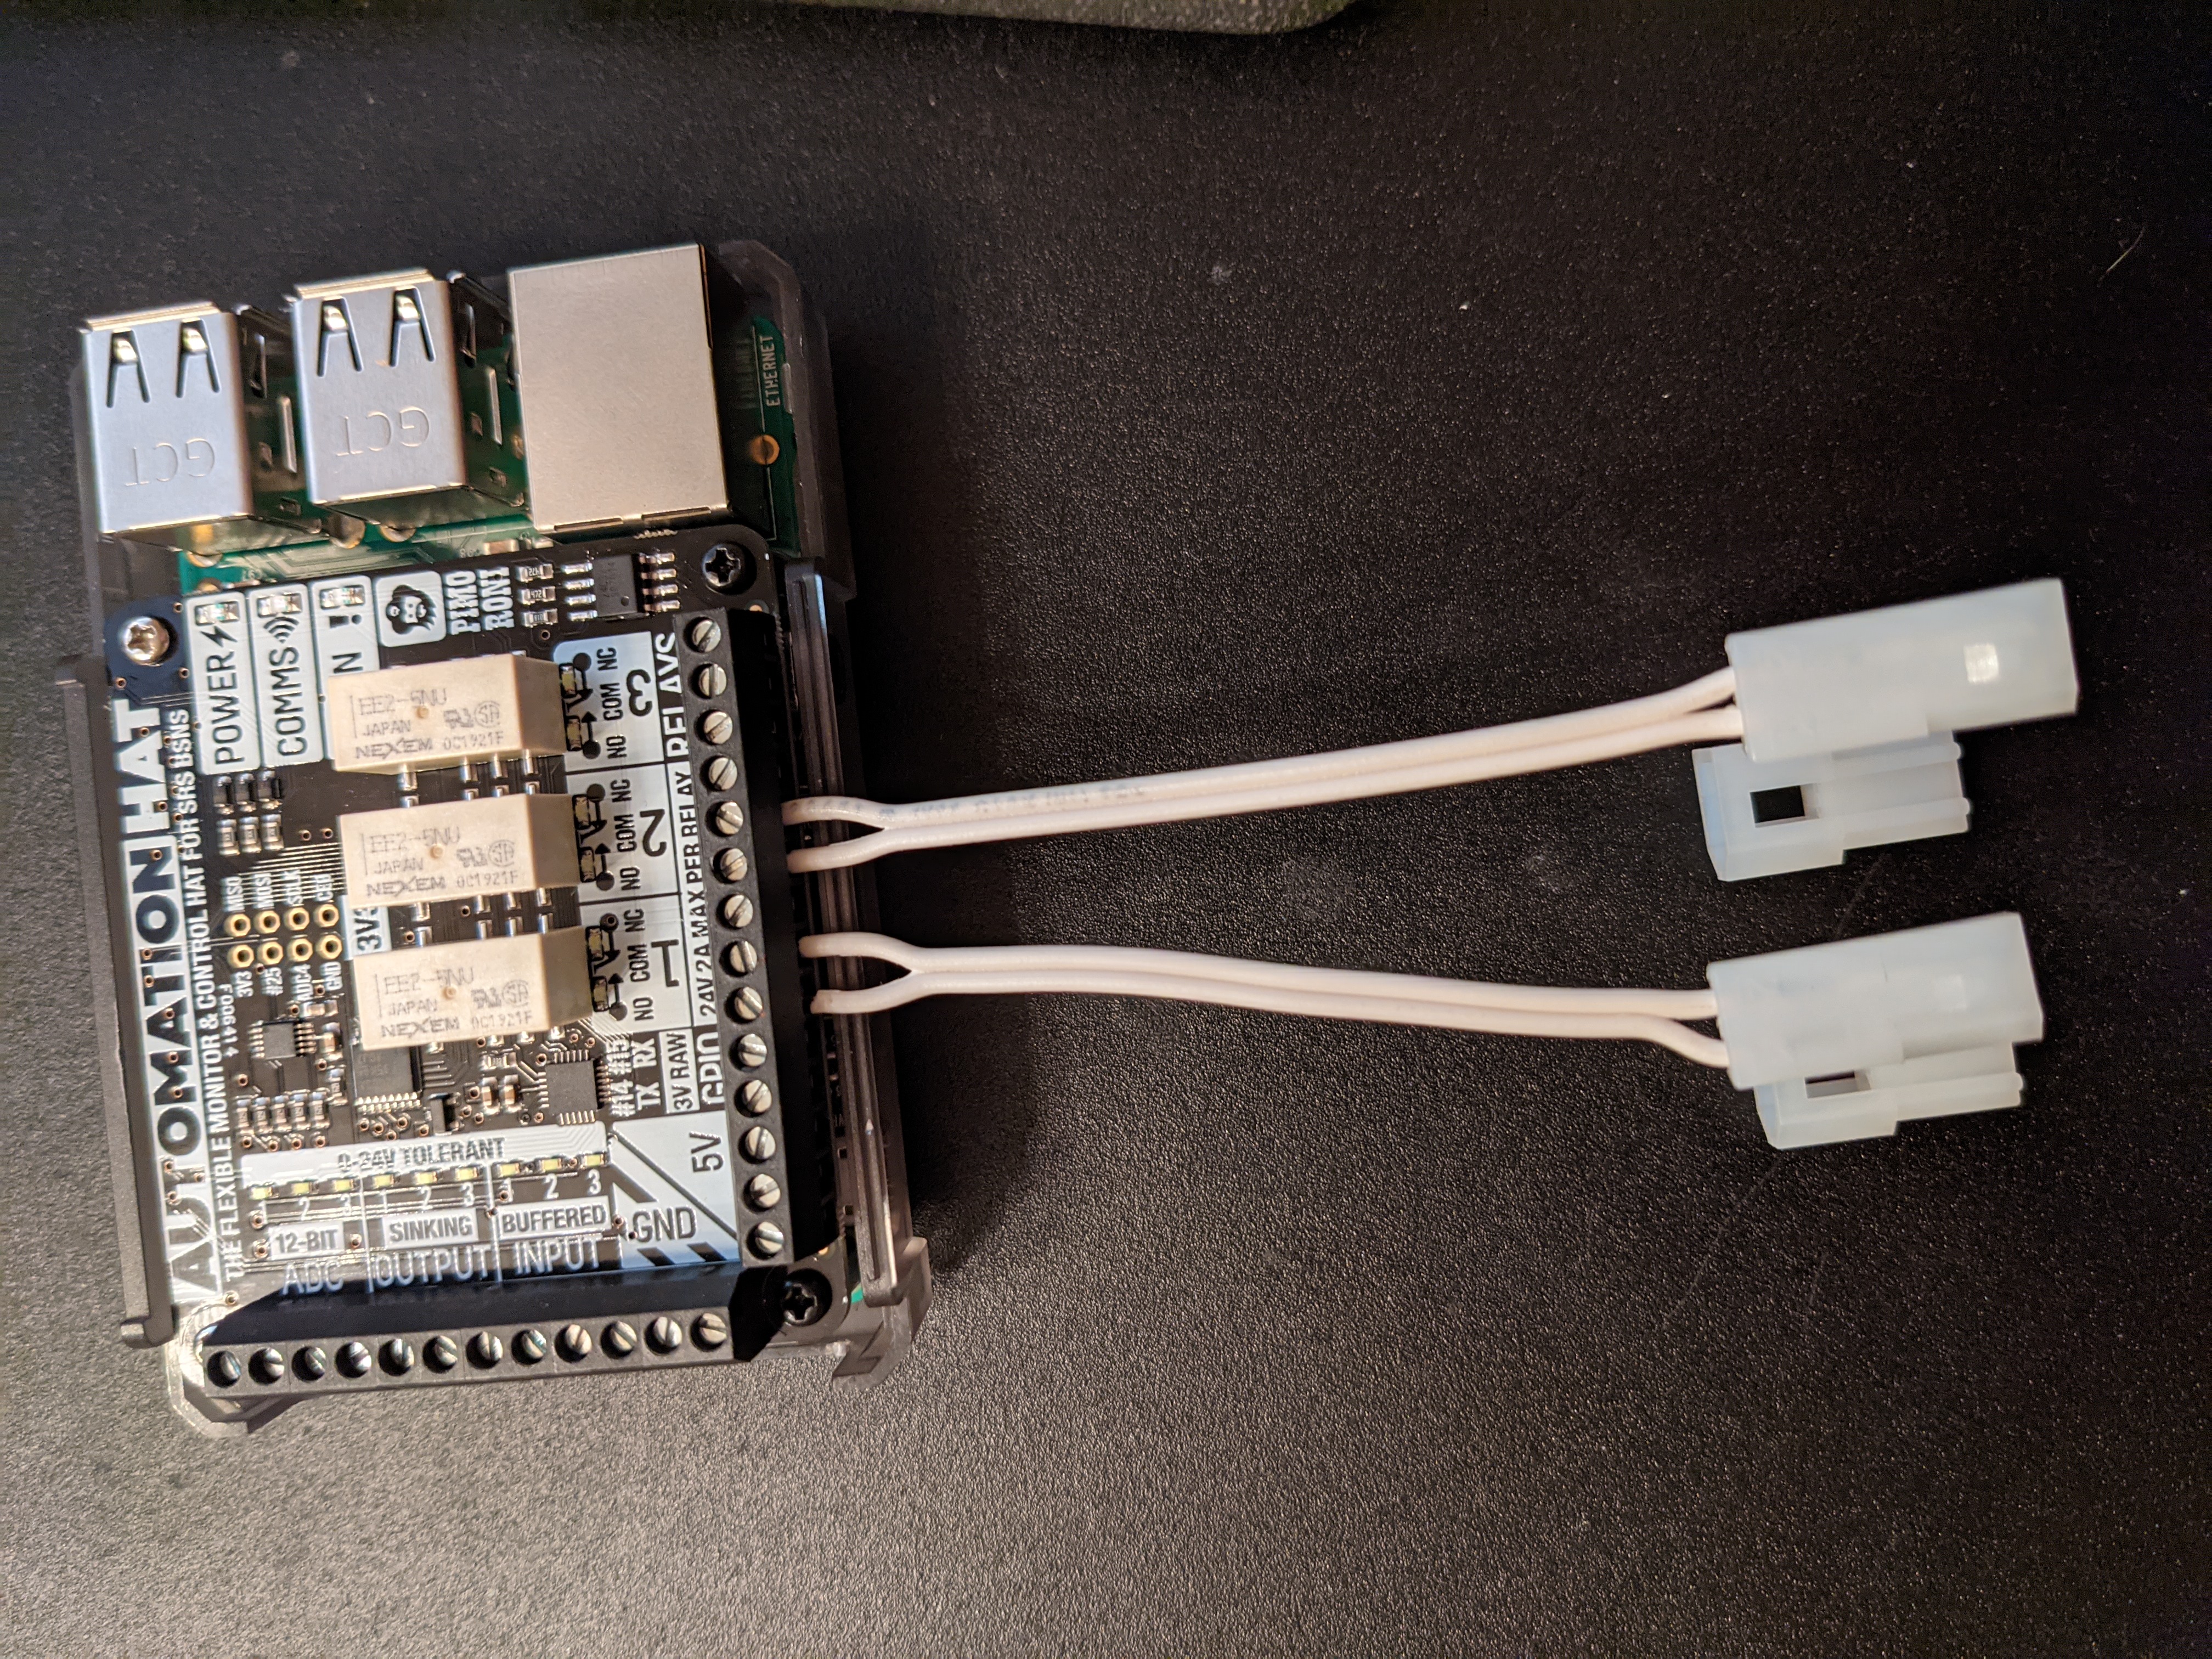
The Pimoroni Automation HAT provides three relays for controlling up to three single-button doors or one open/close-button door and one single-button door.
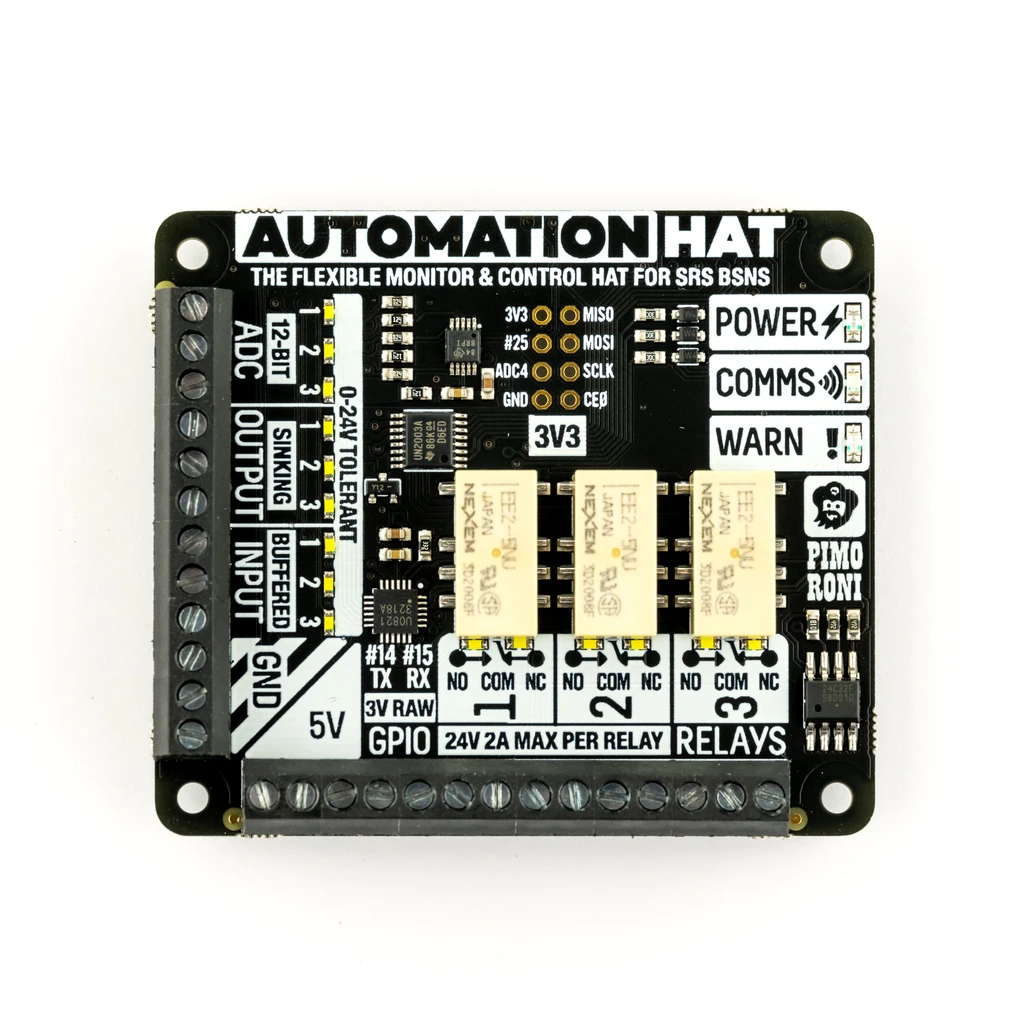
The HAT attaches to the Pi via a 40-pin connector. You can use 10mm standoffs on the opposite side to secure it in place.
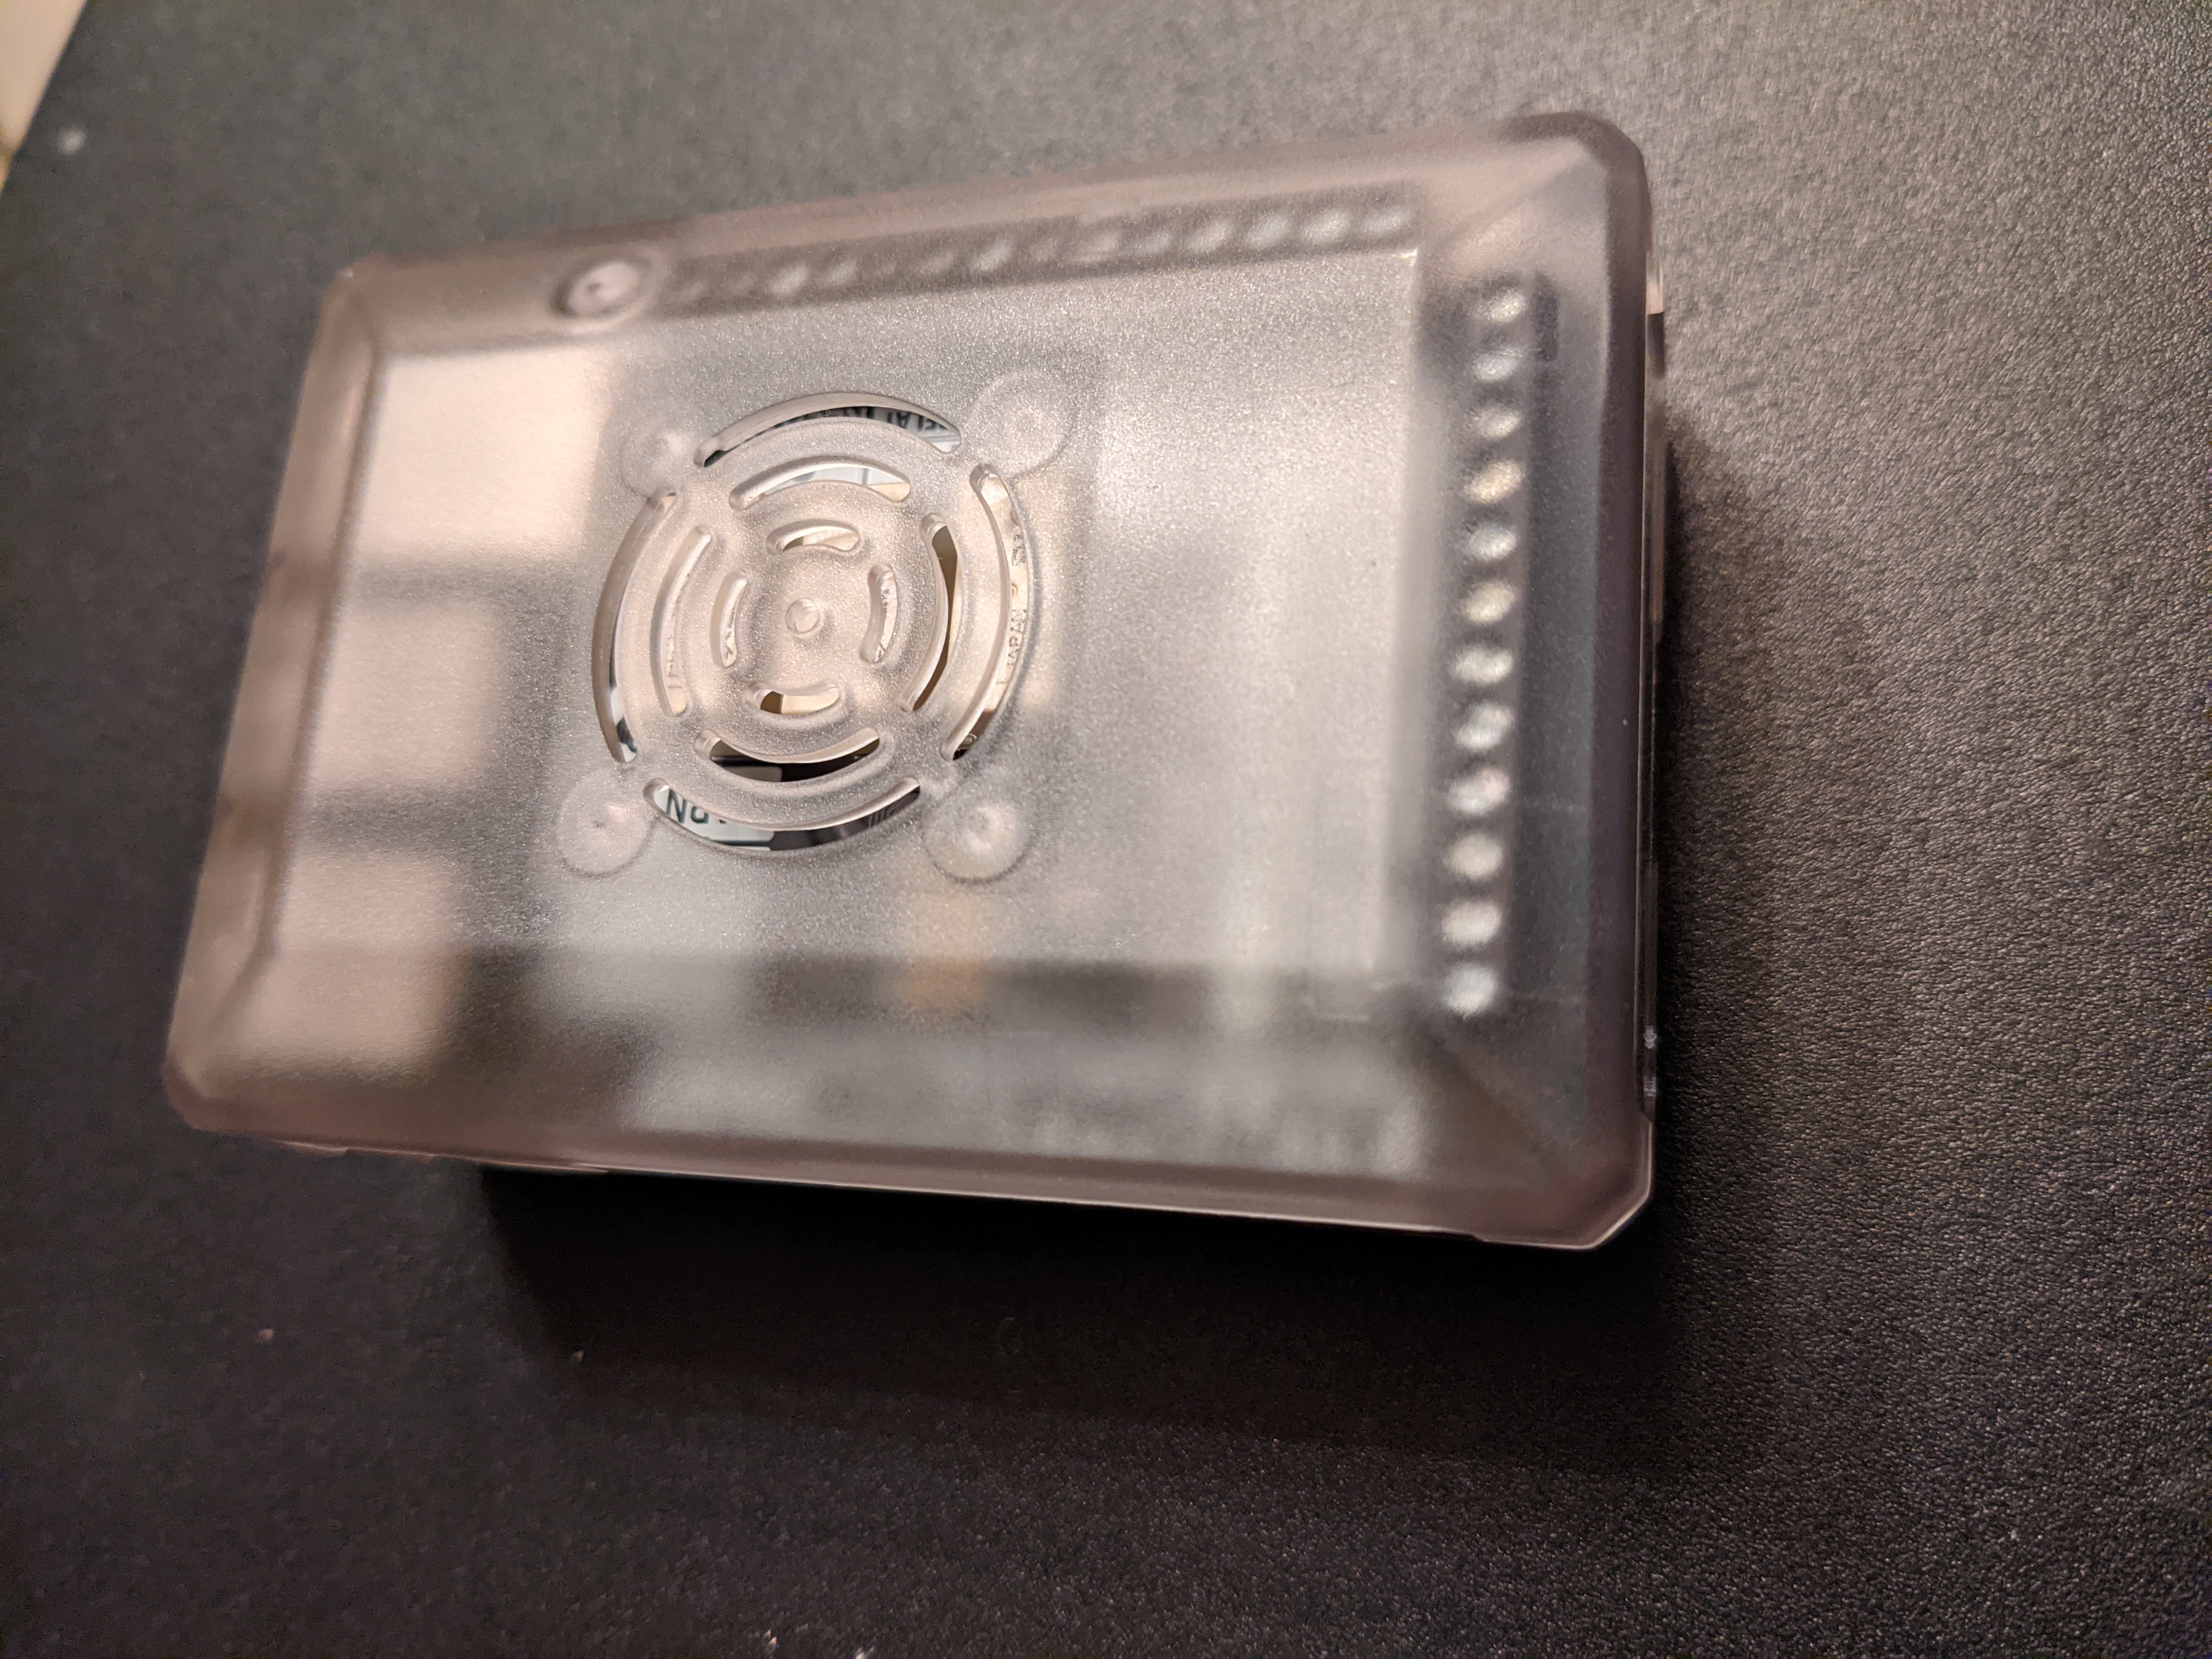
The LoveRPI Active Cooling Media Center PC Case isn't made for HATs, but is trivially modified to fit them.

If your HAT is secured to the Pi with standoffs and screws, beneath the board you will have to shave down the plastic board standoffs ~1mm to accommodate the screw heads.
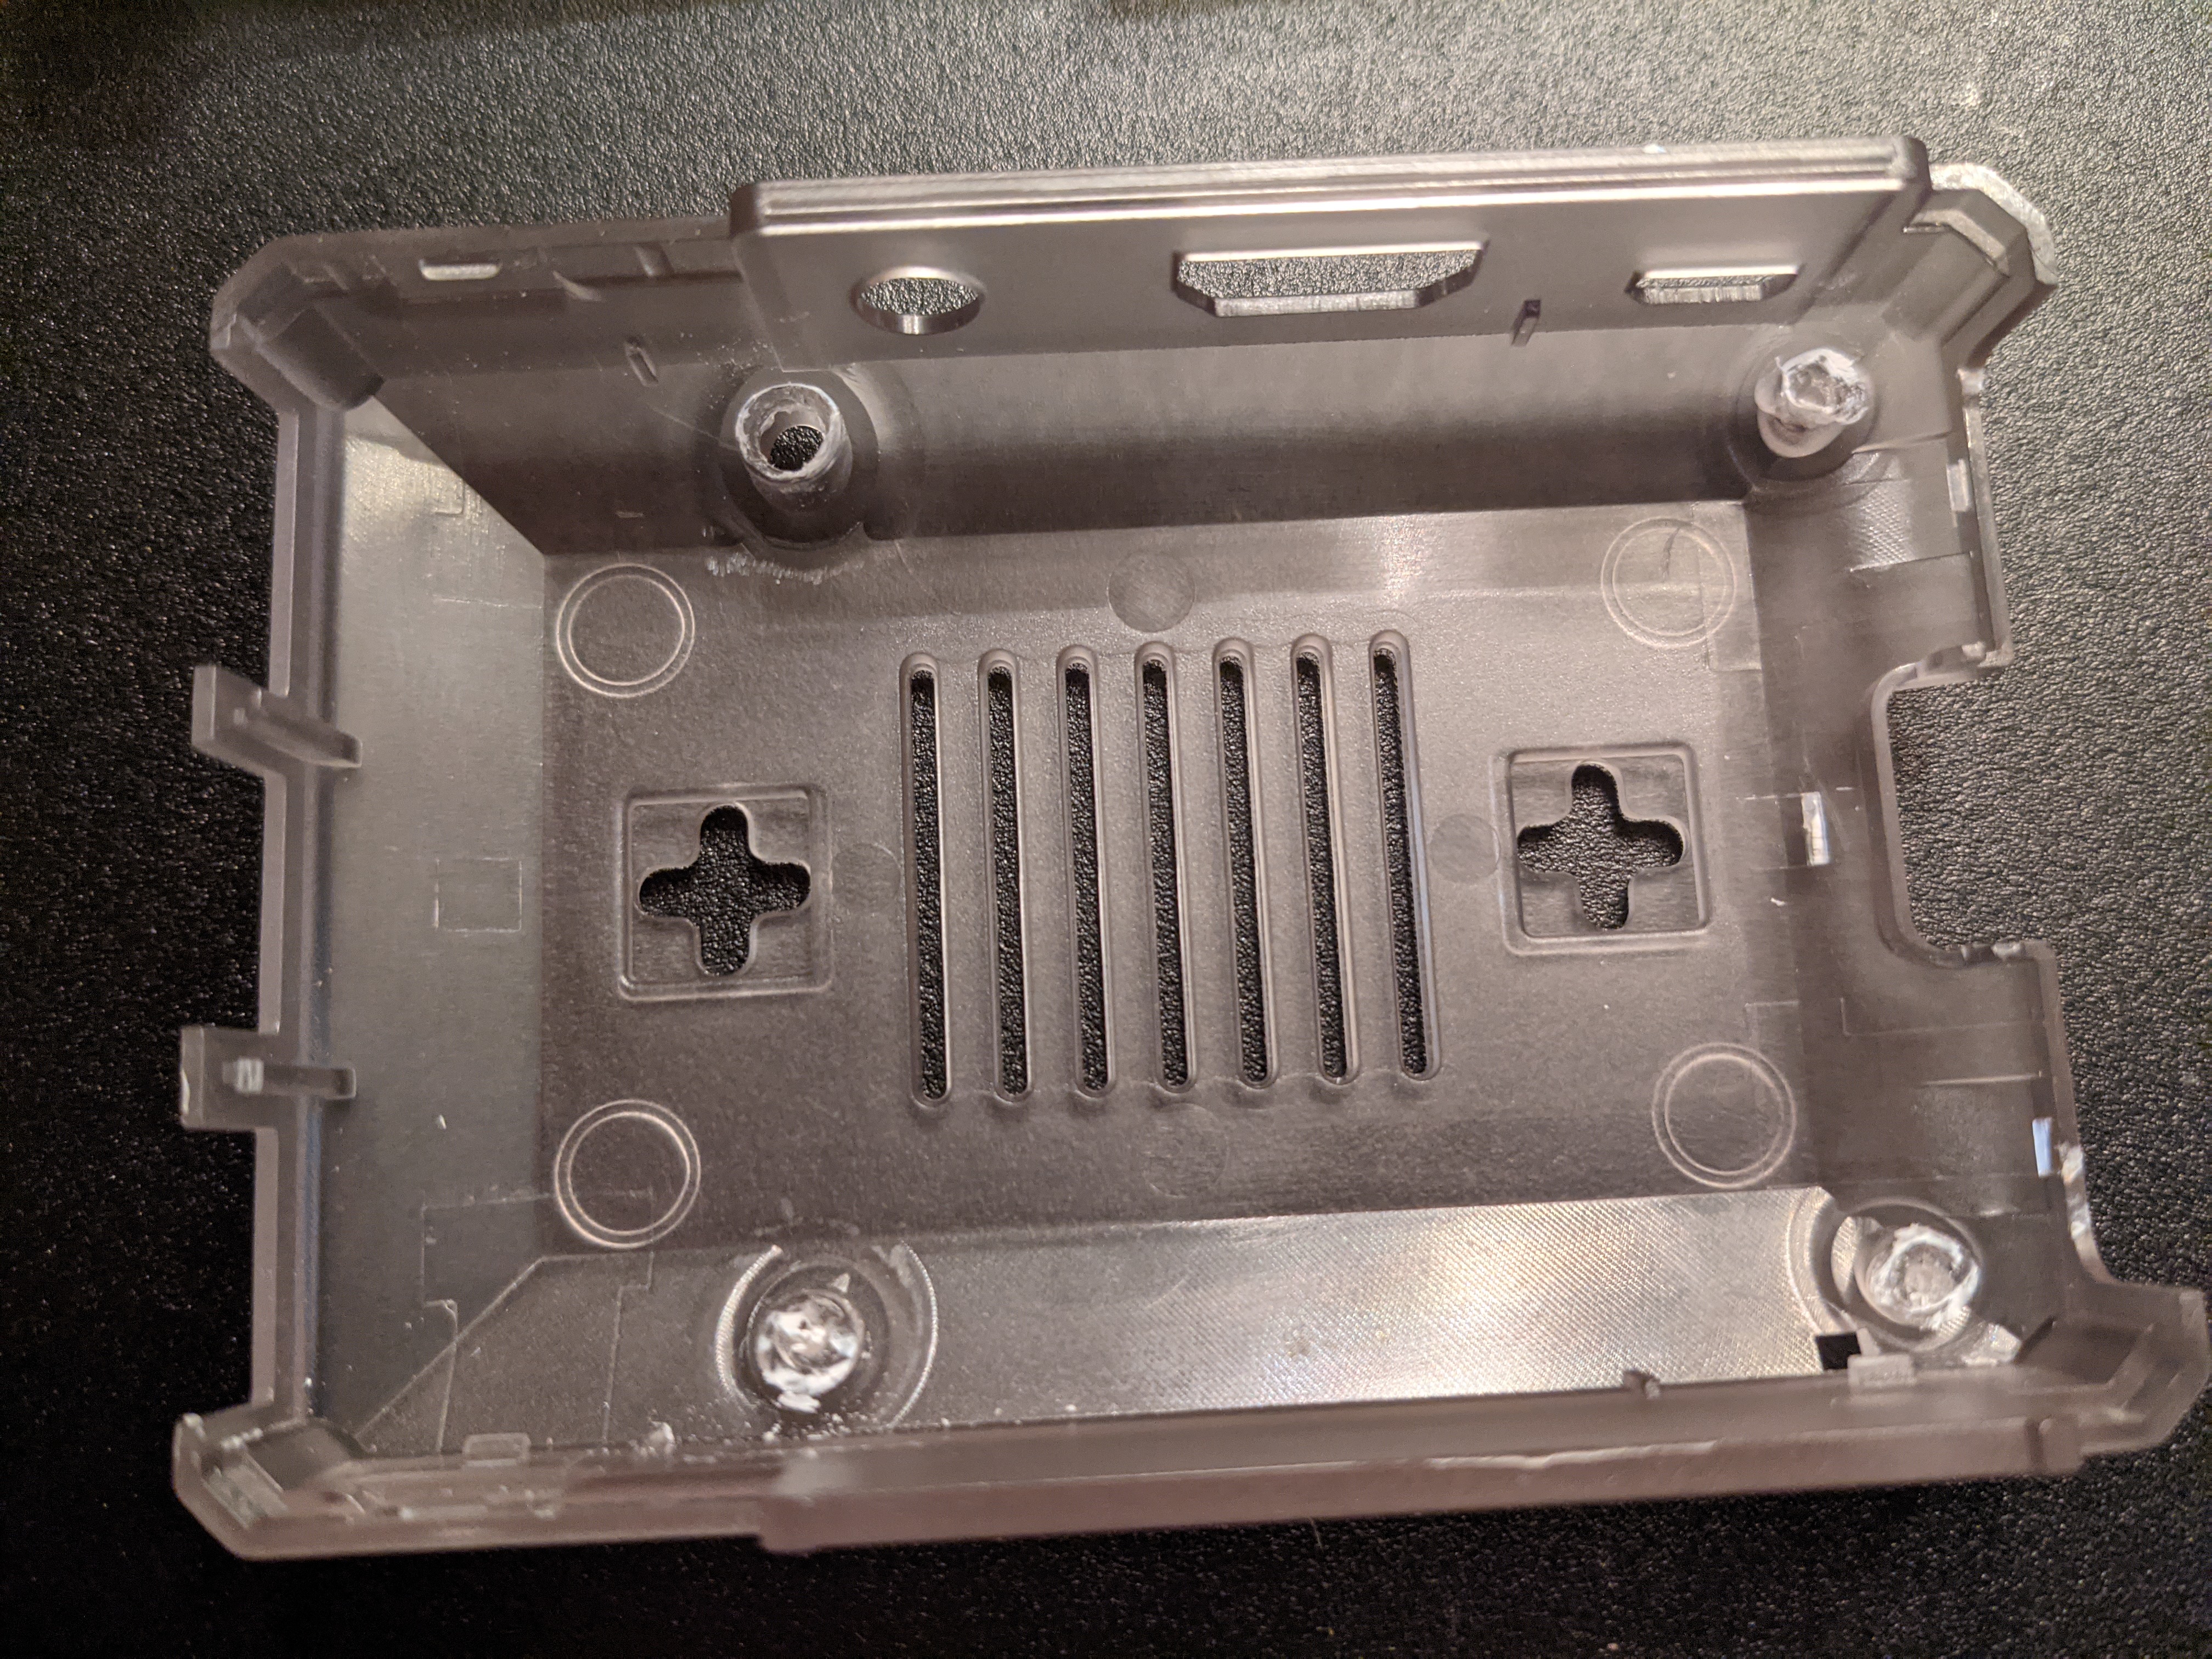
Additionally, you will have to remove the fan, the fan mounting standoffs, and the coupling standoff to fit the HAT.
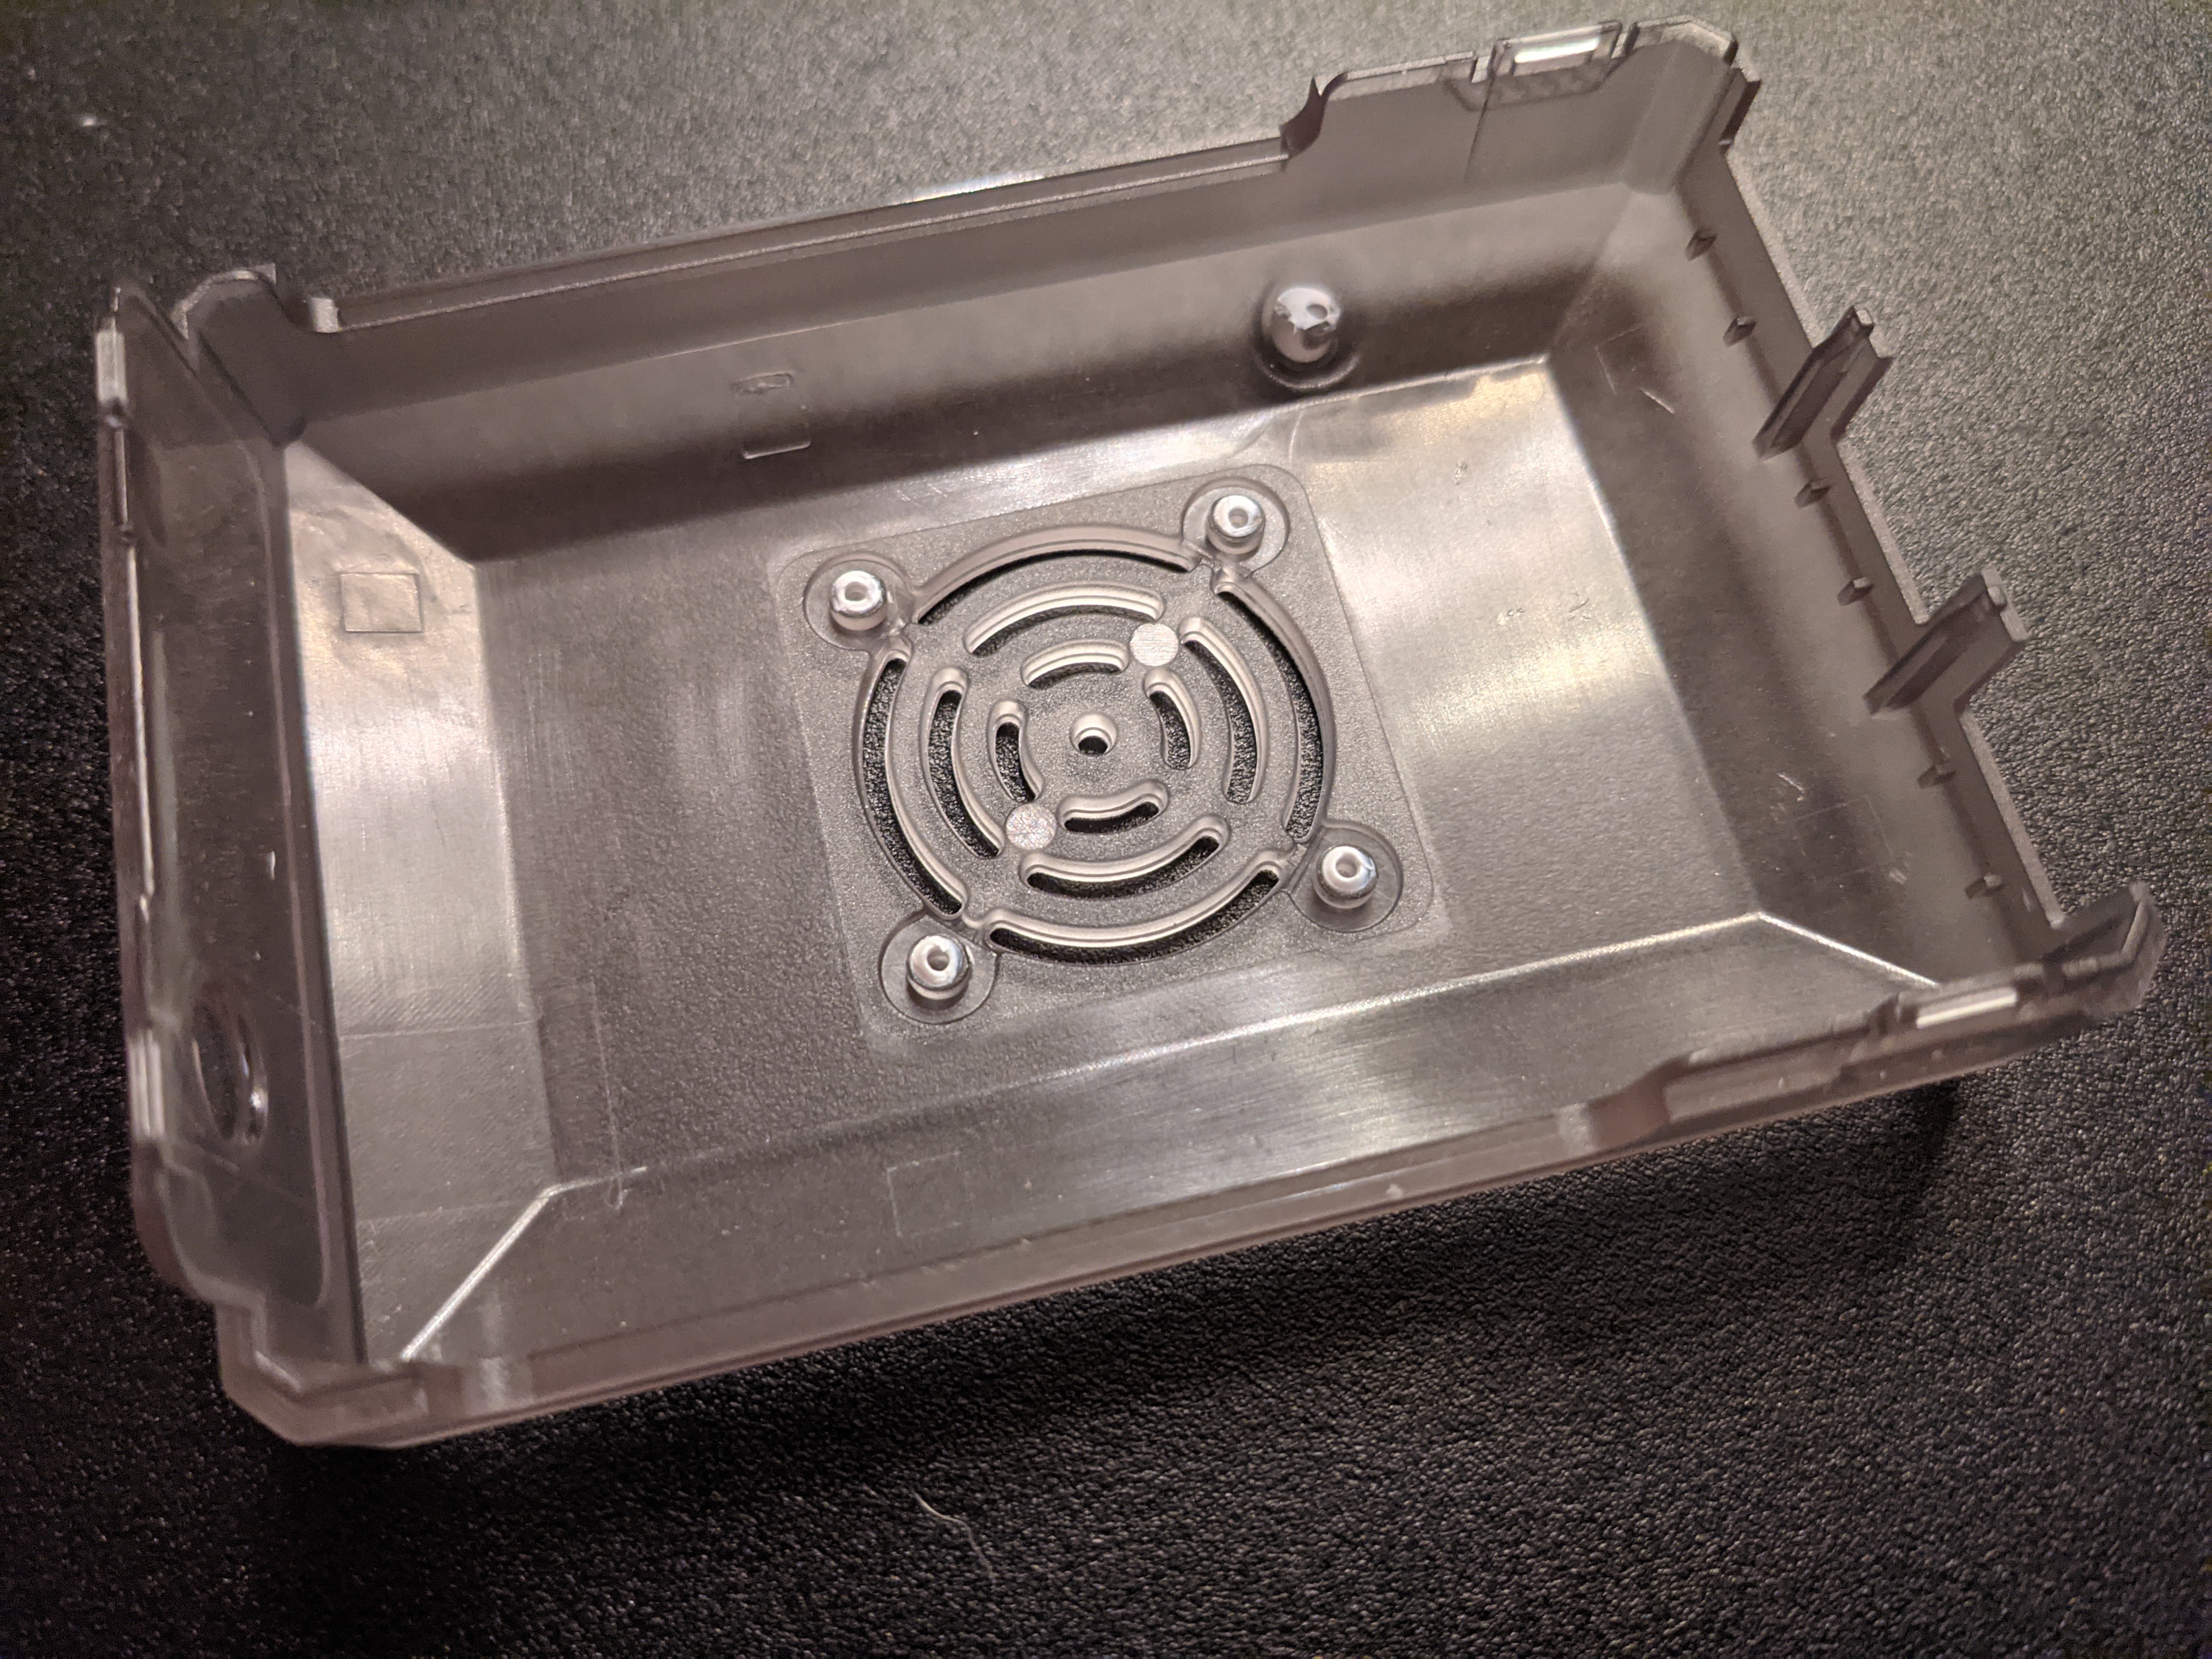
The garage door wire will have to be passed through the fan slits, or a dedicated hole for each relay will need to be shaped near the terminals.
Attach the wire to the relays. You should use the "Common" (COM) and "Normally Open" (NO) terminals (despite the name of the project) since triggering the button should temporarily close the circuit.
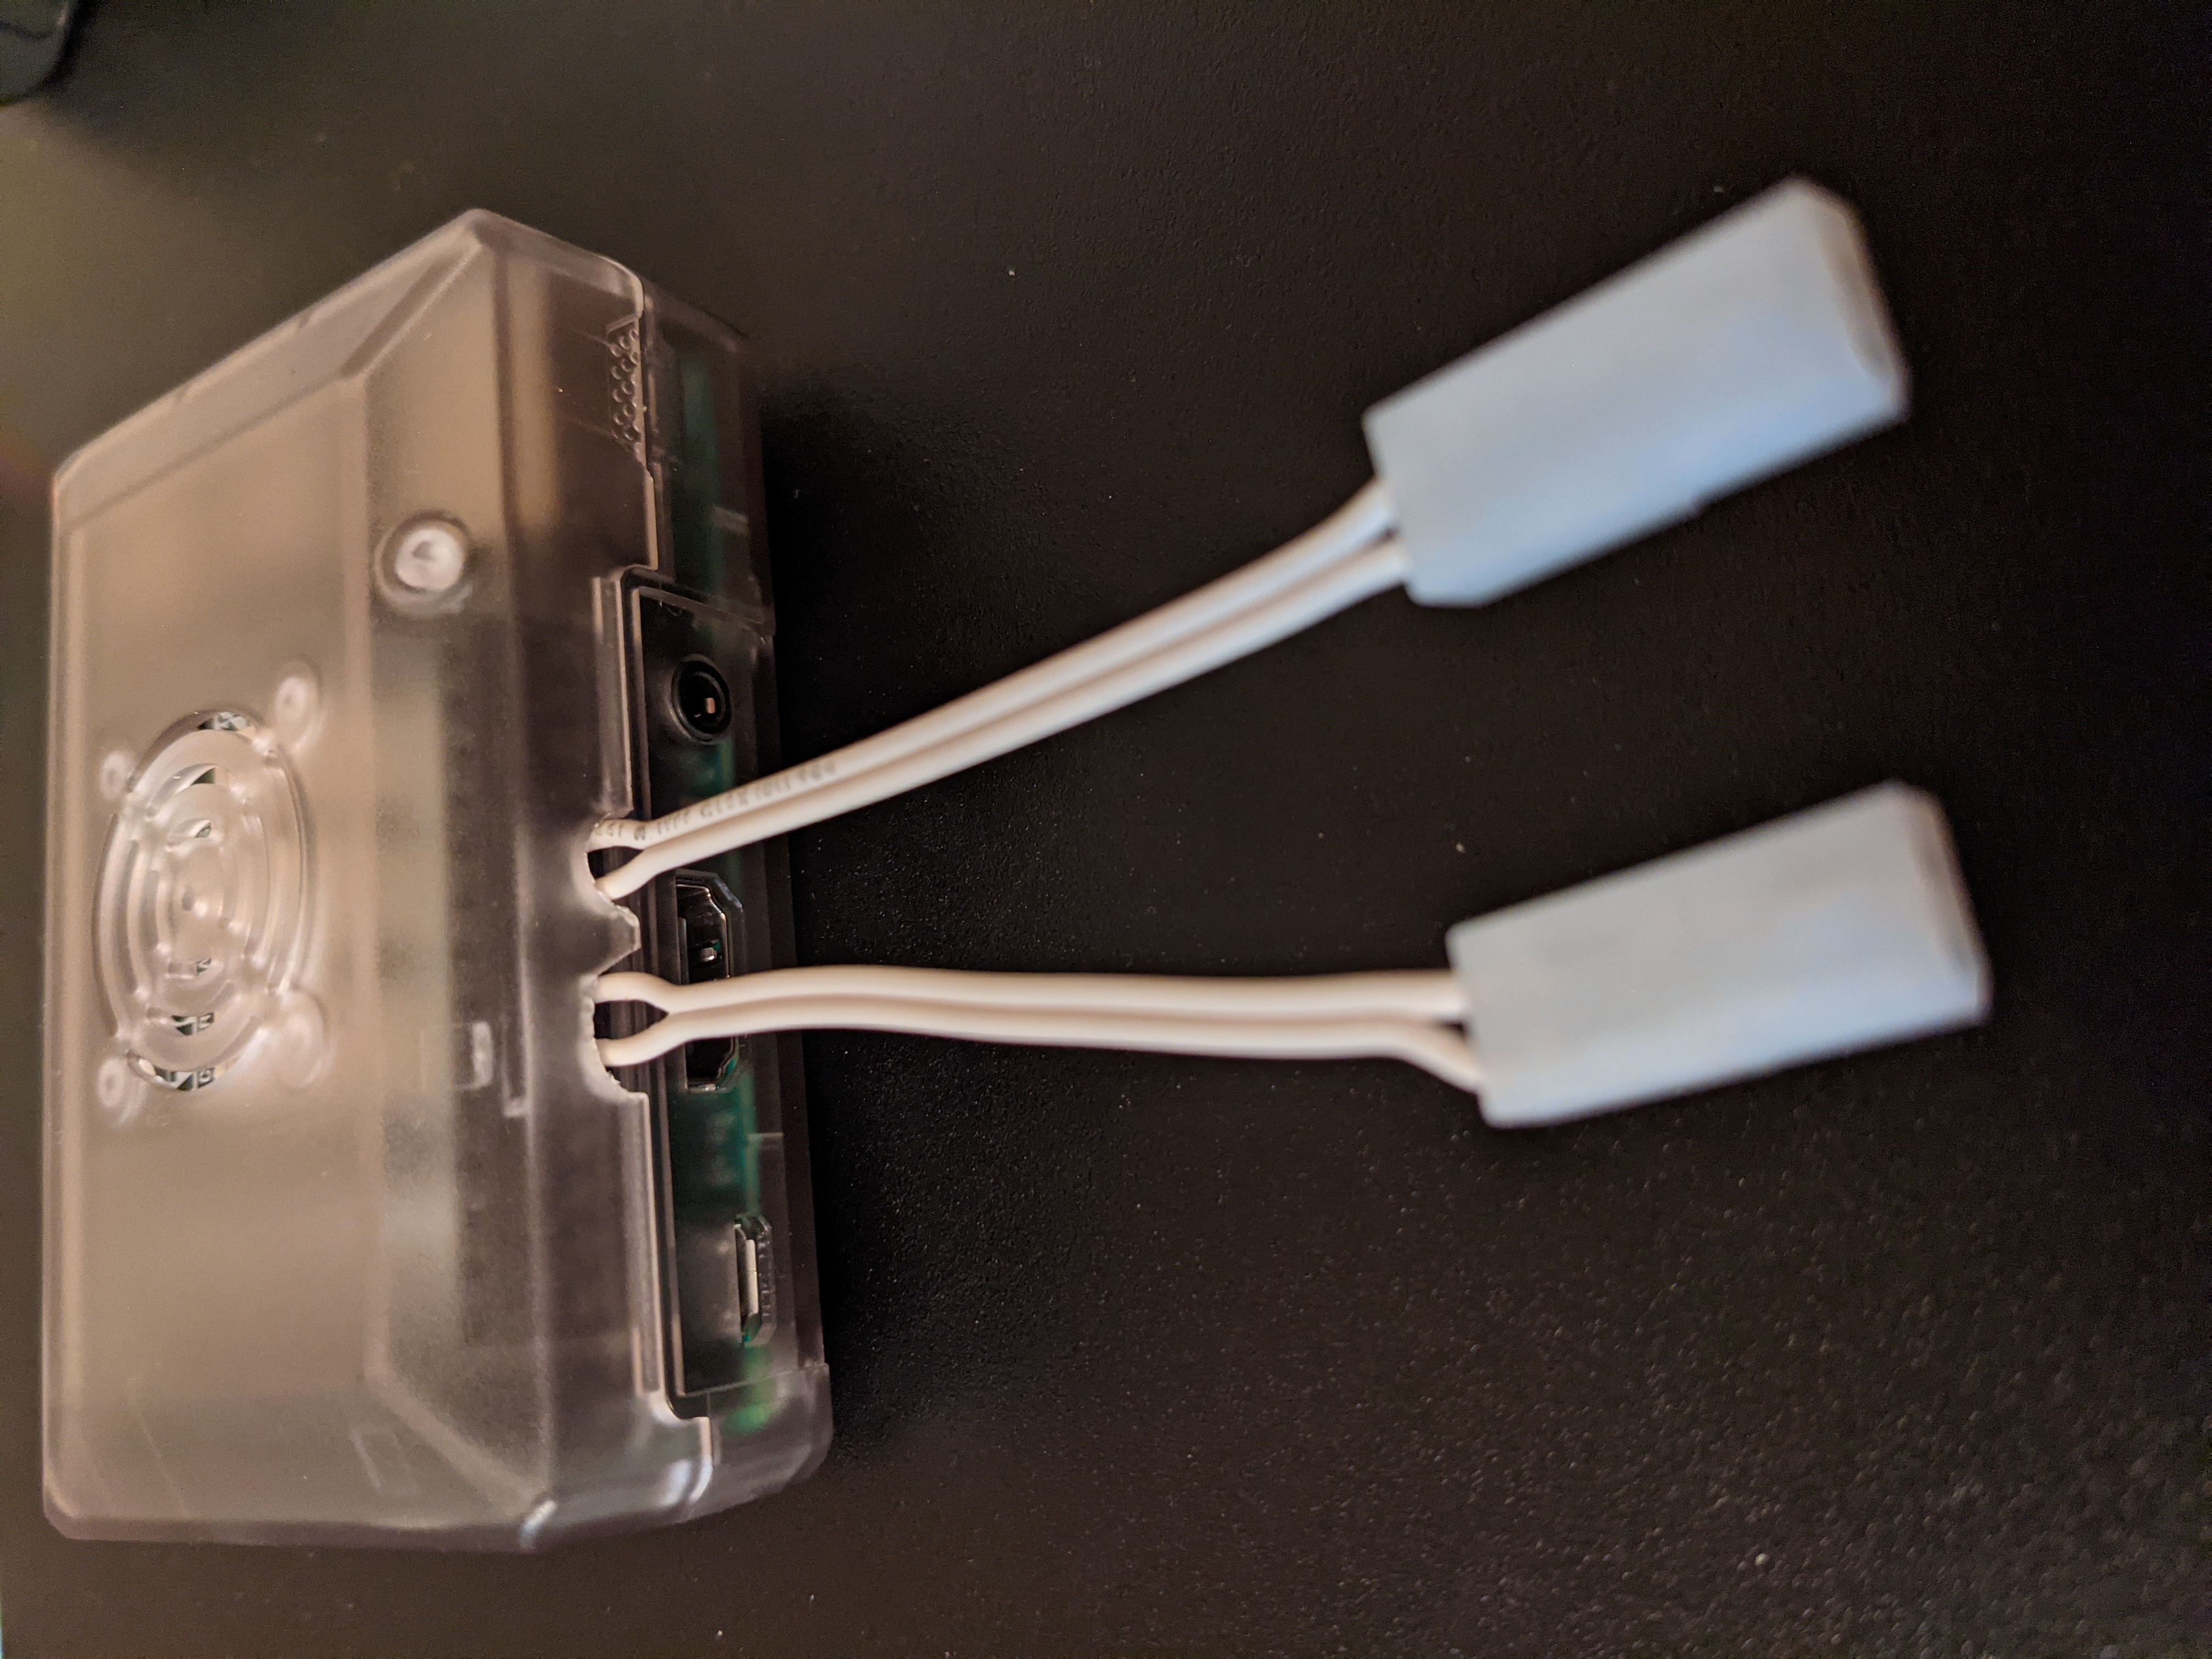
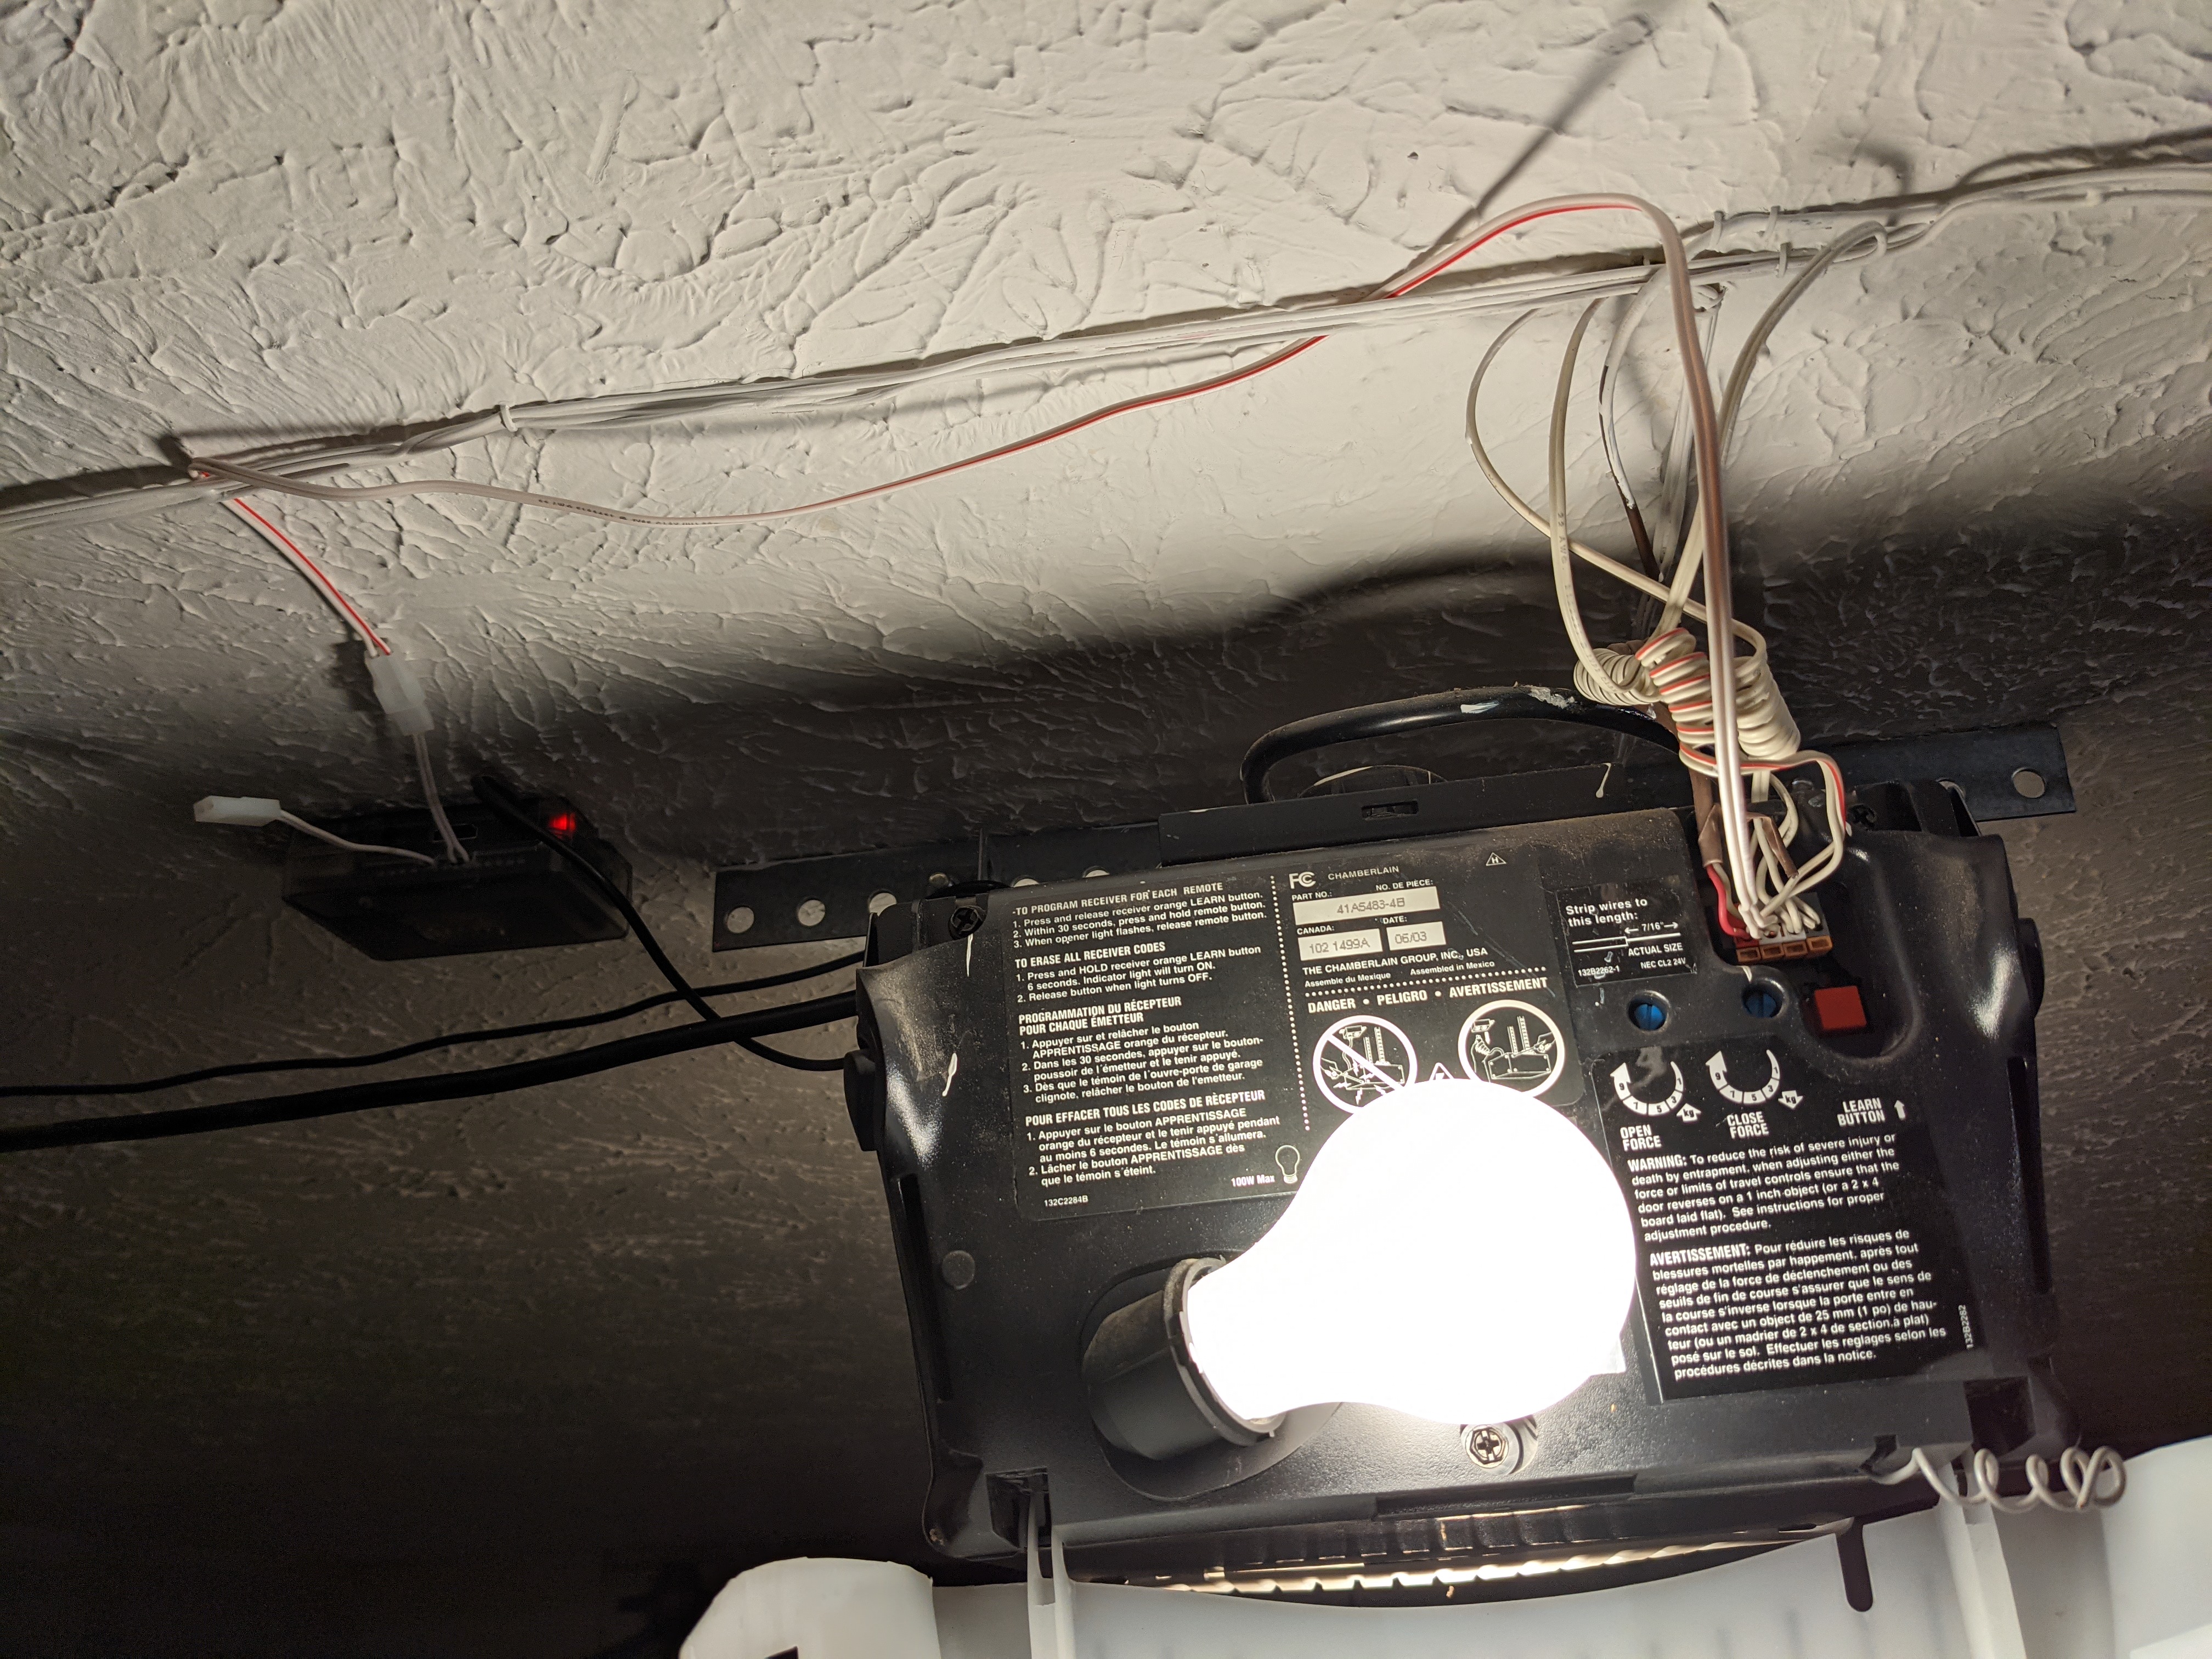
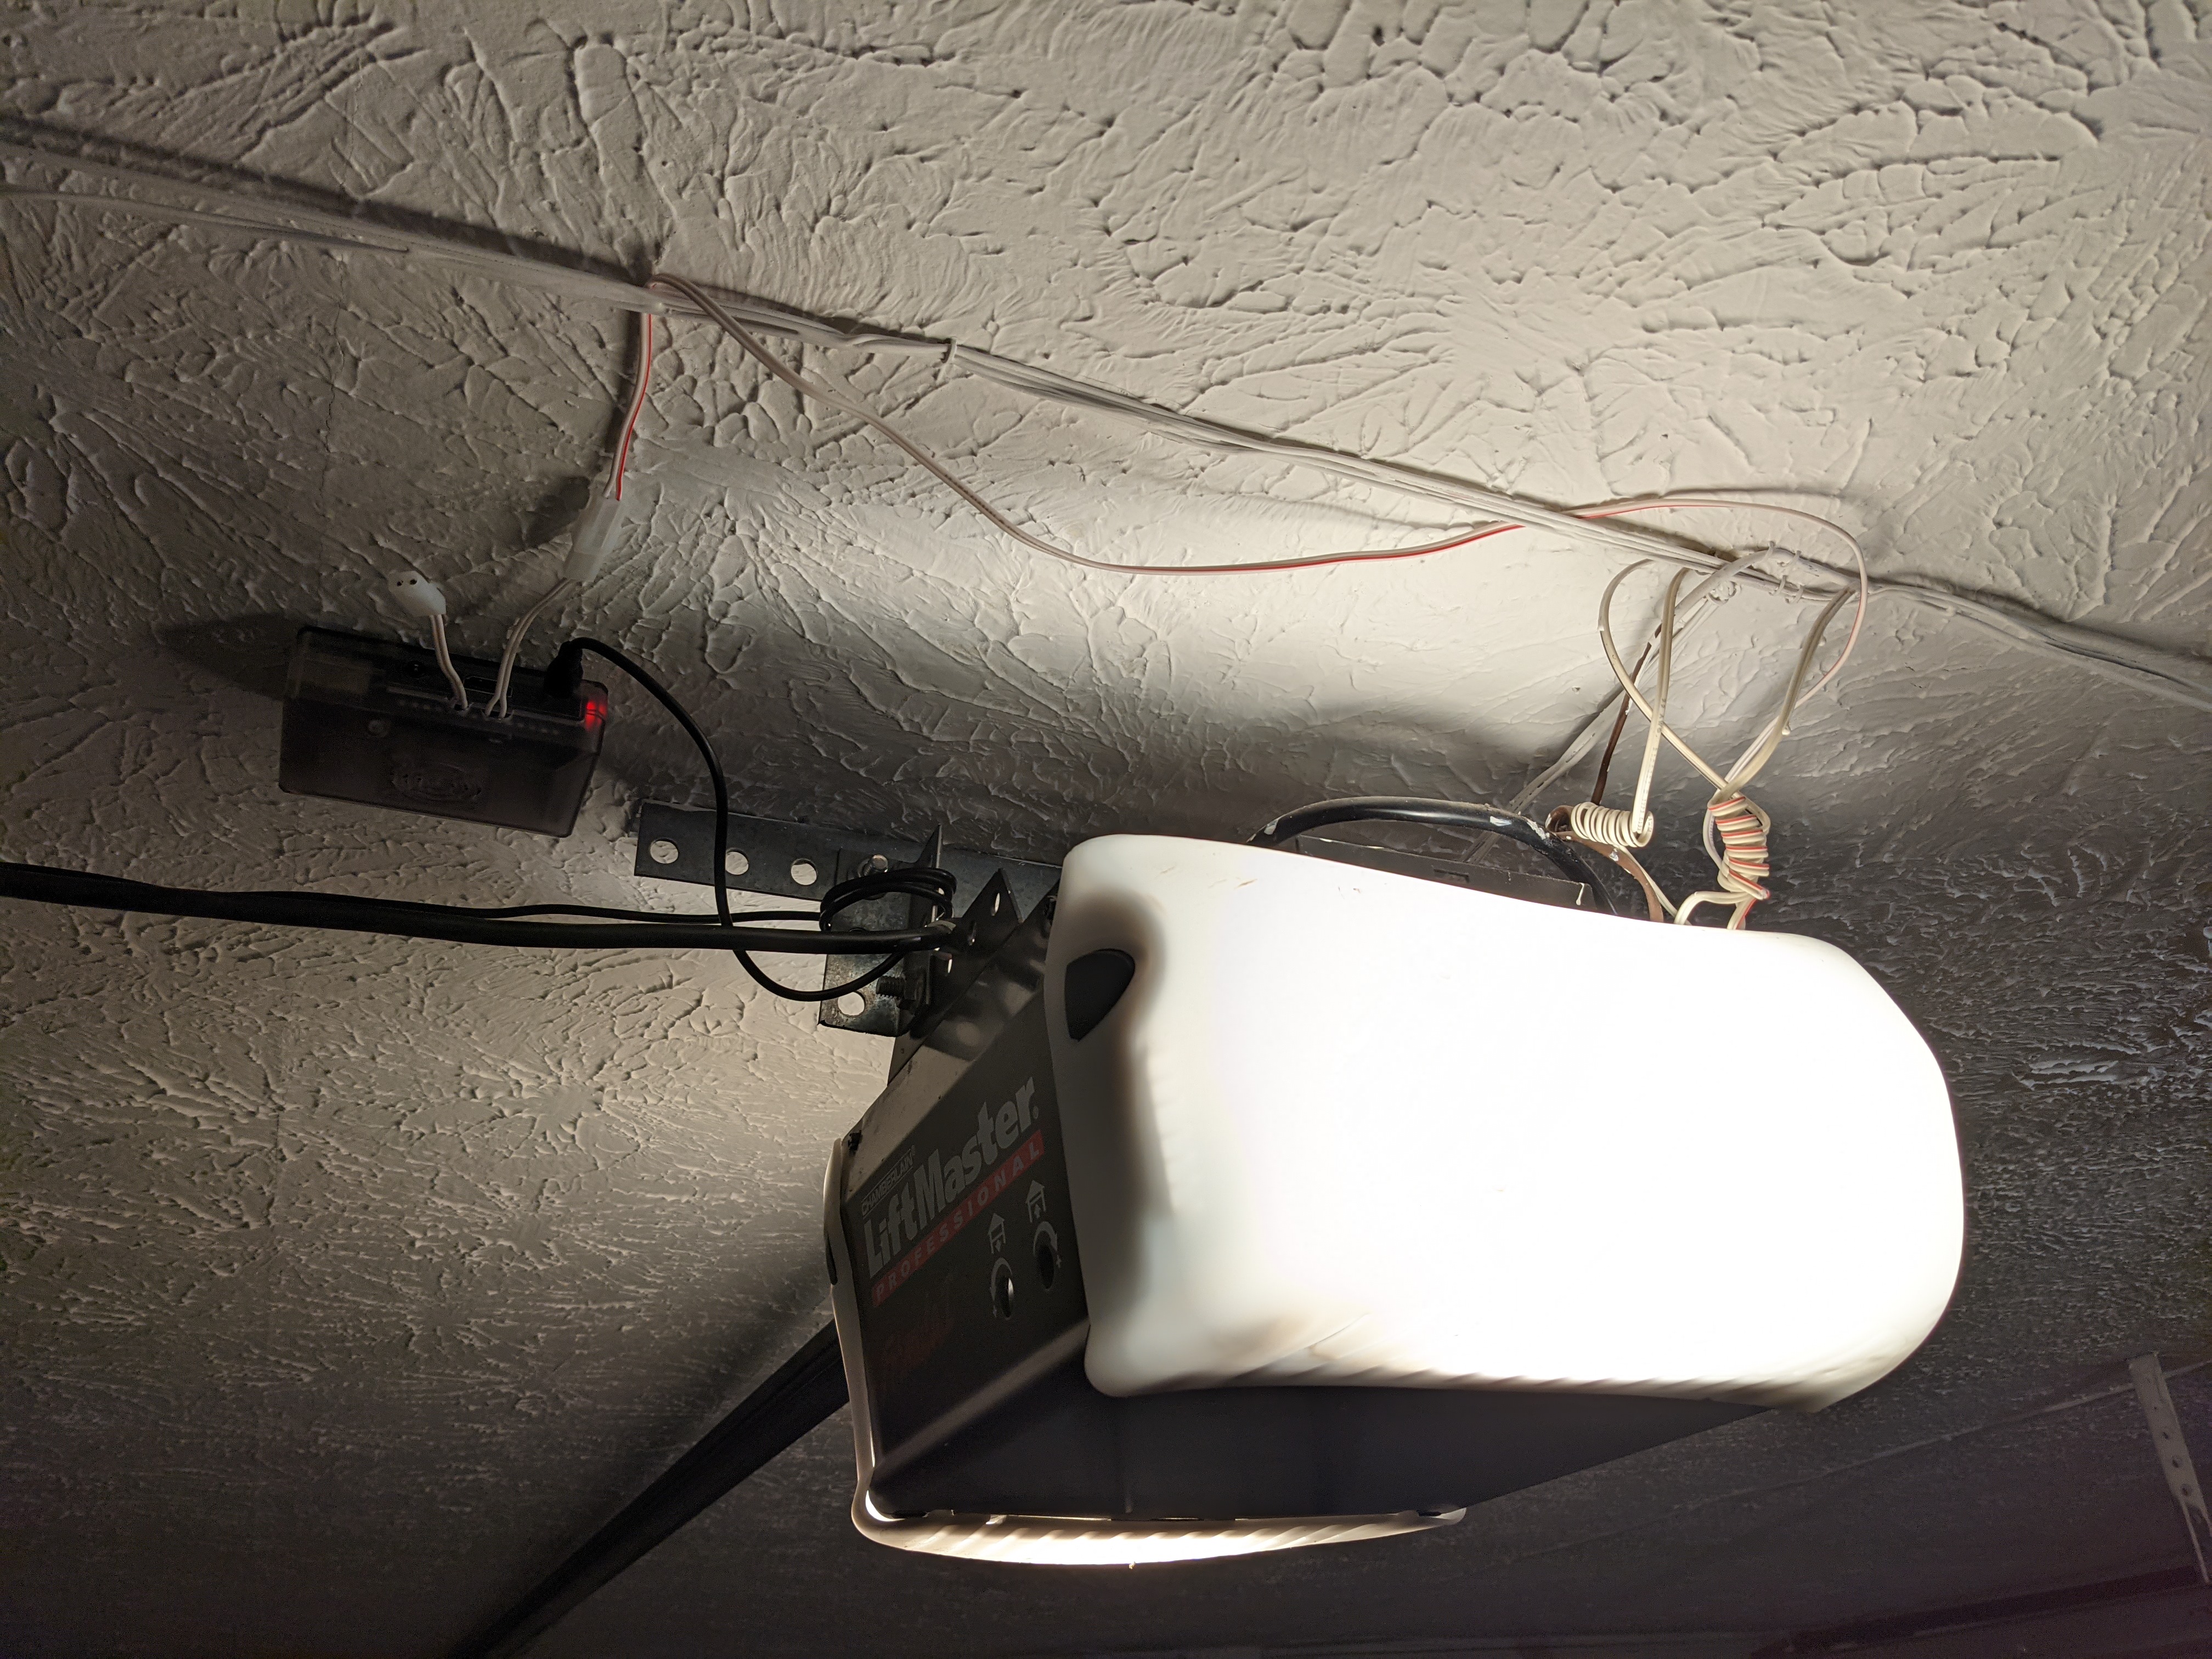
Since the case already had mounting holes, sink two screws into the ceiling or wall near the garage door motor unit and set up the Pi.
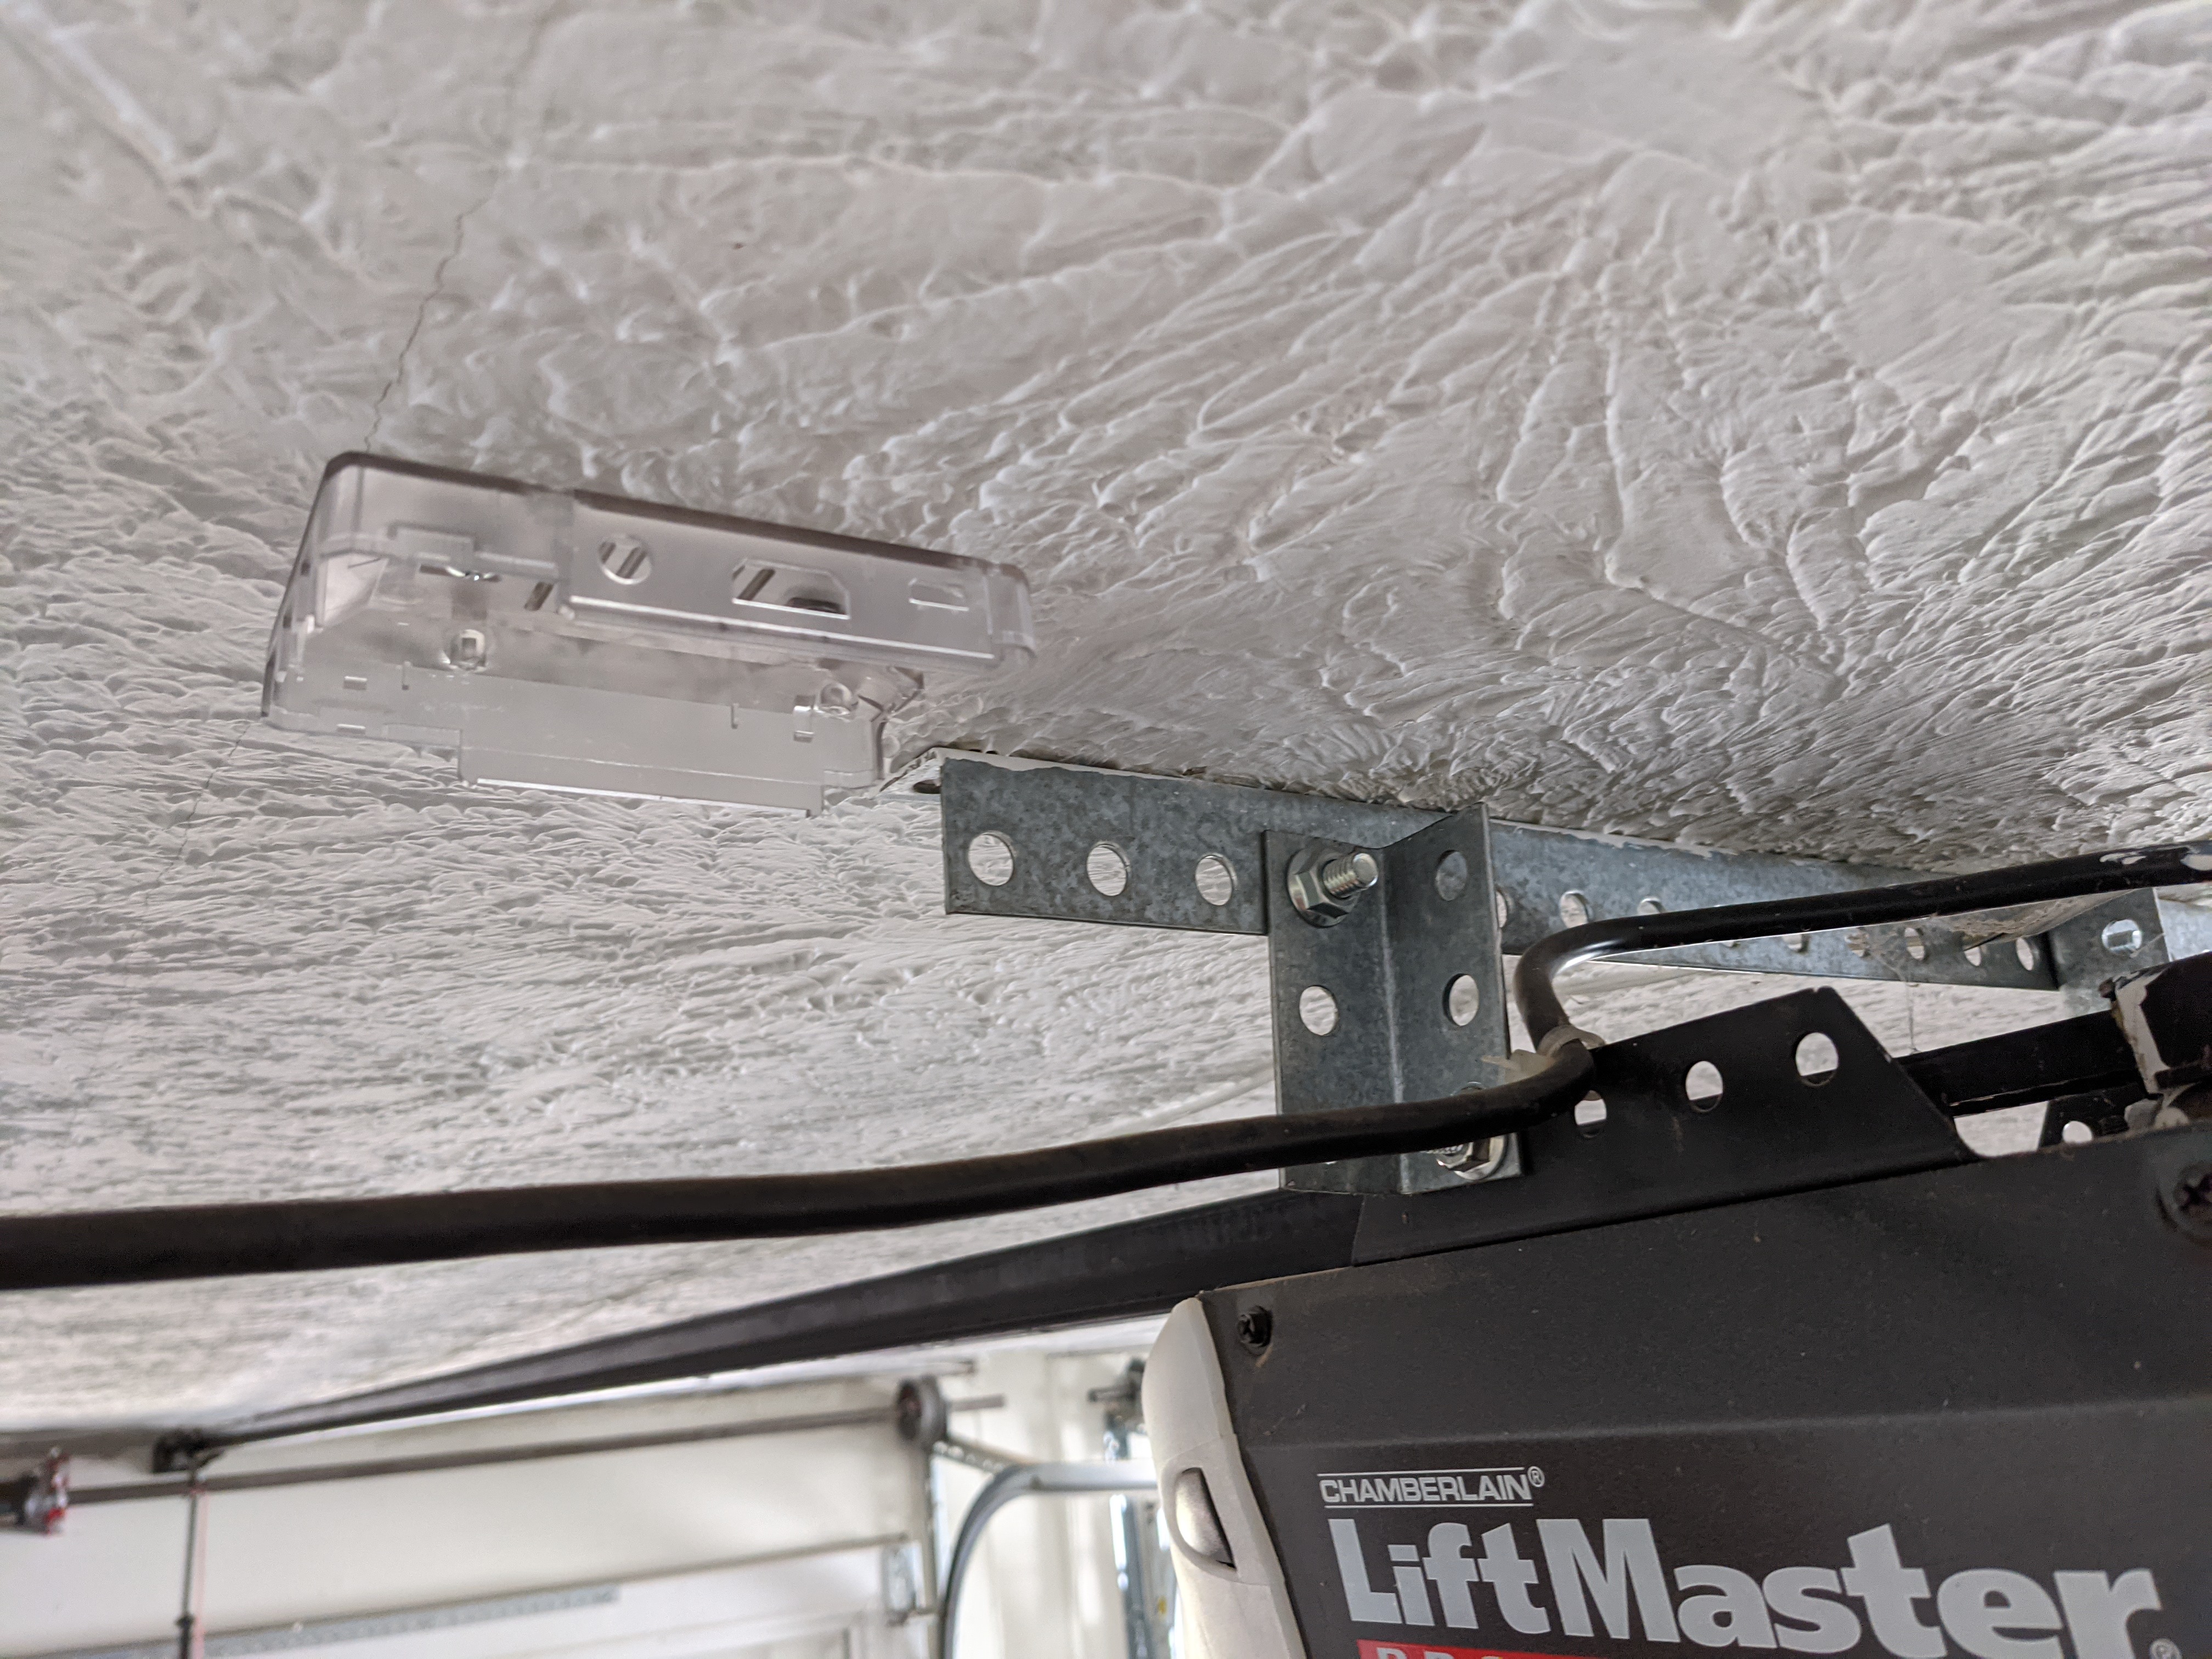
Attach the other end of the wires to the garage door motor unit in the same terminals as the wall buttons.
Installation
Docker
A container which runs the binary is available from Docker Hub and GitHub Container Registry.
-
jakewharton/normally-closed -
ghcr.io/jakewharton/normally-closed
Mount the /config folder which contains a config.toml or mount a /config/config.toml file directly for the configuration file.
The container serves the website on port 80. You can map it to your desired port using -p.
$ docker run -d \
    -v /path/to/config.toml:/config/config.toml \
    -p 8080:80 \
    jakewharton/normally-closed
Docker Compose is also supported:
services:
  normally-closed:
    image: jakewharton/normally-closed
    restart: unless-stopped
    ports:
      - 8080:80
    volumes:
      - /path/to/config.toml:/config/config.toml
Binary
If you have Rust installed with Cargo you can install the binary by running cargo install normally-closed
(![]() ).
Otherwise a prebuilt binary is available on the latest GitHub release.
).
Otherwise a prebuilt binary is available on the latest GitHub release.
The path to your configuration file is a required argument. The website will be served on port 31415 by default.
$ normally-closed --help
normally-closed 0.1.0

USAGE:
    normally-closed [OPTIONS] <config-file>

FLAGS:
    -h, --help       Prints help information
    -V, --version    Prints version information

OPTIONS:
        --http-port <port>    HTTP port [default: 31415]

ARGS:
    <config-file>    TOML configuration file. See https://github.com/JakeWharton/NormallyClosed#configuration
Other
Want to maintain a Linux distro installation? Please do! PRs for distro installation welcome.
Configuration
A TOML file defines the available relays and which doors map to which relays.
Here is a full example:
version = 0

[relays]
board = "PIM213"

[[door]]
name = "Left"
relay = 1

[[door]]
name = "Right"
relay = 2
version
Always 0 until version 1.0.0 is released.
secondary_hosts
Additional hosts whose doors will be displayed on this host.
secondary_hosts = [
  "http://example.com:1234",
]
Doors from each host will be updated every minute.
Note: 'https' is not supported at this time.
relays
Either a named board:
[relays]
board = "PIM213"
| Board | Relay count |
|---|---|
| PIM213 | 3 |
| PIM487 | 1 |
| PIM221 | 1 |
| RAS-109 / RAS-194 | 2 |
Or a list of GPIO pins corresponding to relays:
[relays]
pins = [11, 13, 15, 17]
door
Either a single toggle button:
[[door]]
name = "Garage"
relay = 1
Or multiple discrete buttons:
[[door]]
name = "Garage"
open_relay = 1
close_relay = 2
stop_relay = 3  # OPTIONAL!
In either form, all doors must have names, relays use 1-based indexing, and no door may use the same relay as another.
Usage
Visit the website in a browser. Click the buttons!
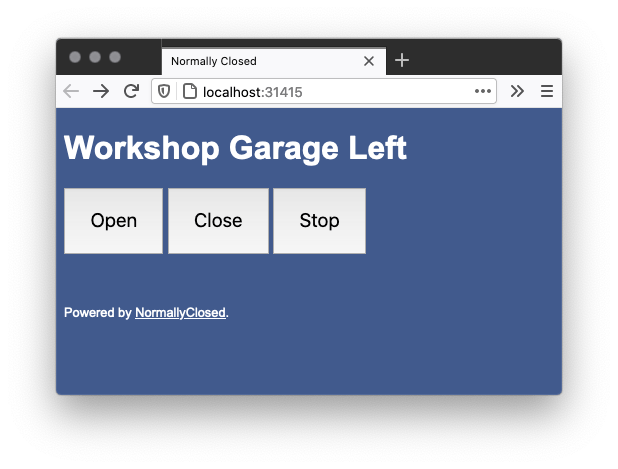
Your URL will depend on the hostname of the Pi and the port you choose.
Local Development
The binary targets the Raspberry Pi through the use of a Cargo feature which is enabled by default. Disabling the default feature will allow you to run locally with GPIO pin changes printed instead.
- Build:
cargo build --no-default-features - Test:
cargo test --no-default-features - Lint:
cargo clippy --no-default-features - Format:
cargo +nightly fmt - Run:
./target/debug/normally-closed args...
FAQ
Why not OpenGarage?
- I already had a camera in the garage and do not need detection.
- I did not like how it exposed itself through the internet.
- Does not support doors with explicit open/close control buttons.
- I had two Raspberry Pi 3b boards lying around and paternity leave time.
Why not Z-Wave / Zigbee?
- I did not want to stand up an ecosystem for two simple toggles.
- I had two Raspberry Pi 3b boards lying around and paternity leave time.
Why not [some other product]?
- I probably didn't know it existed.
- I had two Raspberry Pi 3b boards lying around and paternity leave time.
Why?
I had two Raspberry Pi 3b boards lying around and paternity leave time.
How do I access this outside of my home network?
This is your problem!
I personally use WireGuard to jump into my home network and connect directly to each Pi.
License
Copyright 2021 Jake Wharton

Licensed under the Apache License, Version 2.0 (the "License");
you may not use this file except in compliance with the License.
You may obtain a copy of the License at

   http://www.apache.org/licenses/LICENSE-2.0

Unless required by applicable law or agreed to in writing, software
distributed under the License is distributed on an "AS IS" BASIS,
WITHOUT WARRANTIES OR CONDITIONS OF ANY KIND, either express or implied.
See the License for the specific language governing permissions and
limitations under the License.
Dependencies
~15–29MB
~427K SLoC