29 releases (12 breaking)
Uses old Rust 2015
| 0.13.1 | Jul 16, 2018 |
|---|---|
| 0.12.6 | May 25, 2018 |
| 0.12.0 | Mar 24, 2018 |
| 0.9.1 | Dec 31, 2017 |
| 0.1.1 | Nov 9, 2016 |
#37 in Rendering engine
Used in 2 crates
(via radiant-utils)
1.5MB
4.5K
SLoC
radiant-rs
Rust sprite rendering engine with a friendly API, wait-free send+sync drawing targets and custom shader support.
Getting started and reference here.
To compile the examples, use e.g. cargo run --release --example demo_glare. See examples folder for other available examples.
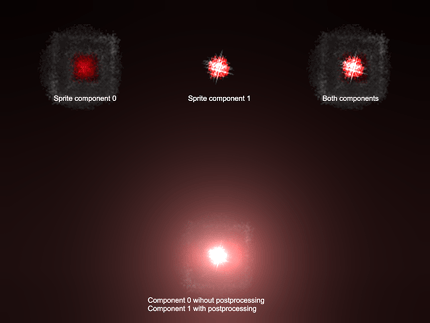
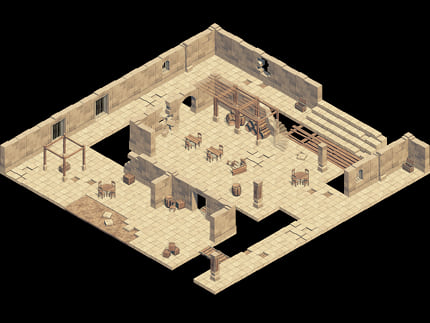
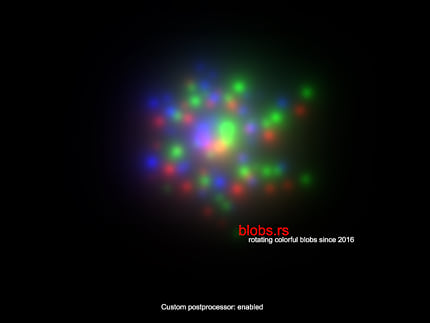
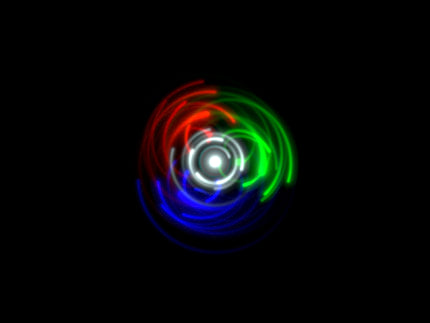
Some screenshots from the examples


lib.rs:
Rust sprite rendering engine with a friendly API, wait-free send+sync drawing targets and custom shader support.
Examples
The examples folder contains multiple small examples. They can be run via cargo run --example <example name>, e.g.
cargo run --example demo_blobs to run demo_blobs.rs.
Basic rendering
Radiant provides an optional Display struct to create windows and handle events. Alternatively you can provide Radiant with a Glium Display (or Display and EventsLoop) instead. See further down below for details. Otherwise, these are the steps to produce output:
- Create a display with
Display::builder(). This represents the window/screen. - Create a renderer with
Renderer::new(). It is used to draw to rendertargets like the display. - Grab a context from the renderer using the
context()method. It is required for resource loading. - Load sprites or fonts using e.g.
Font::from_file()orSprite::from_file(). - Create as many drawing layers as you need using
Layer::new(). - Draw to the layer using the
Font::write()orSprite::draw()methods. - Prepare a new frame and clear it using
Display::clear_frame(). (If you don't want to clear, useDisplay::prepare_frame()instead.) - Draw the contents of your layers to the display using
Renderer::draw_layer(). - Make the frame visible via
Display::swap_frame().
Draw to texture/postprocess
Postprocessors are custom effects that may be as simple as a single shader program or combine multiple shaders and textures into a single output.
The renderer has a method Renderer::render_to() that accepts a rendertarget (e.g. texture) and a closure. Anything
drawn within the closure will be rendered to the texture.
Likewise, use Renderer::postprocess() to render using a postprocessor.
These methods can be combined/nested as shown here:
renderer.render_to(&surface, || {
renderer.postprocess(&effect1, &effect1_arguments, || {
renderer.postprocess(&effect2, &effect2_arguments, || {
//...
renderer.draw_layer(&layer, 1);
});
//... maybe draw here with only effect 1? ...
});
//... or here without any postprocessor? ...
});
Sprite-sheets
Currently sprite-sheets are required to be sheets of one or more either horizontally or vertically aligned sprite frames. Each frame can have multiple components aligned orthogonally to the frames. Components could be the sprite's color image, a light or distortion map for the shader etc.
Sprites can be created from either raw image data and a SpriteParameters struct describing the
sprite layout, or directly from a file.
When loading from file, filenames are required to express the sprite format, e.g. battery_lightmapped_128x128x15x2 would be 15 frames
of a 128x128 sprite using two components. This is a scaled version of how it could look. The color component is in the top row, a lightmap
component in the bottom row:
![]()
Custom shaders
Radiant supports the use of custom fragment shaders. These are normal glsl shaders. To simplify access to the default
sampler (which might be a sampler2DArray or sampler2D, depending on what is drawn) a wrapper is injected into the
source. The wrapper provides sheet*() functions similar to glsl's texture*() functions.
This only applies to the default sampler. It is possible to add custom uniforms, including samplers, to your shader
that would be sampled using the texture*() functions.
Available default inputs:
uniform mat4 u_viewThe view matrix if applicable, otherwise the identity.uniform mat4 u_modelThe model matrix if applicable, otherwise the identity.in vec2 v_tex_coordsTexture coordinates.in vec4 v_colorColor multiplier. For layers this is sprite color * layer color.
To access the default sampler, the following wrappers are provided:
vec2 sheetSize()Retrieves the dimensions of the texture.vec4 sheet(in vec2 texture_coords)Retrieves texels from the texture.vec4 sheetComponent(in vec2 texture_coords, in uint component)Samples a specific sprite component instead of the default one set byRenderer::draw_layer().vec4 sheetOffset(in vec2 texture_coords, in ivec2 offset)Like textureOffset().
Example: (This is the default shader used by radiant.)
#version 140

in vec2 v_tex_coords;
in vec4 v_color;

out vec4 f_color;

void main() {
f_color = sheet(v_tex_coords) * v_color;
}
Drawing from multiple threads
Start with steps 1-5 from the Basic rendering list. Then...
- Wrap fonts, sprites, and layers in
Arcs. - Clone the
Arcs for each thread that needs their contents. The rendercontext can be cloned directly. - Move the clones into the thread.
- Draw onto your layers, load sprites etc. from any thread(s). Layers are non-blocking for drawing operations, blocking for other manipulations (e.g. matrix modification).
Complete rendering with steps 7-9 from the Basic rendering list in the thread that created the Renderer; both it
and Display do not implement Send.
Integrating with existing glium projects (or any supported backend)
Radiant can be used with supported backends using the APIs provided in the backend module. The 10_glium_less and 11_glium_more
examples show two different approaches on how to do this.
Approach "more": Skip creating a Radiant Display and use backend::create_renderer() to create a renderer from a Glium Display.
Then use backend::target_frame to direct the renderer to target the given Glium Frame instead.
Approach "less": Use backend::create_display() to create a Radiant Display from a Glium Display and EventsLoop. Then use
backend::take_frame() to "borrow" a Glium Frame from Radiant. This approach let's you keep Radiant's window/event handling.
Found and issue? Missing a feature?
Please file a bug report if you encounter any issues with this library. In particular, it has only been tested on a limited number of graphics cards so I would expect issues regarding untested hardware.
Dependencies
~8–22MB
~367K SLoC